Building your first agent
You have an organisation and a team. The next step is to create the agent itself — the AI chatbot that will talk to visitors. In this chapter you'll:
- Choose an agent type
- Name and describe the agent
- Shape its personality through profession, persona, response length, and goal
- Write the greeting and the suggested questions visitors see when they open the widget
- Land on the agent settings page, which is the home base for everything you'll do with this agent in later chapters
The whole flow is a four-step wizard. None of the choices are permanent — every setting is editable from the agent settings pages after the agent is created.
Step 1 — Choose an agent type
From the team home page click Create Agent.
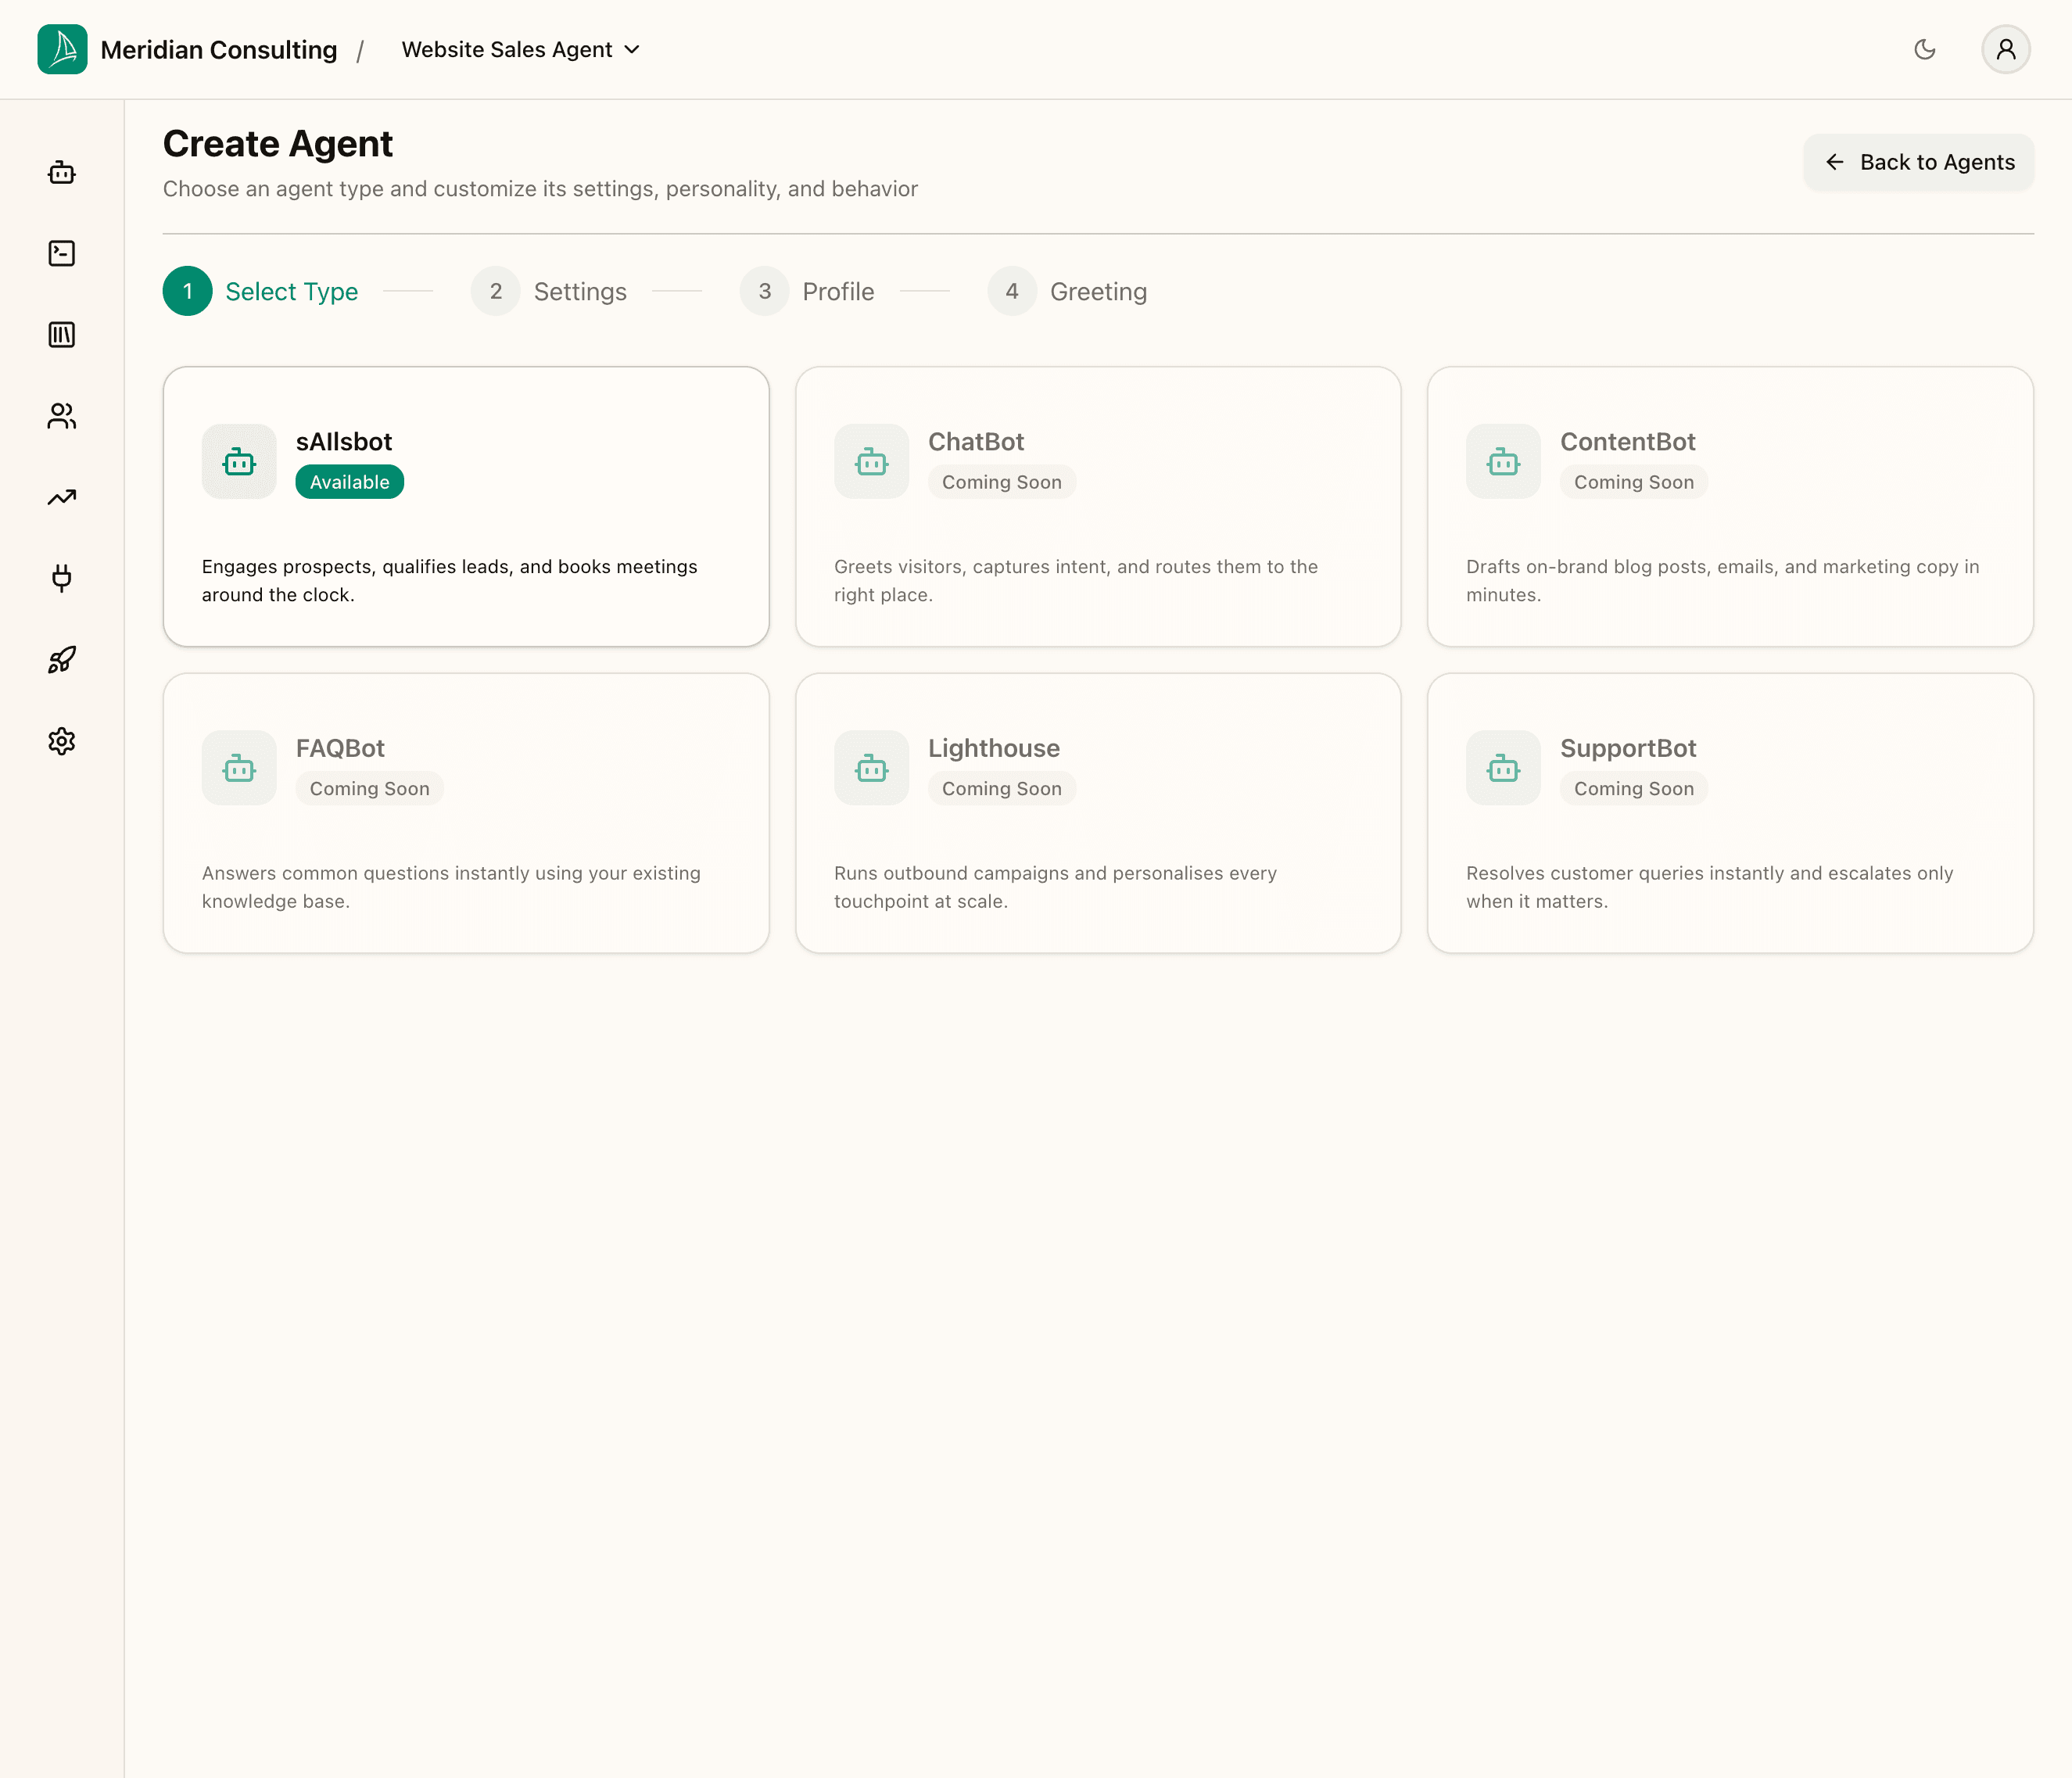
The wizard shows the available agent types. Most are placeholders for future products — only one is generally available today:
- sAIlsbot — Available. Engages prospects, qualifies leads, and books meetings. This is the type you'll use for any sales- or sales-adjacent chat agent.
- ChatBot, ContentBot, FAQBot, Lighthouse, SupportBot — Coming Soon and disabled. Each one is a specialisation targeting a different use case; they share infrastructure with sAIlsbot but ship with different default skills, prompts, and tools.
Click sAIlsbot to select it and advance the wizard to Step 2.
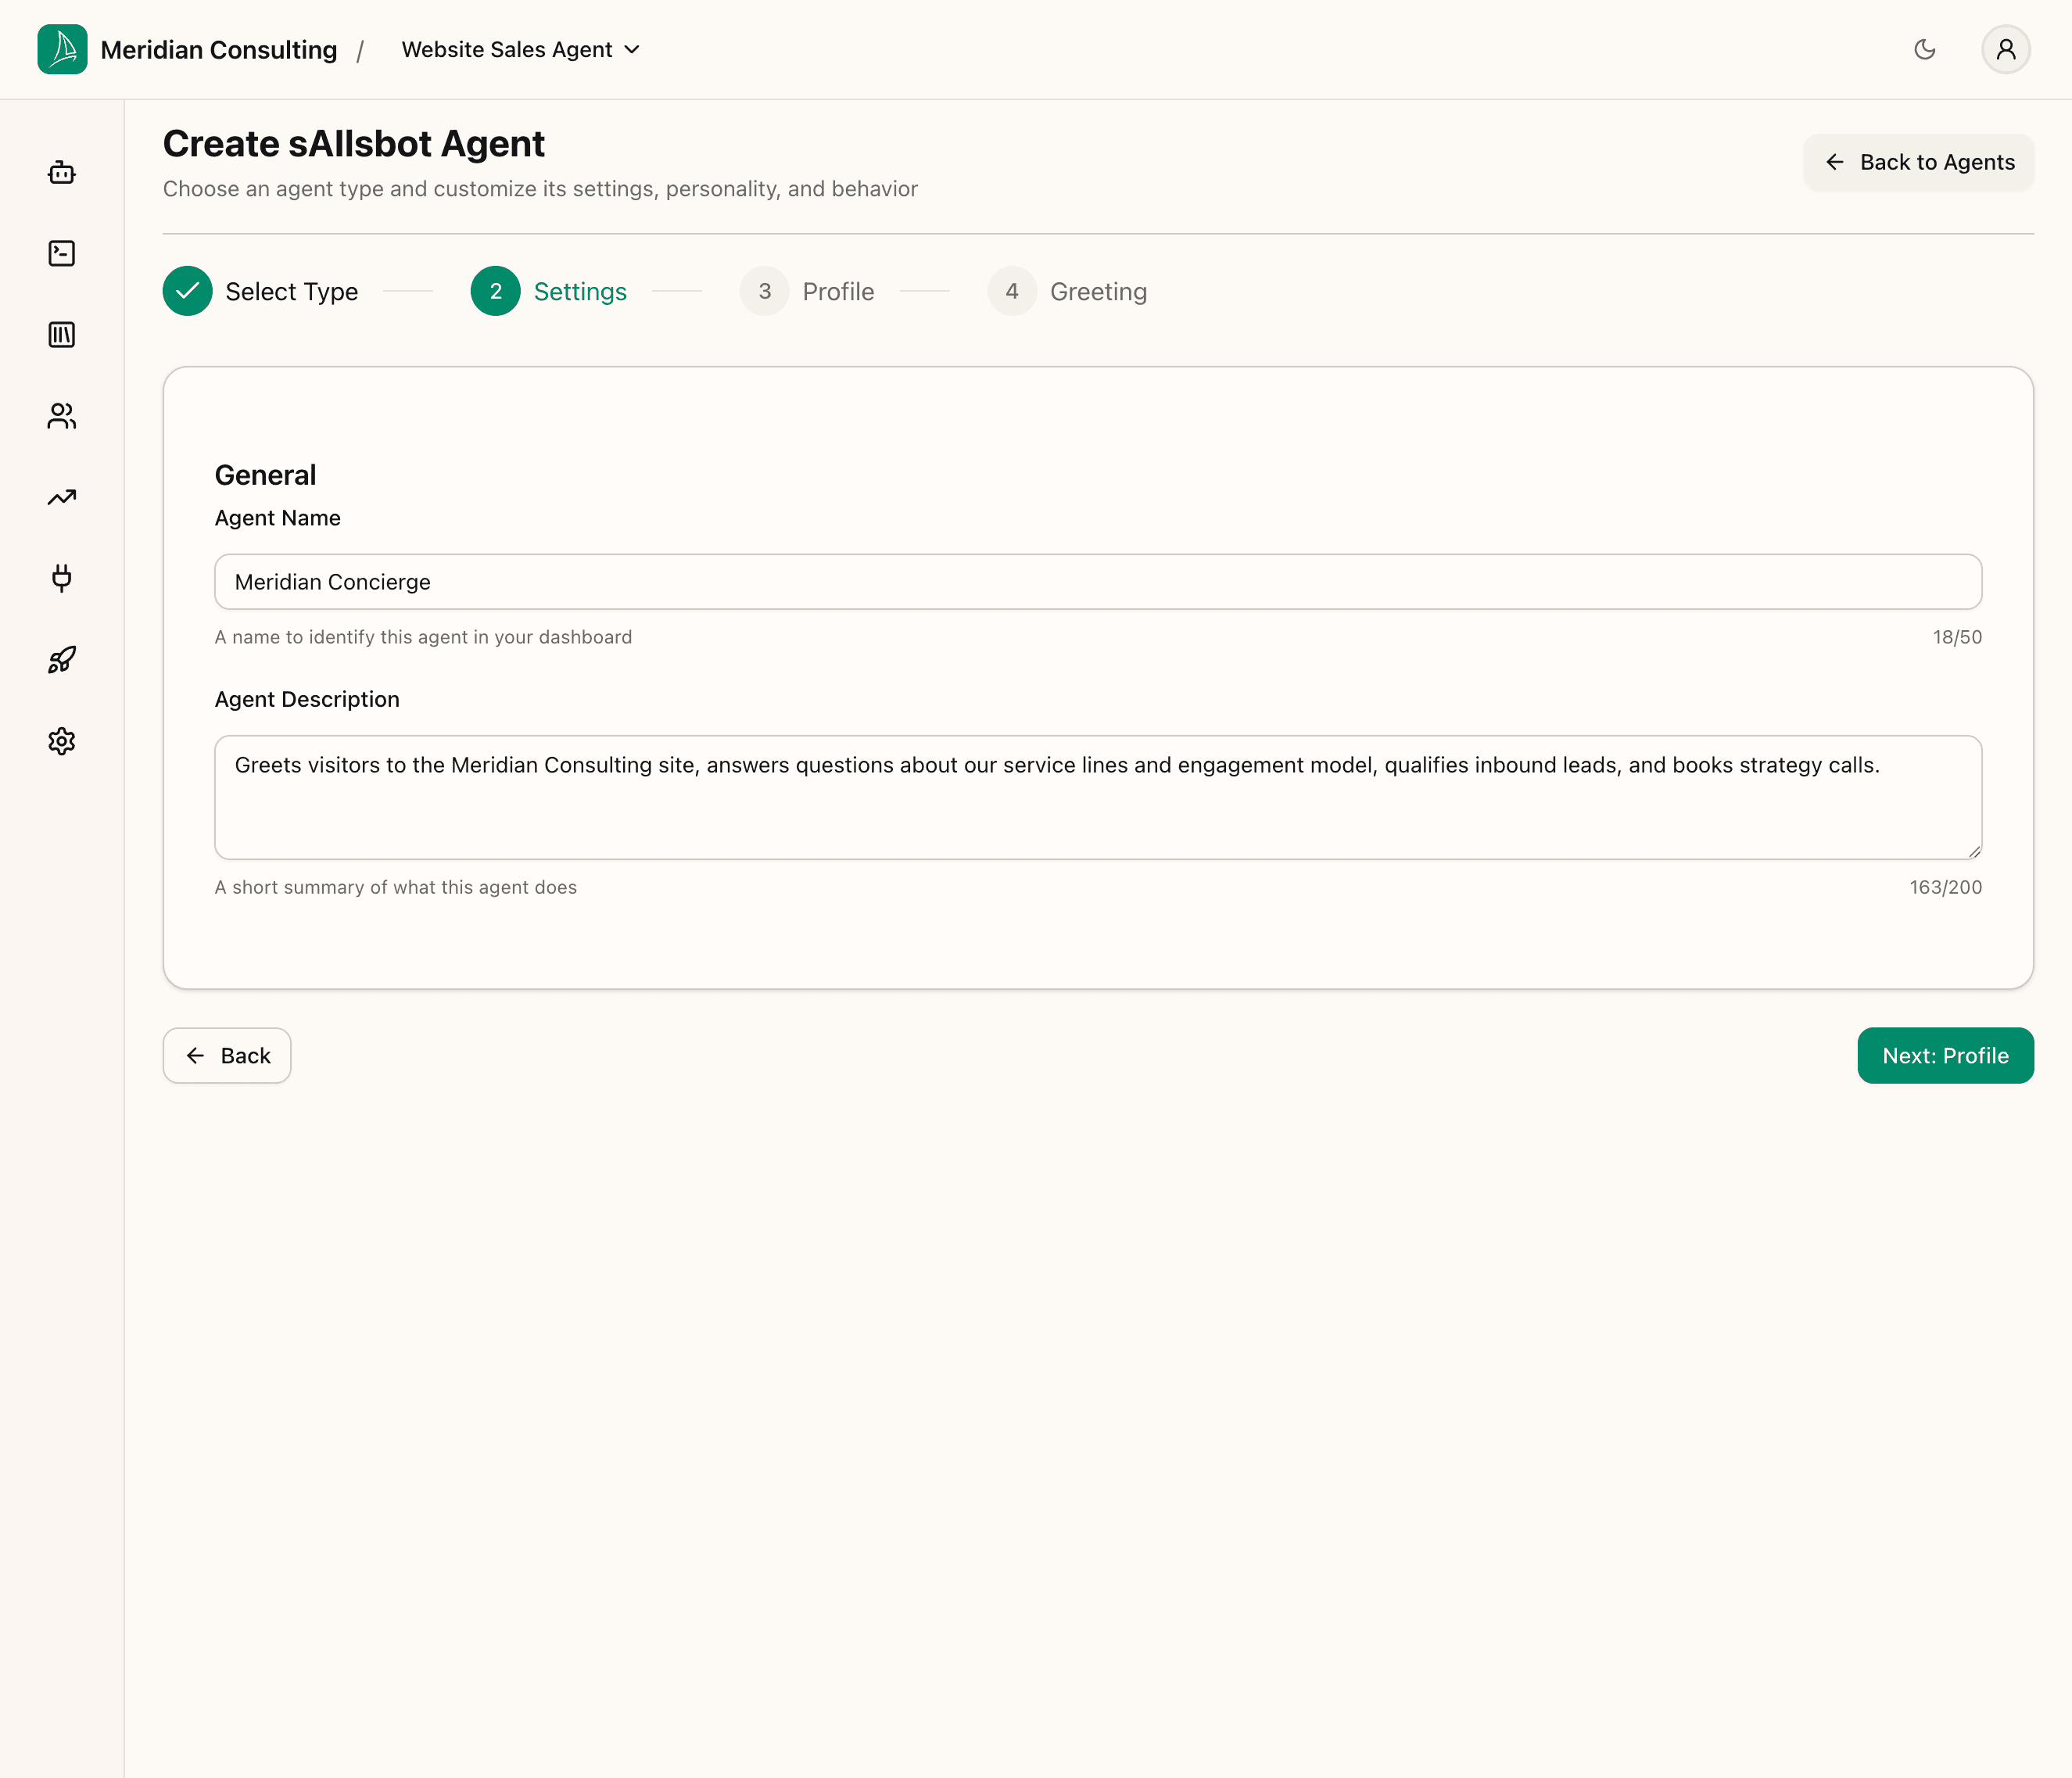
Step 2 — Name and describe the agent
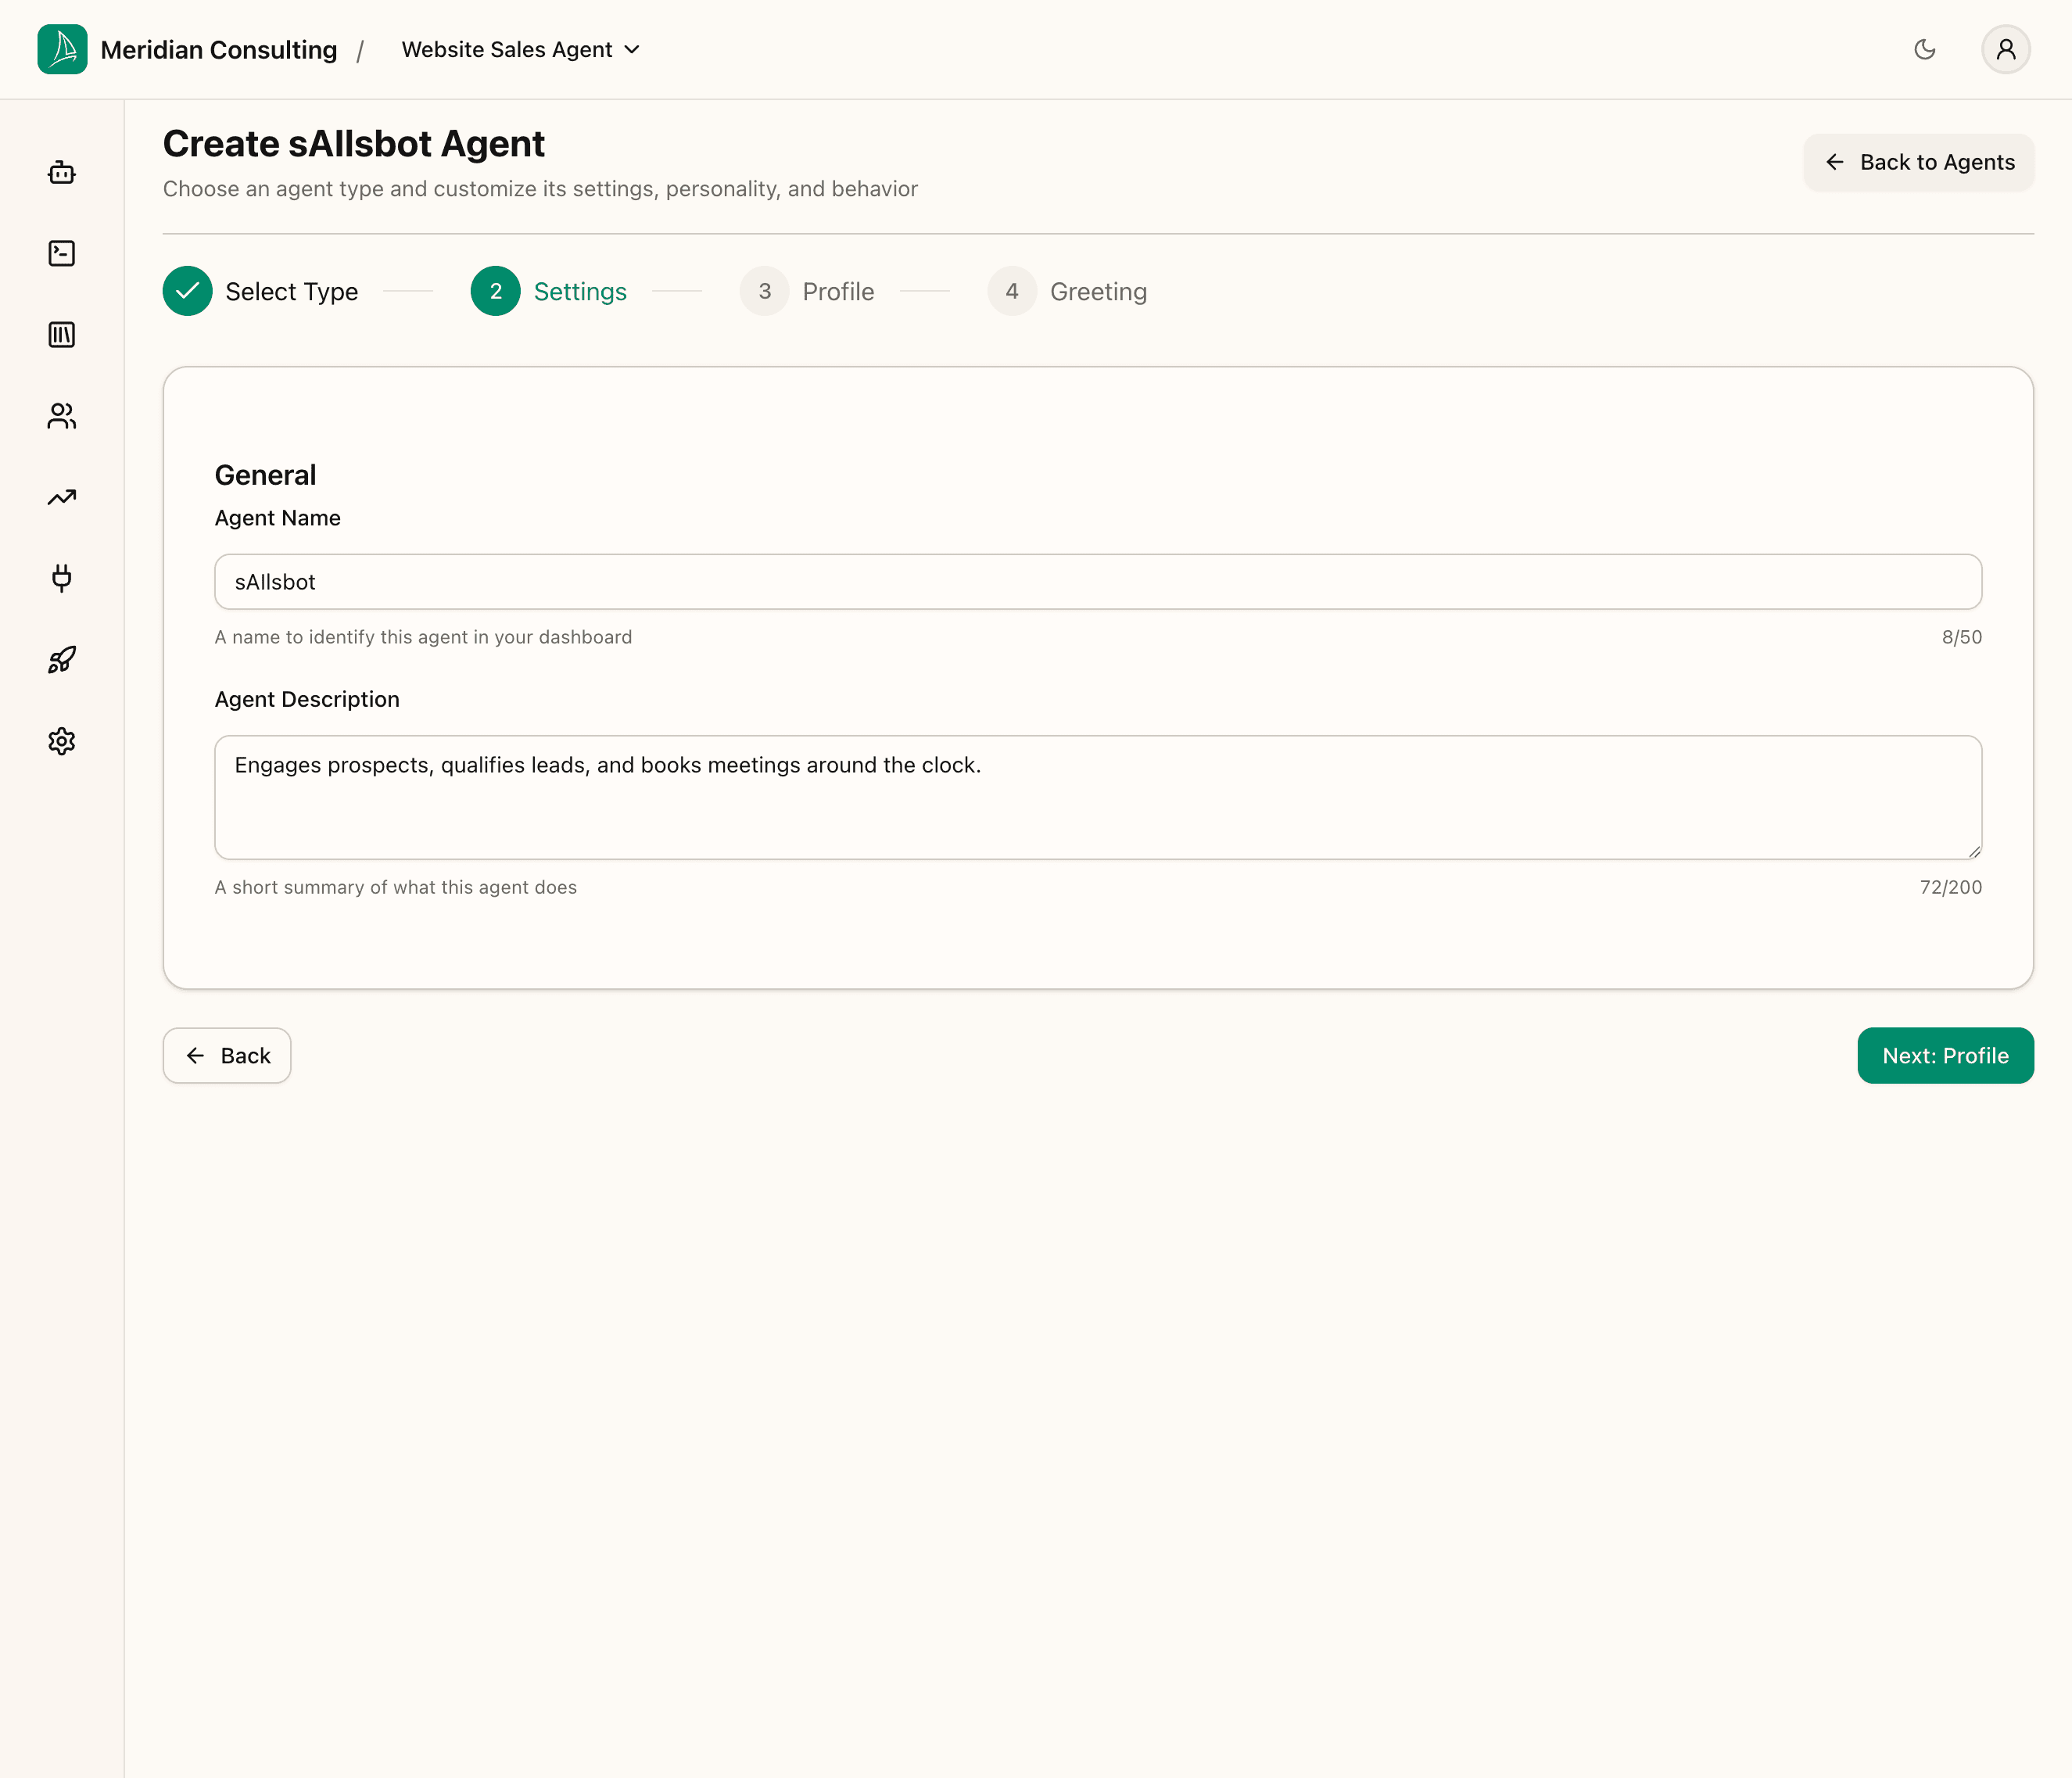
The wizard pre-fills both fields with sensible defaults. Edit them to match what this agent is for — the name and description show up in the dashboard, in the activity log, and in the deployment configuration.
- Agent Name — required, up to 50 characters. Used in the dashboard. Visitors do not see this name unless you reuse it in the deployment title.
- Agent Description — optional, up to 200 characters. A reminder for you and your team of what this agent is meant to do.
Click Next: Profile to advance.
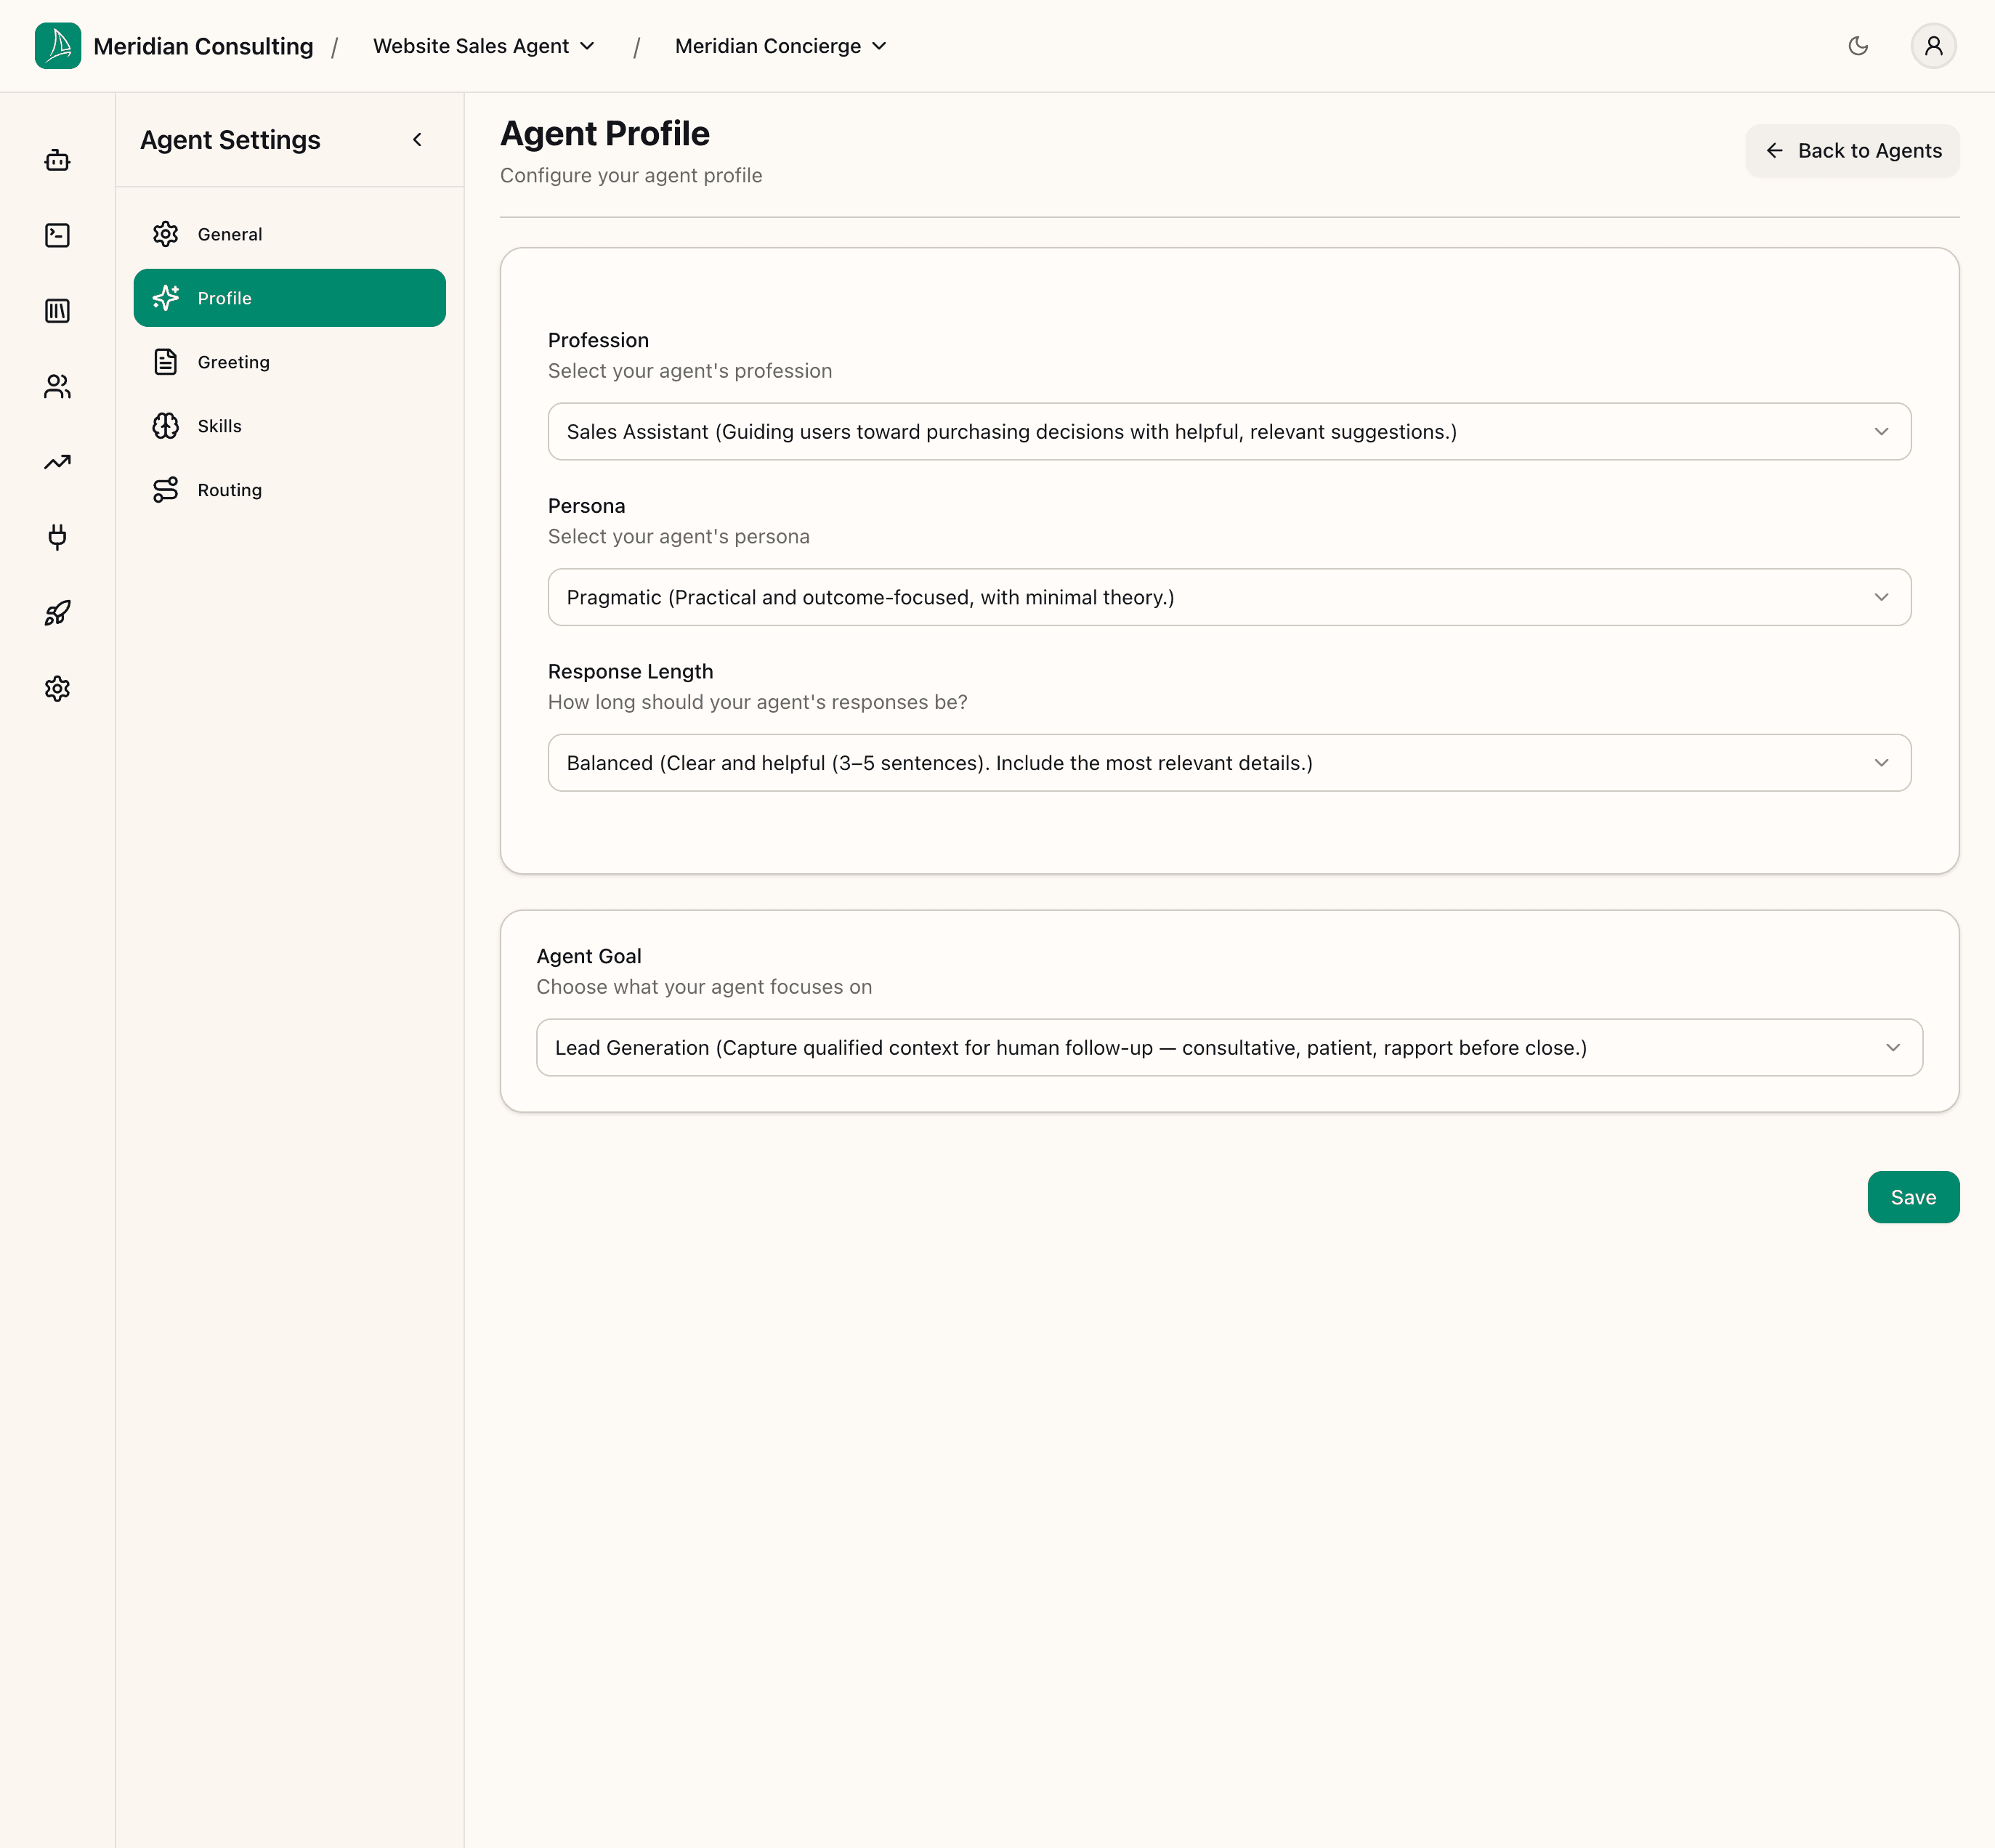
Step 3 — Shape the agent's personality
This is where you decide how the agent comes across in conversation. There are four controls.
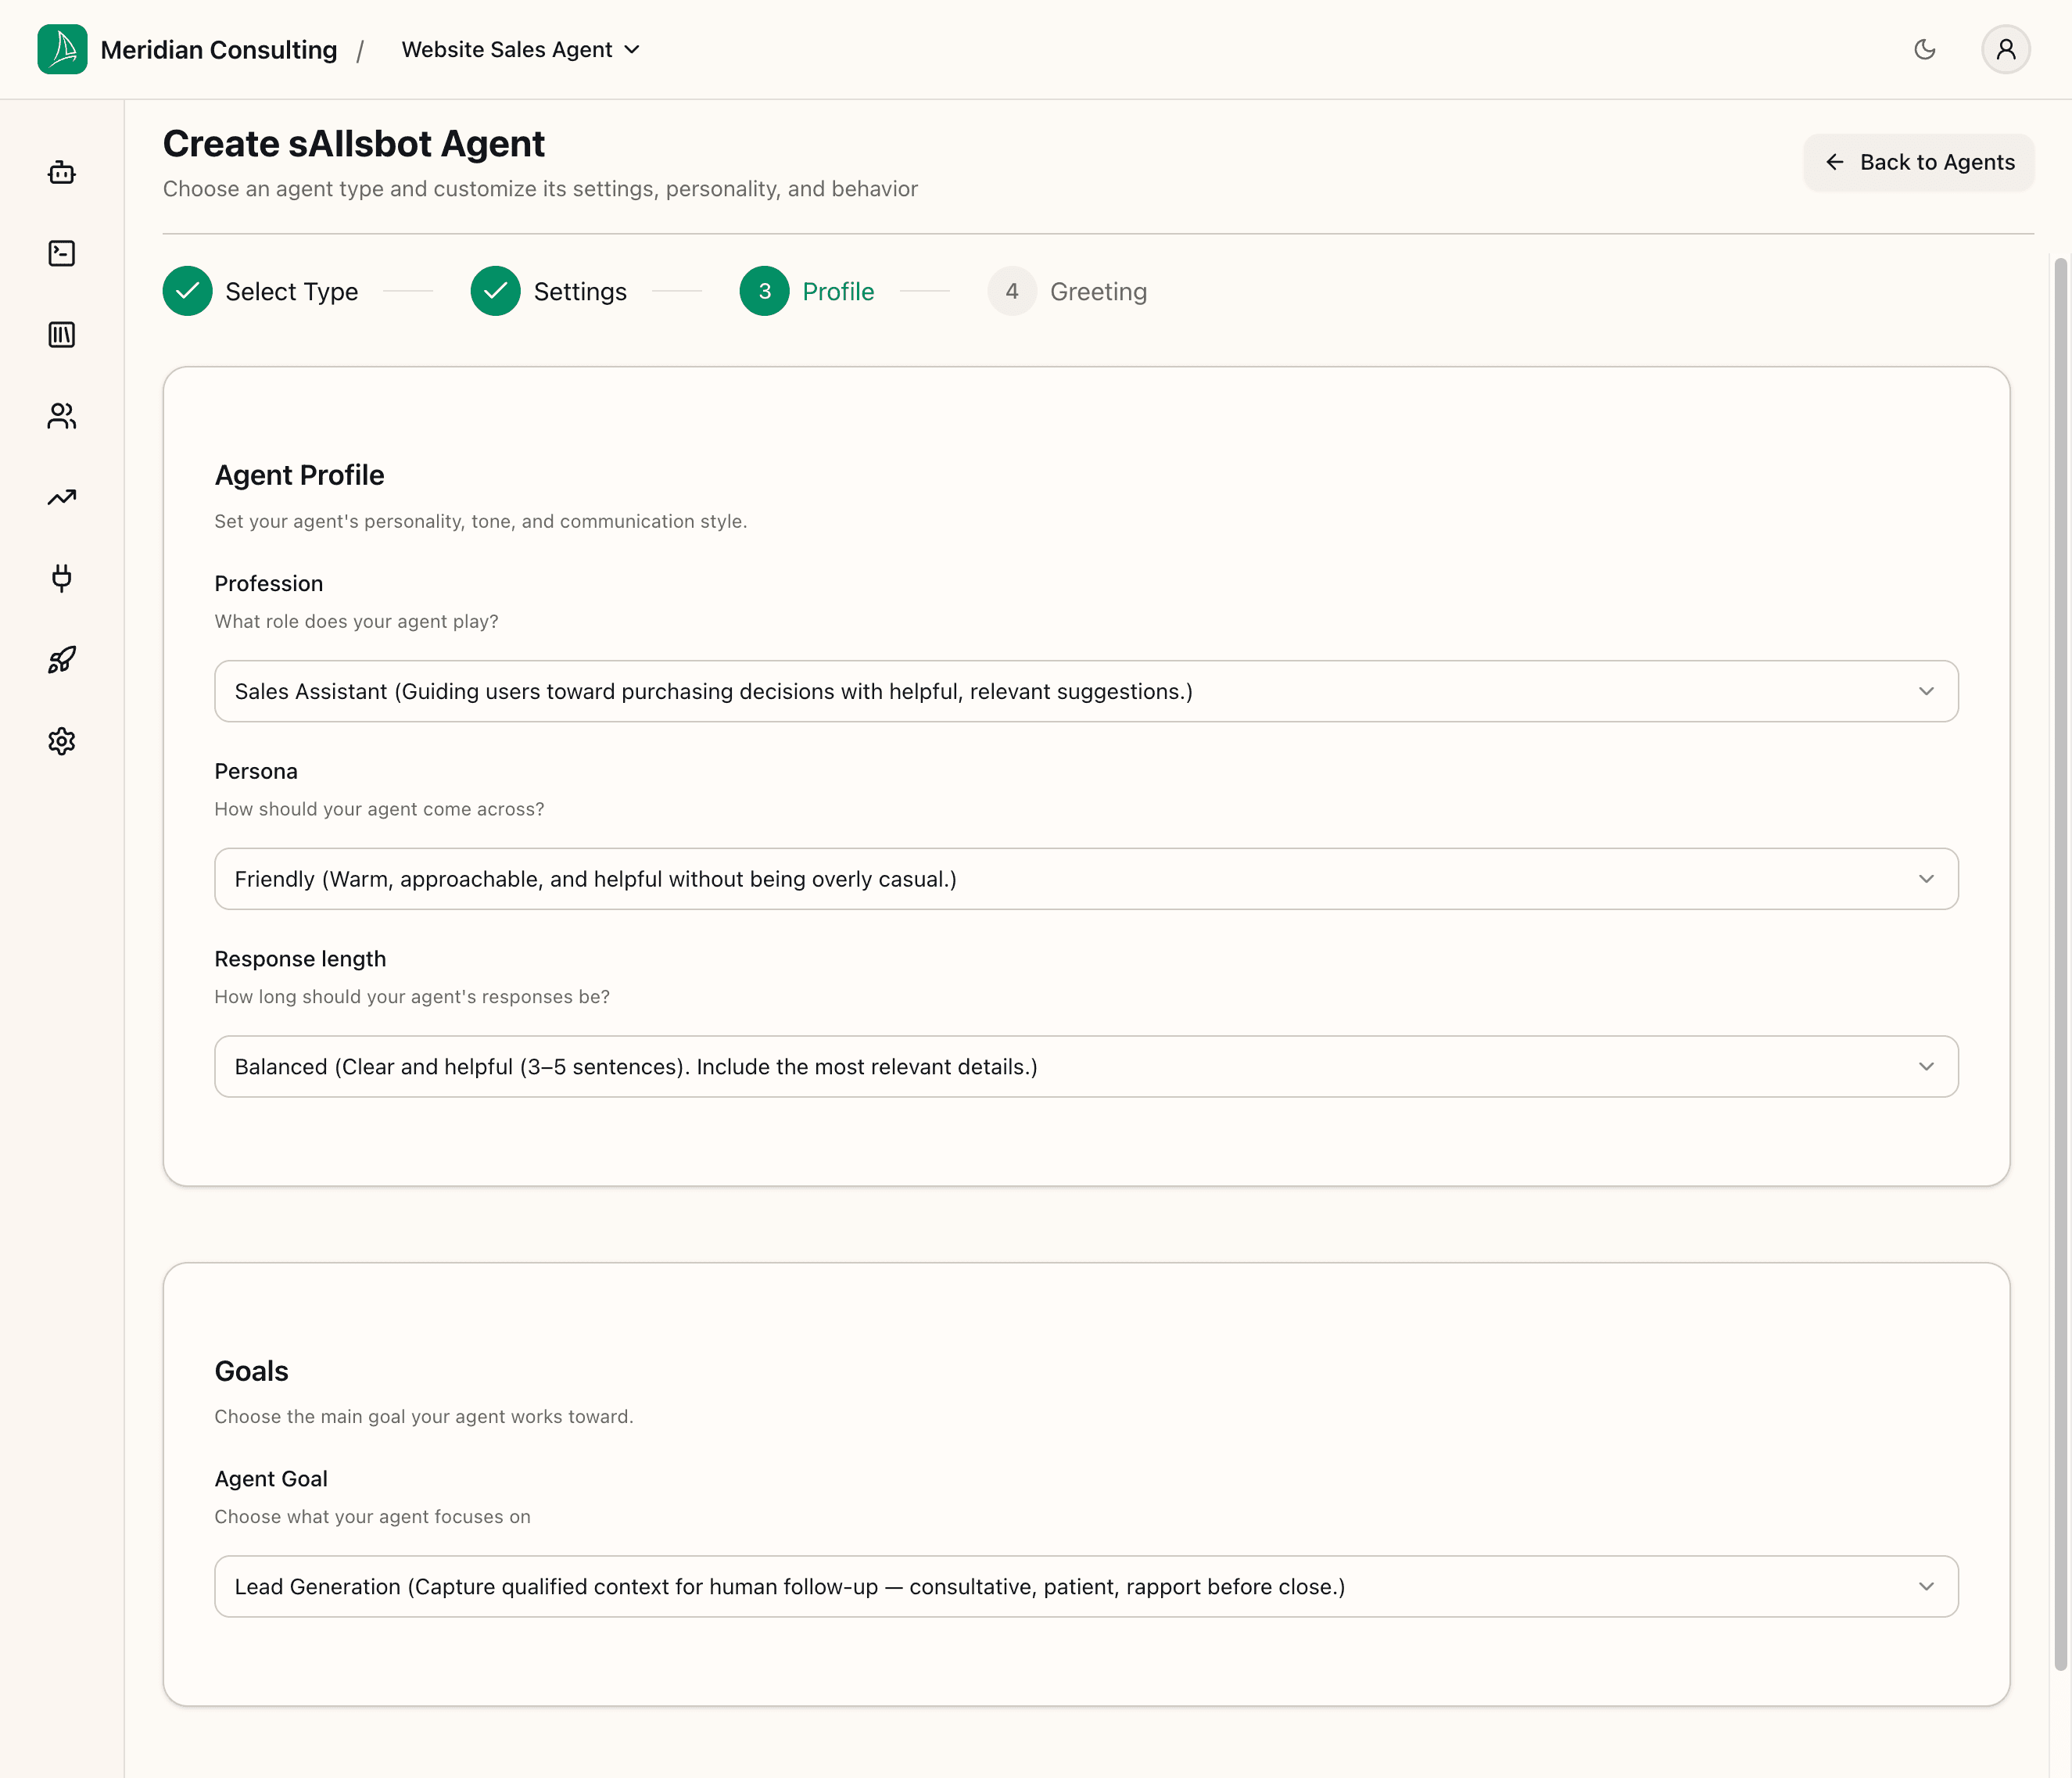
Profession — what role does the agent play?
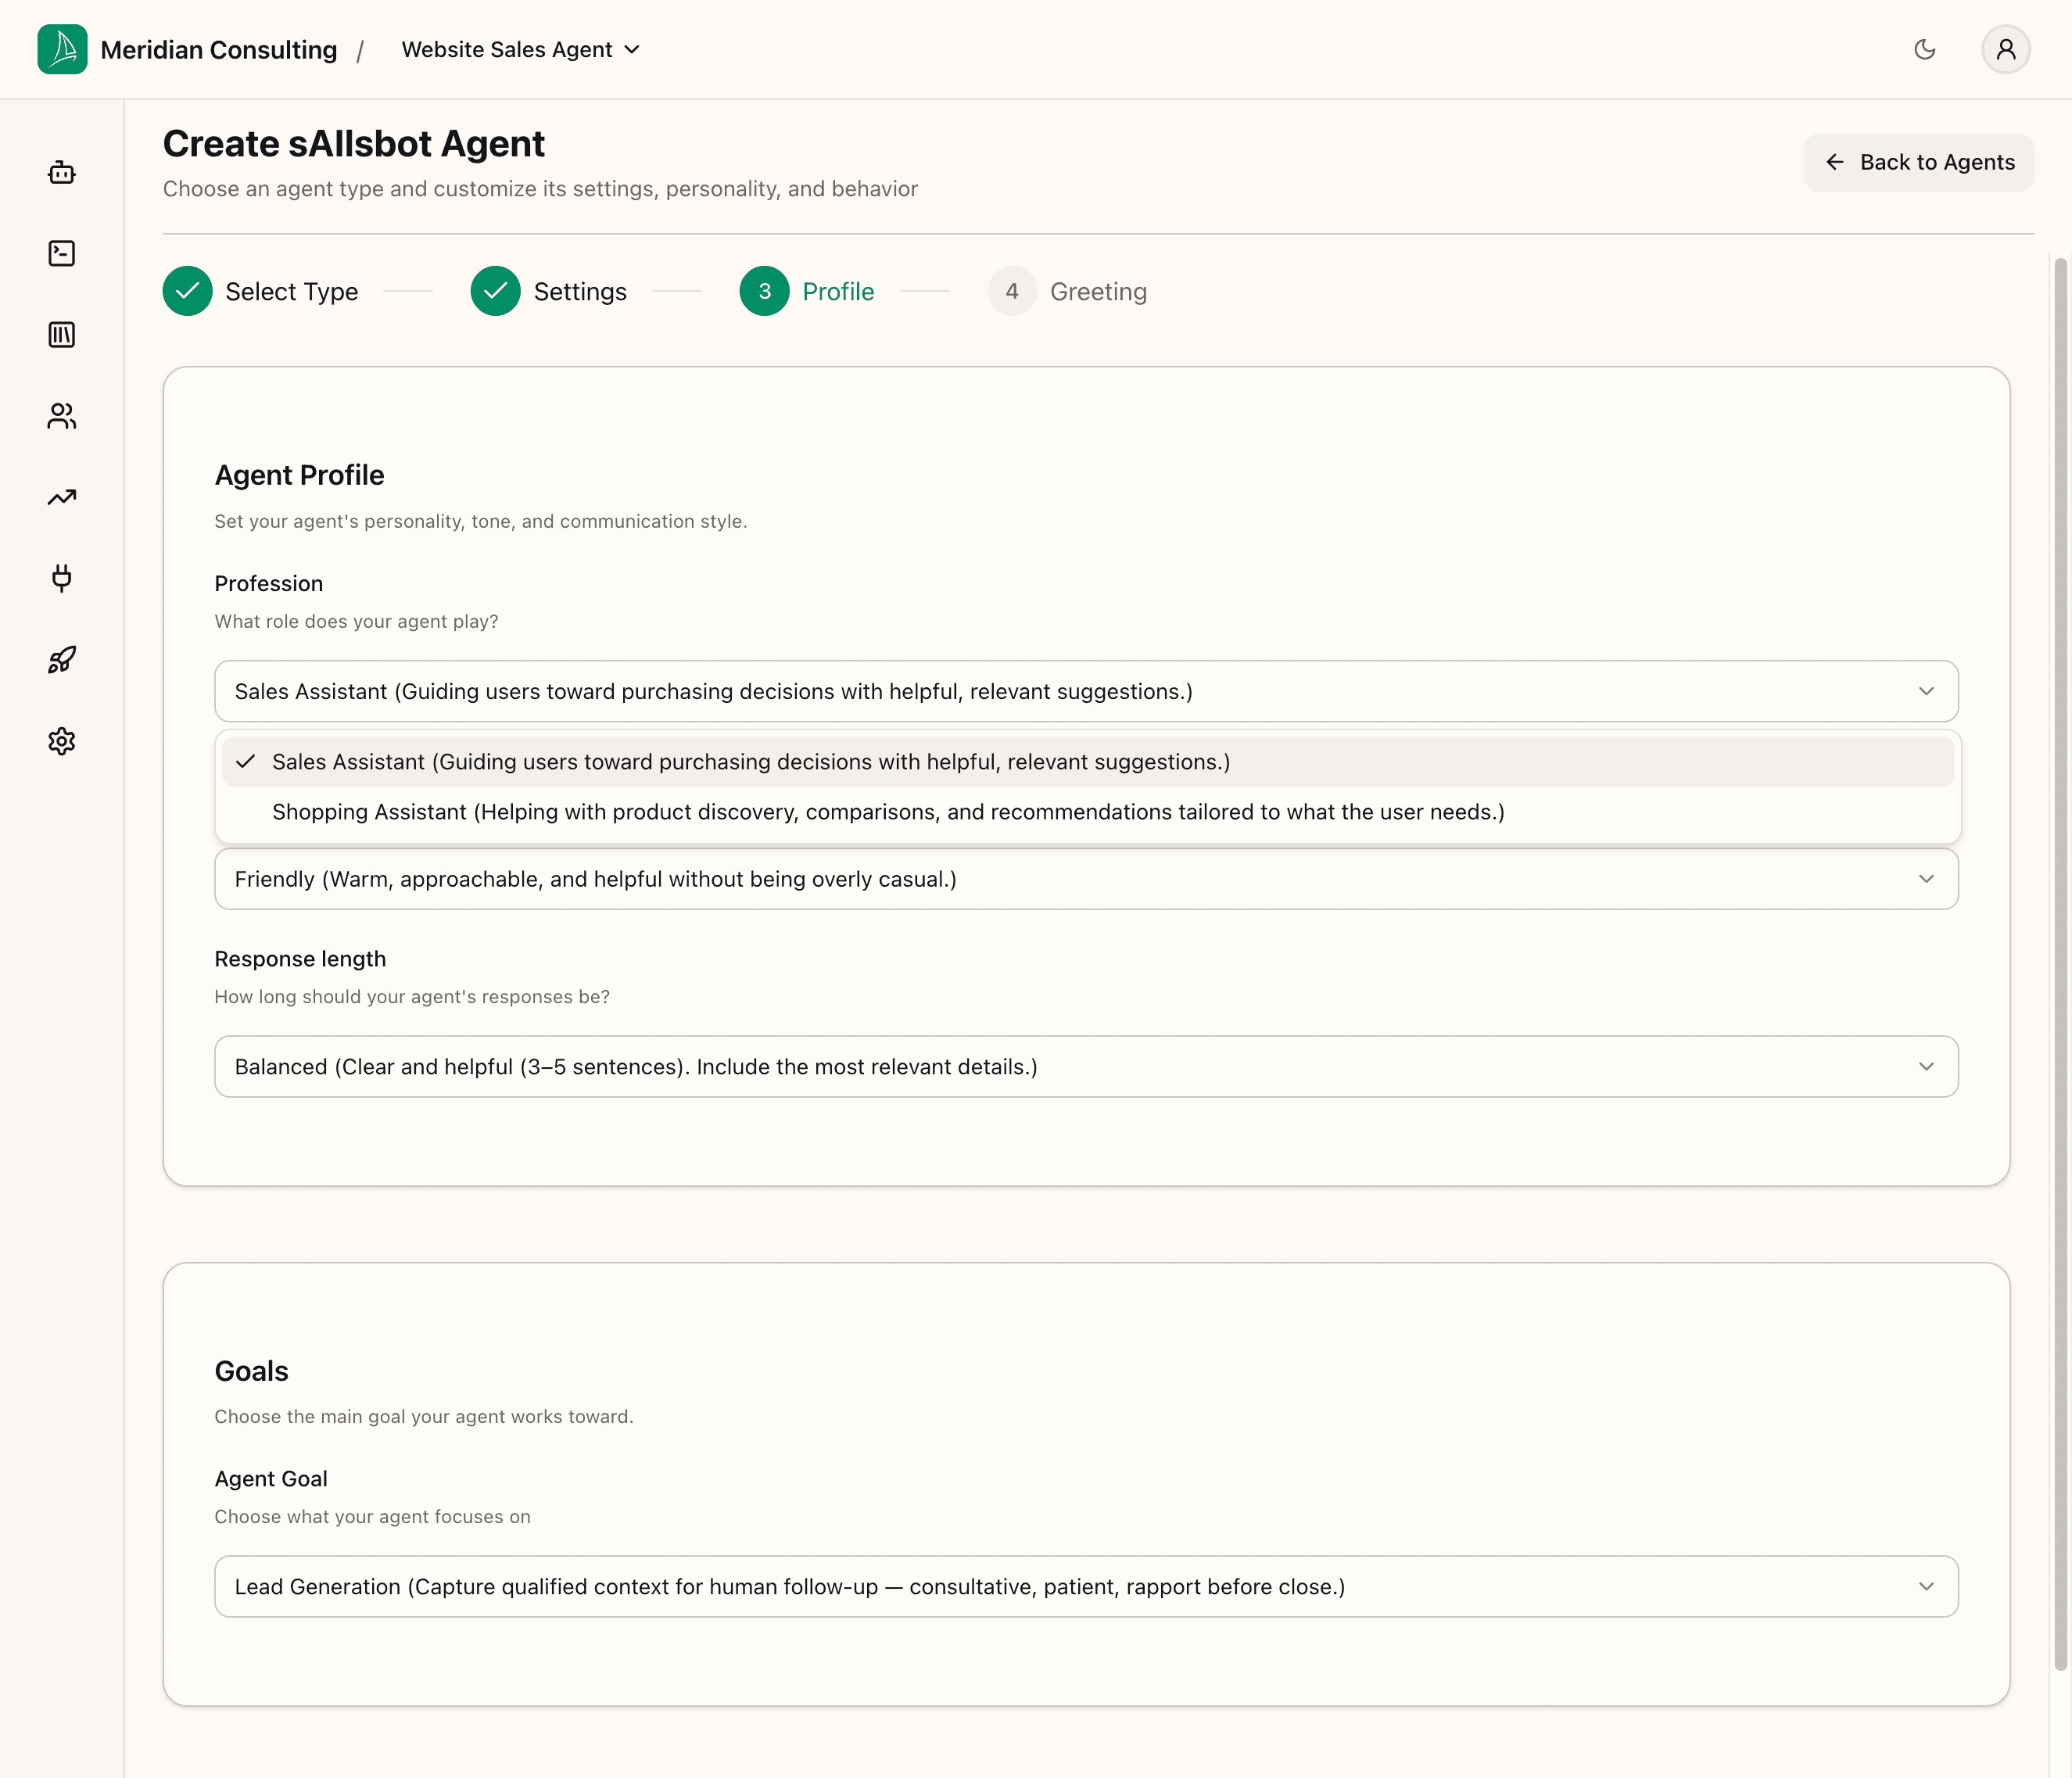
Pick the option that best matches what the agent is for. For a B2B services business the right choice is Sales Assistant.
Persona — how should the agent come across?
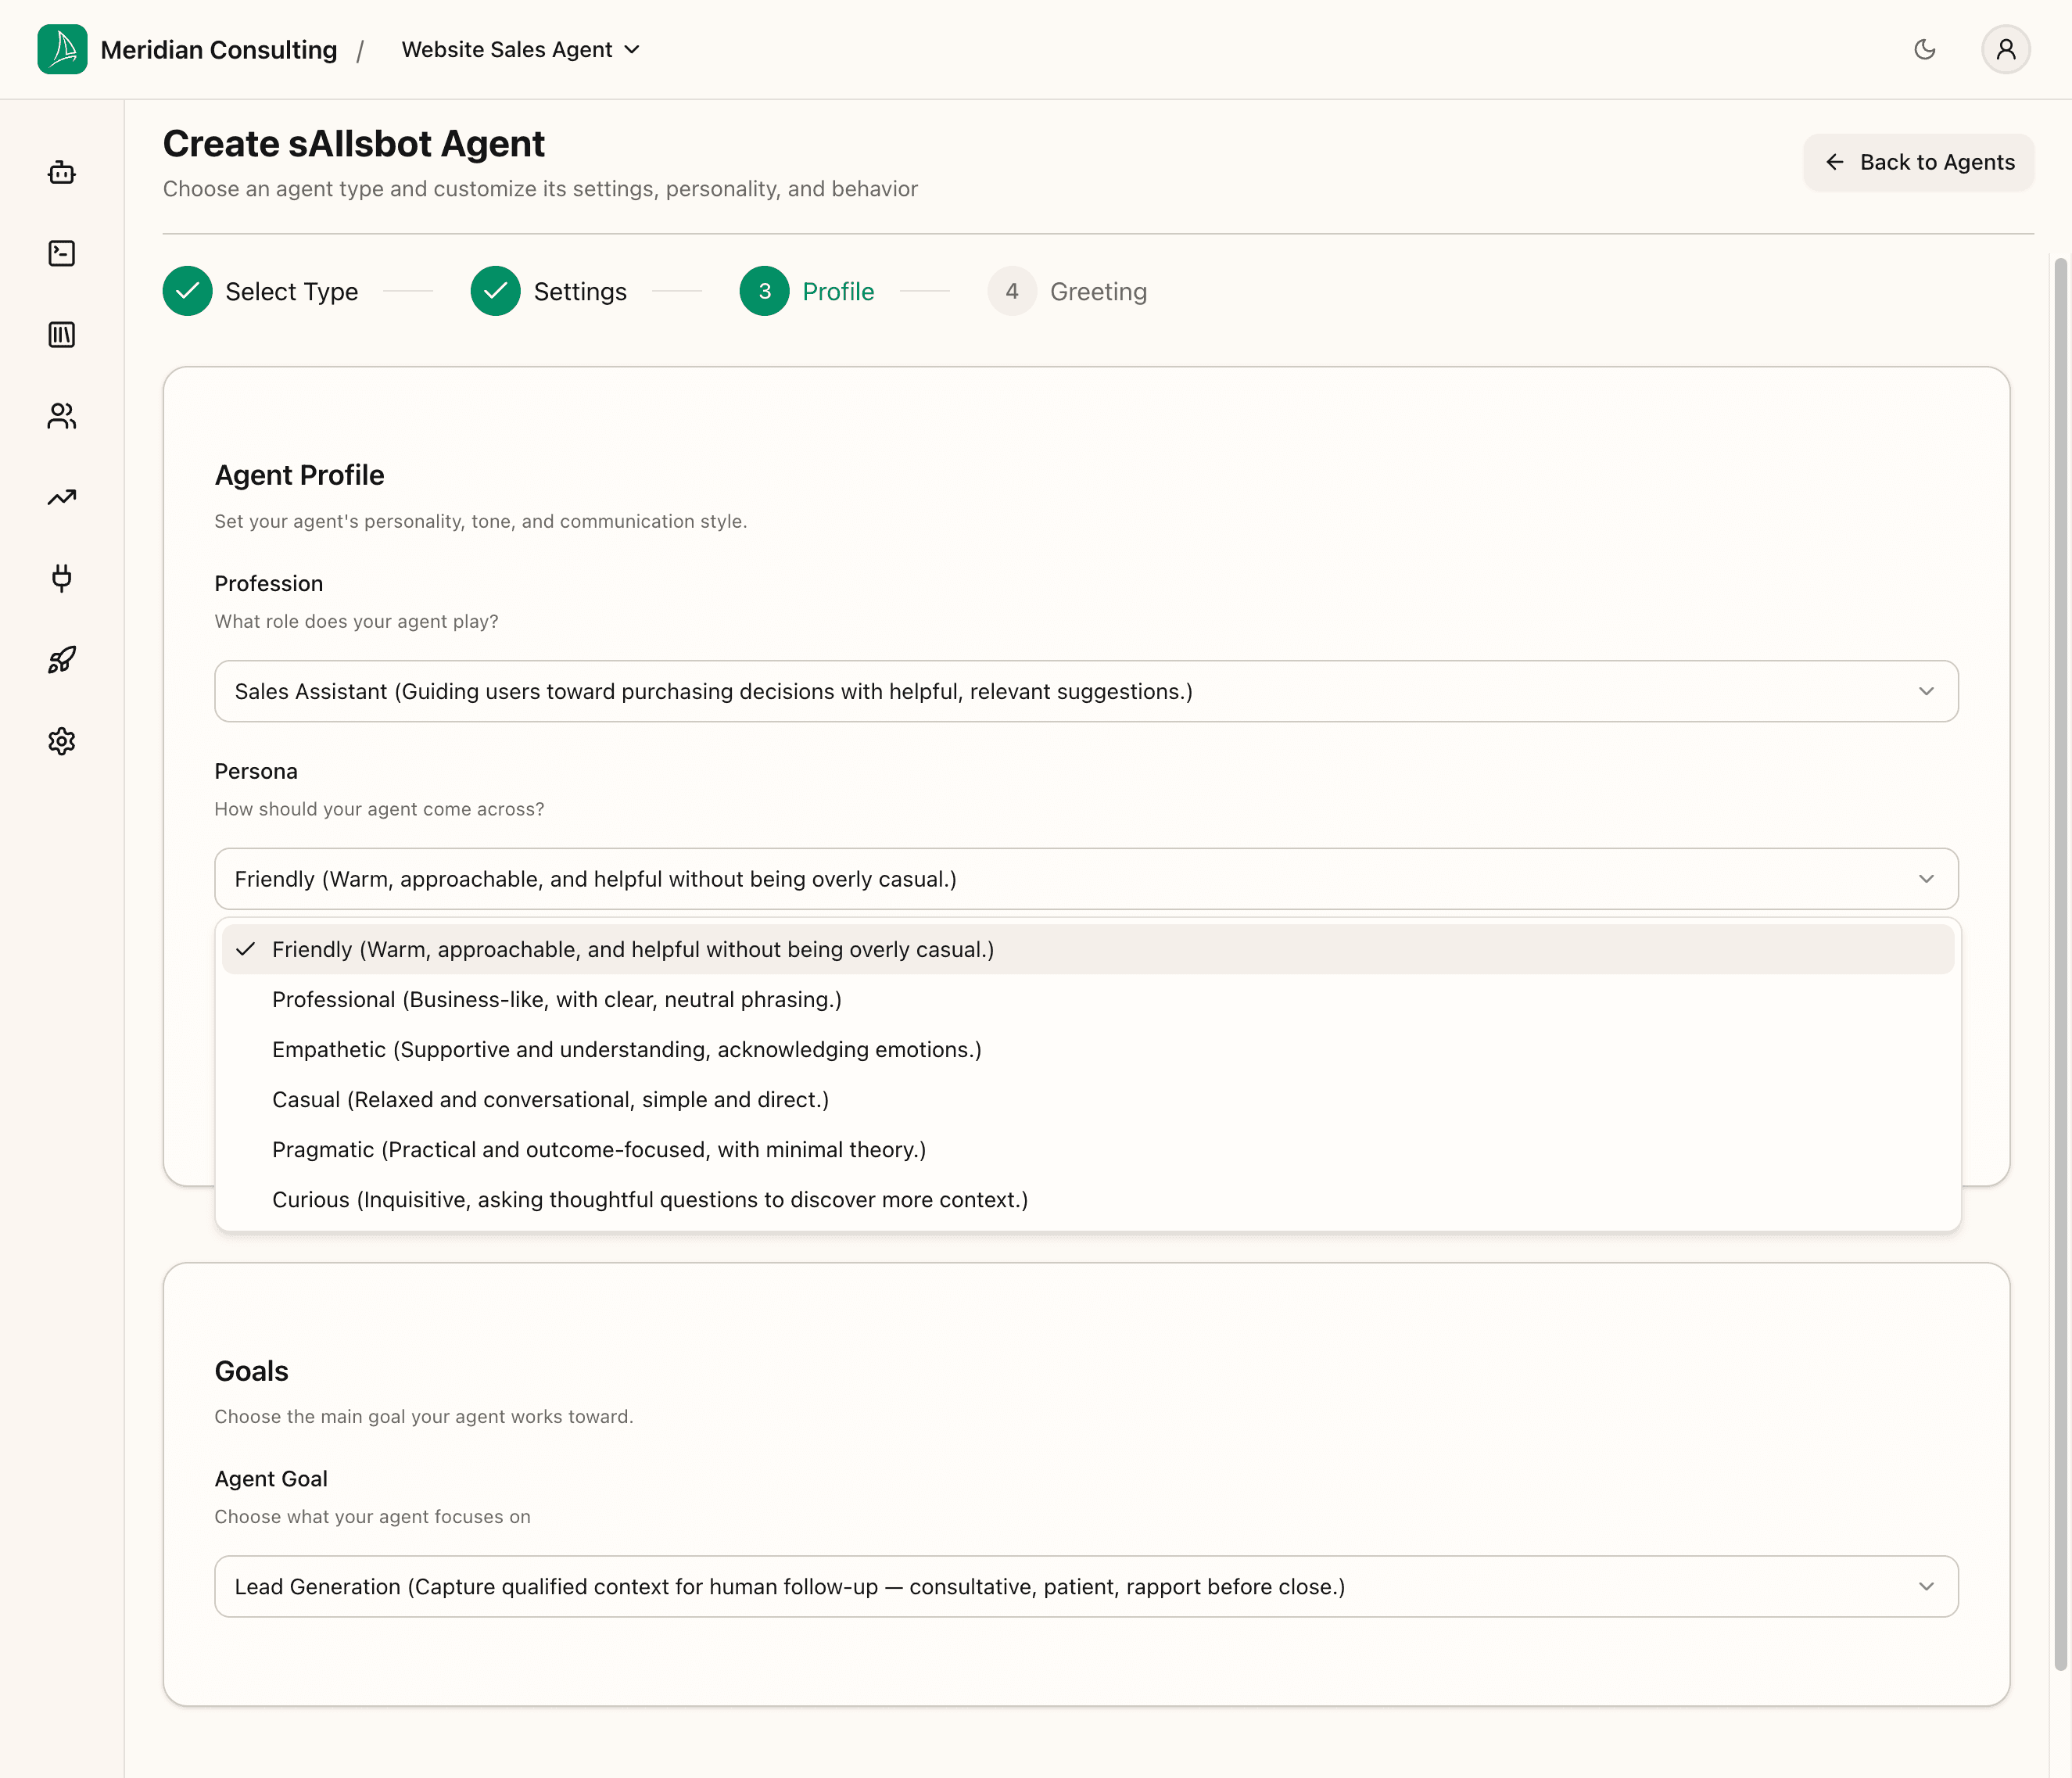
Match the persona to your brand voice rather than your personal preference. The dropdown describes each option.
Pick the persona by reading your live site copy, not by picking what you'd want personally. A warmer brand voice points to Friendly or Empathetic; a clinical or technical brand voice points to Pragmatic or Professional.
Response length — how long should the agent's responses be?
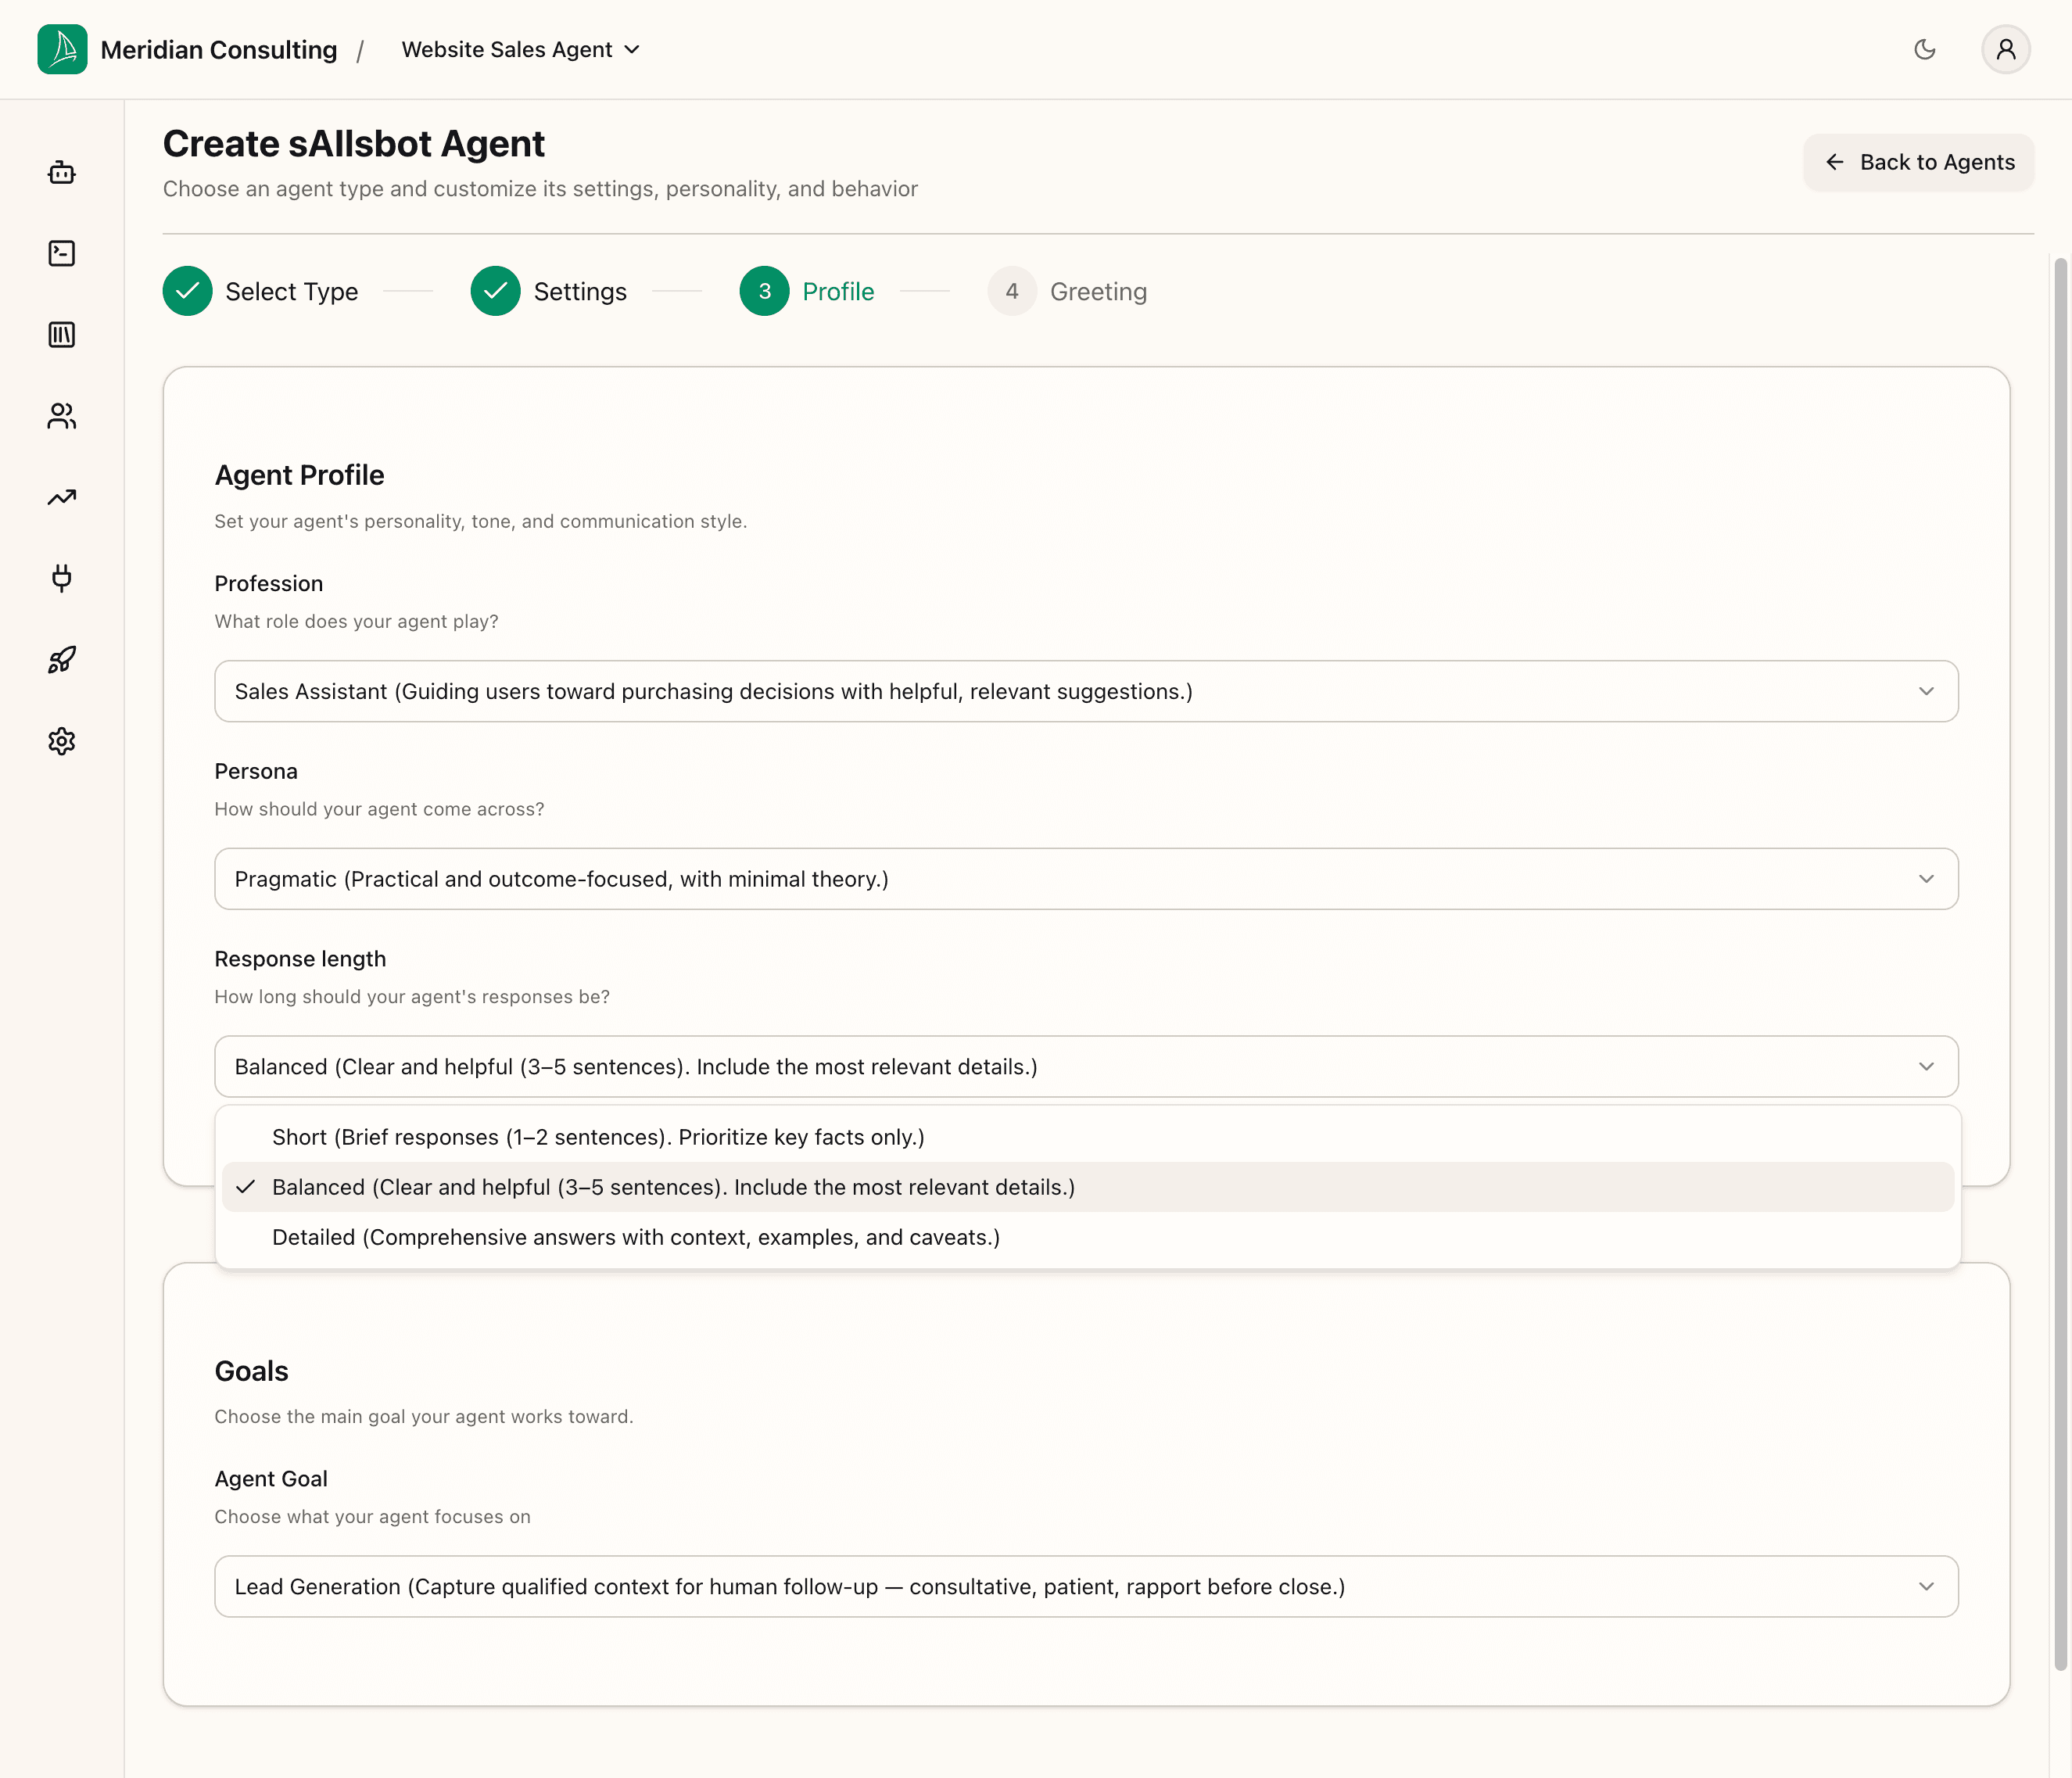
For a chat widget where you're trying to keep visitors engaged, Balanced is almost always the right default — long answers in a small chat window are a friction tax. Detailed fits support agents handling complex queries; Short fits high-traffic discovery widgets where visitors don't want to read paragraphs.
Agent Goal — what is the agent optimising for?
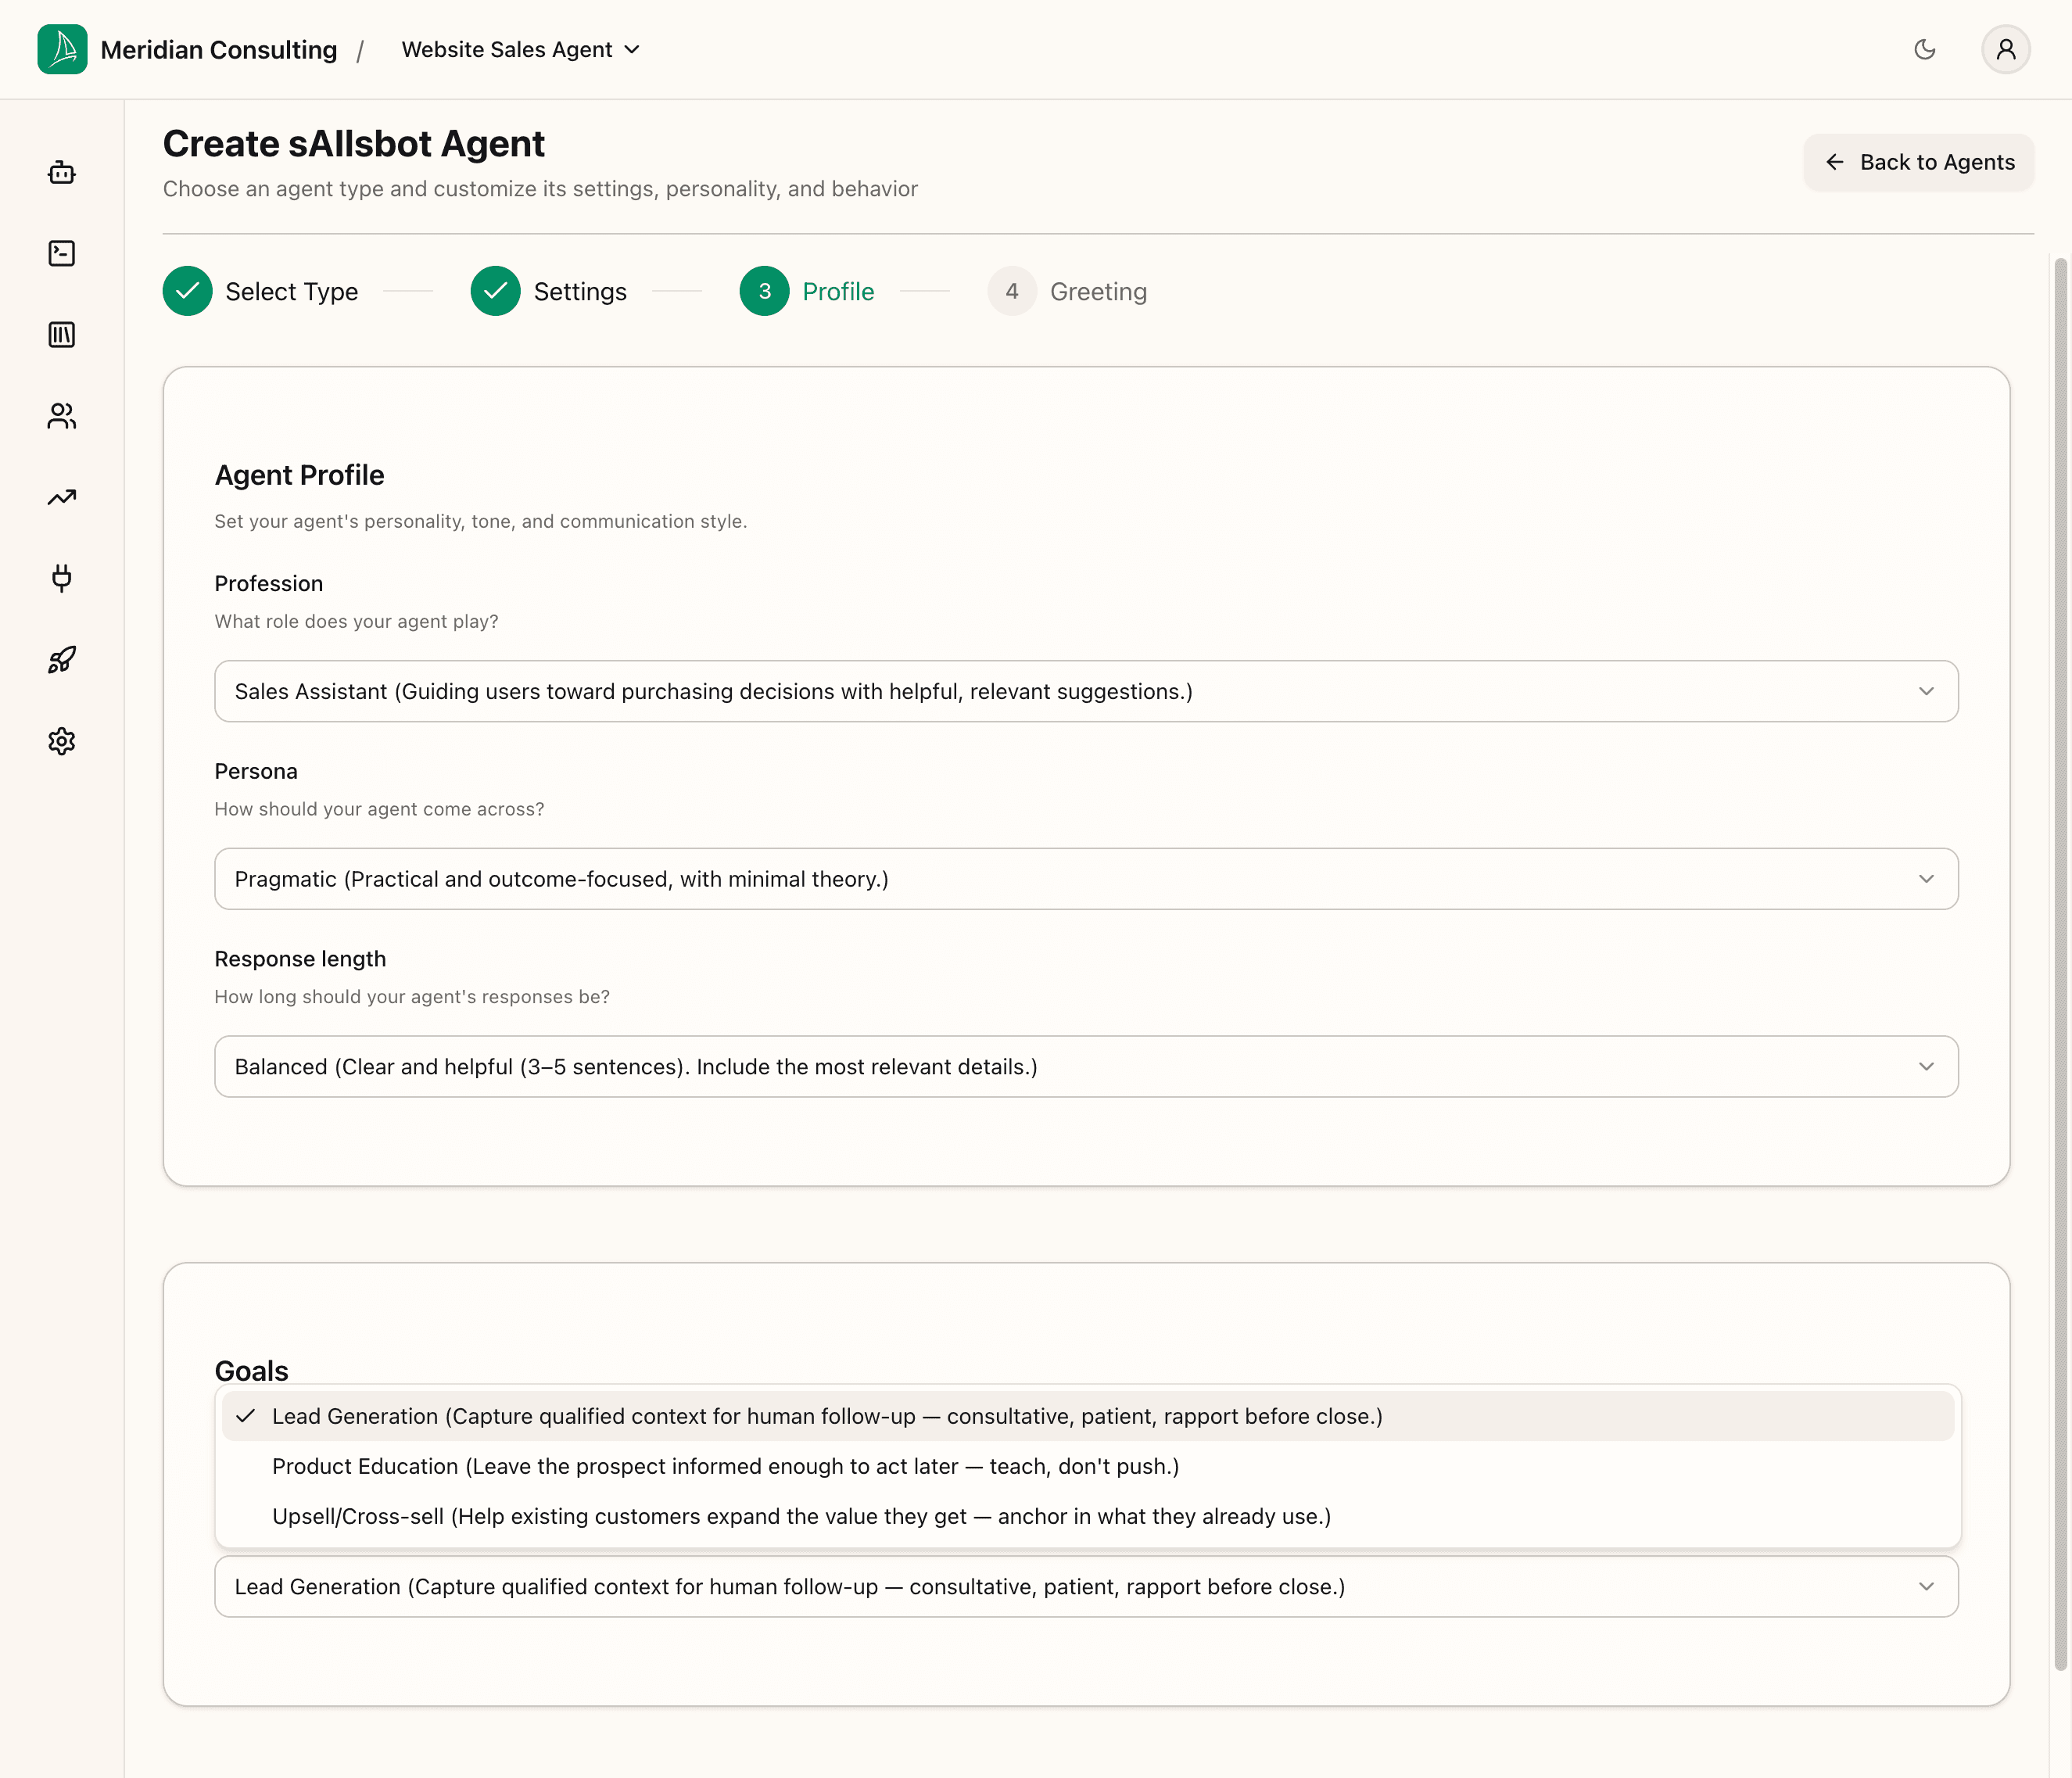
The goal tells the agent what outcome to push toward. Lead Generation is right whenever the primary outcome is getting a qualified prospect into the team's hands — booked meeting, contact request, demo signup. Product Education and Upsell/Cross-sell serve different purposes; the dropdown describes each.

Click Next: Greeting to advance.
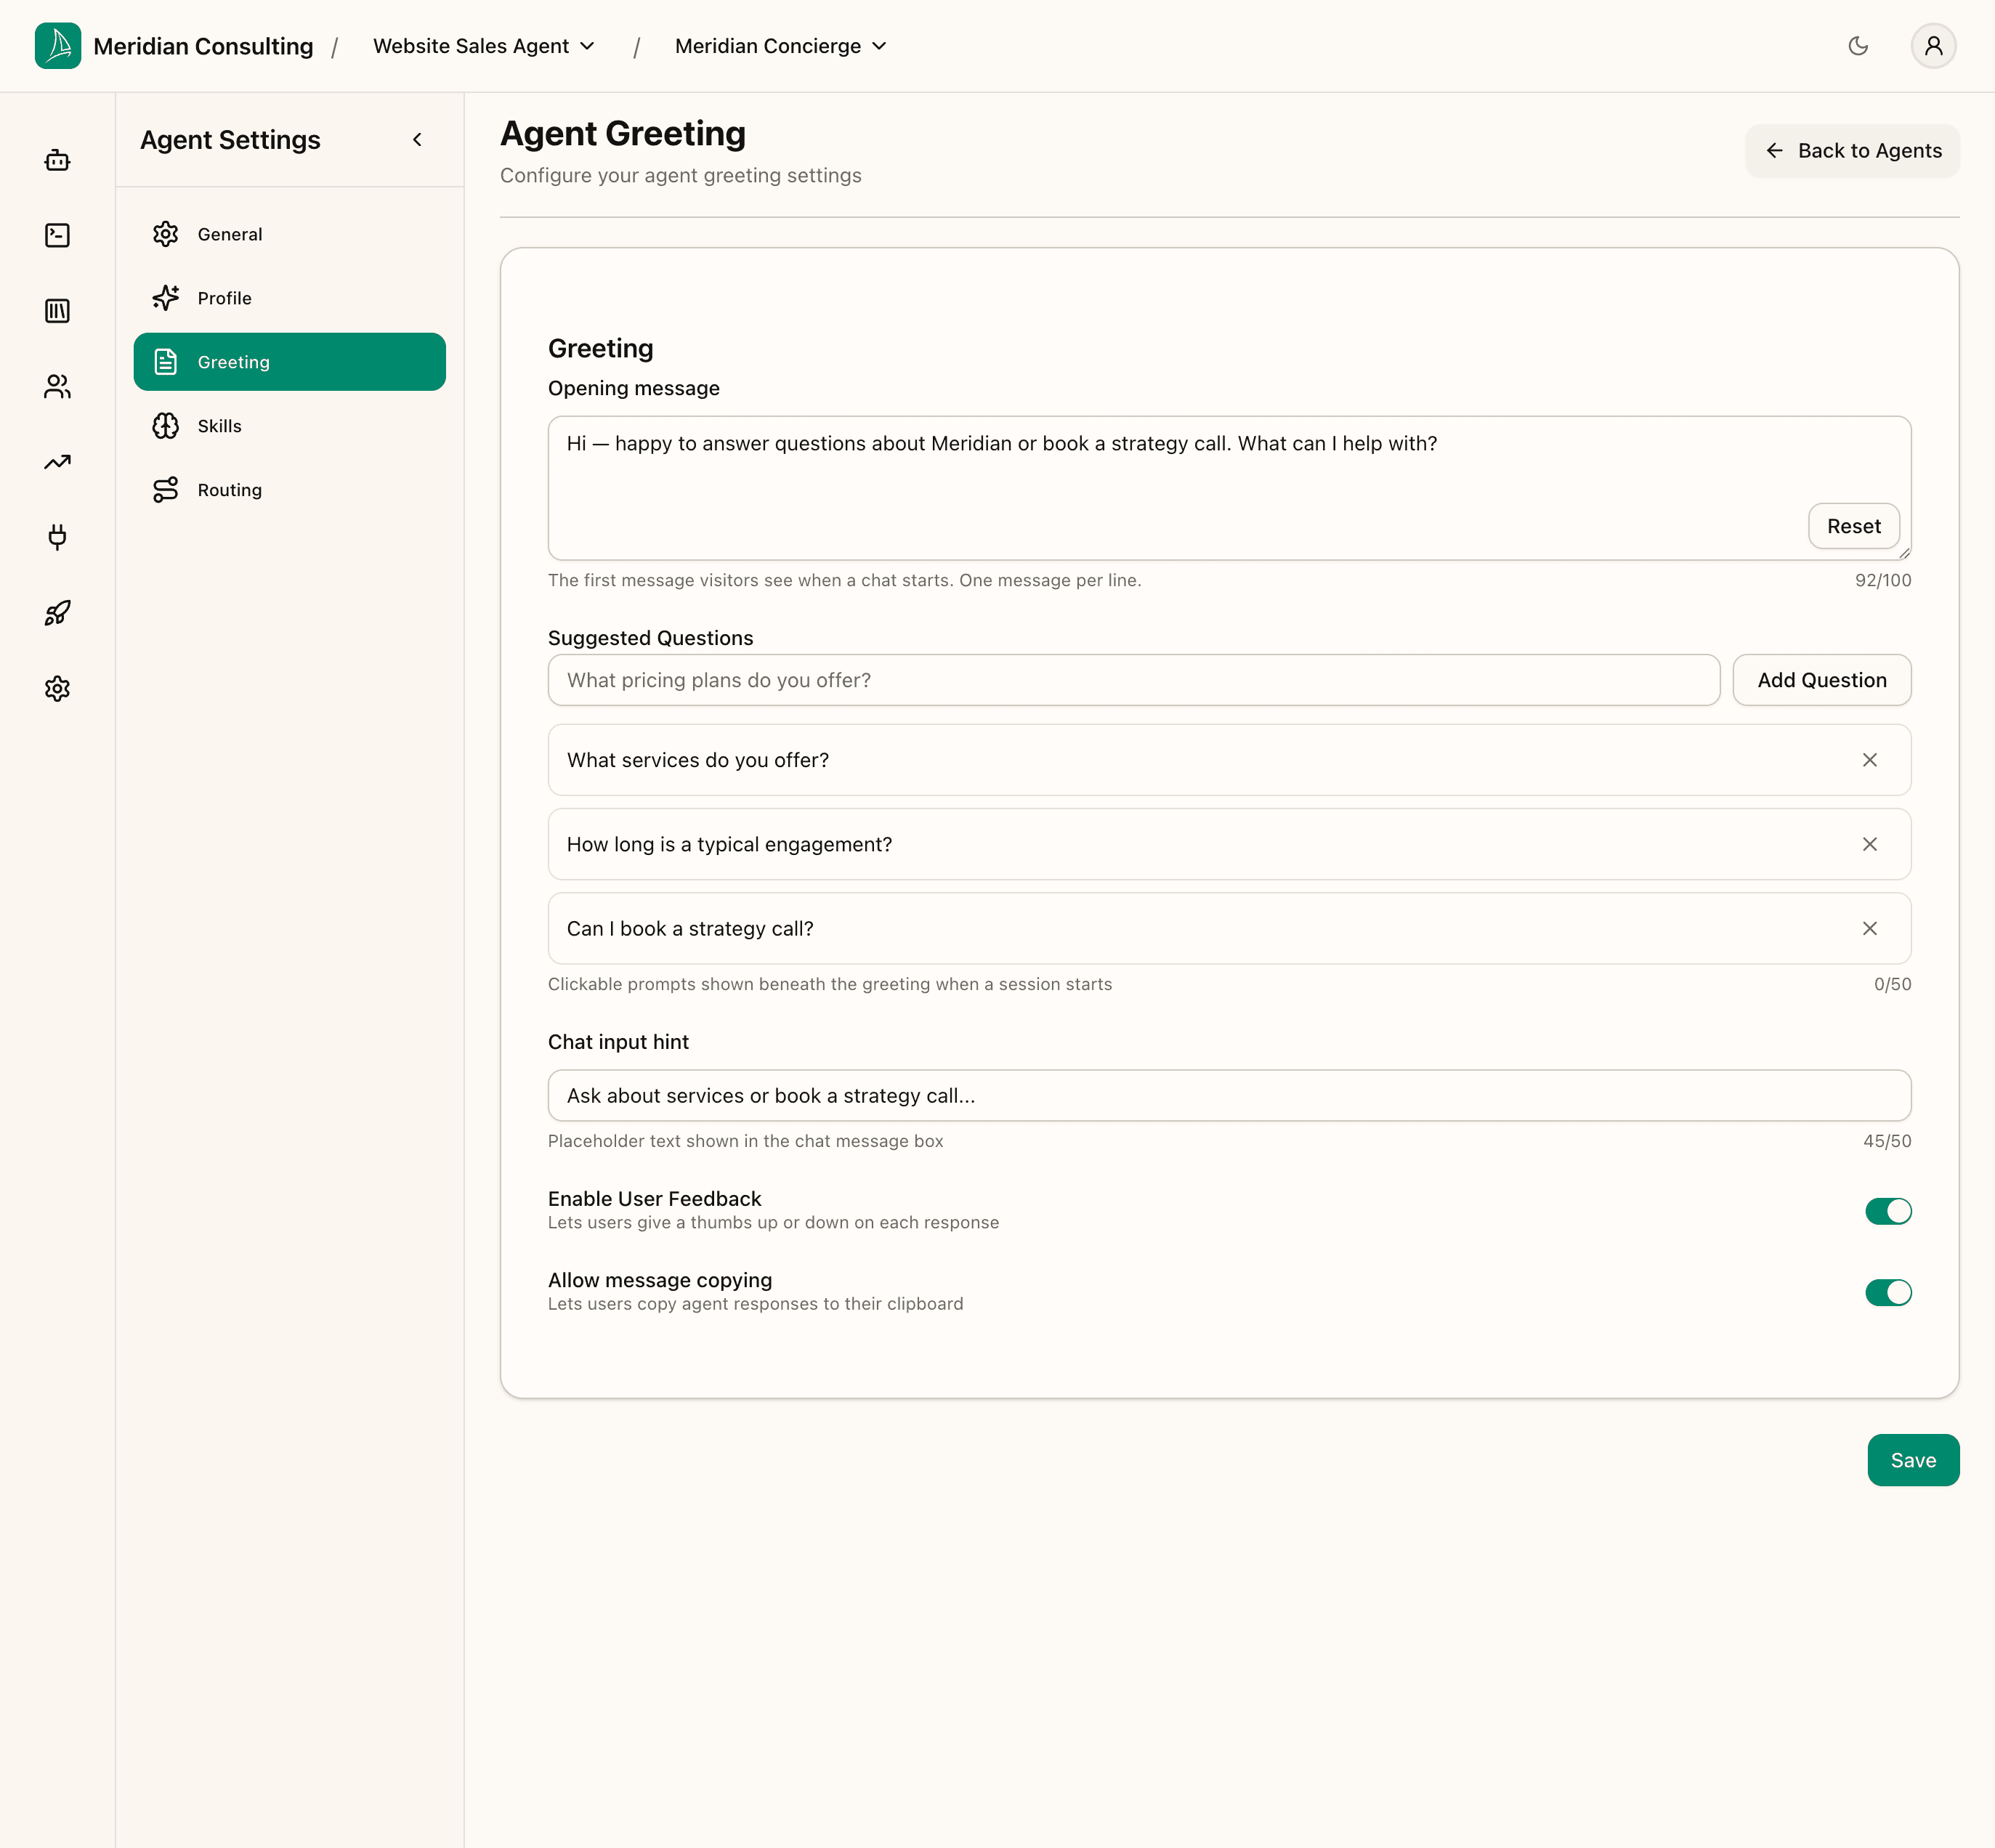
Step 4 — Greeting & opening behaviour
The greeting is the first thing visitors see when they open the chat widget. This step also lets you set the suggested-questions chips, the placeholder text in the message box, and a couple of feedback affordances.
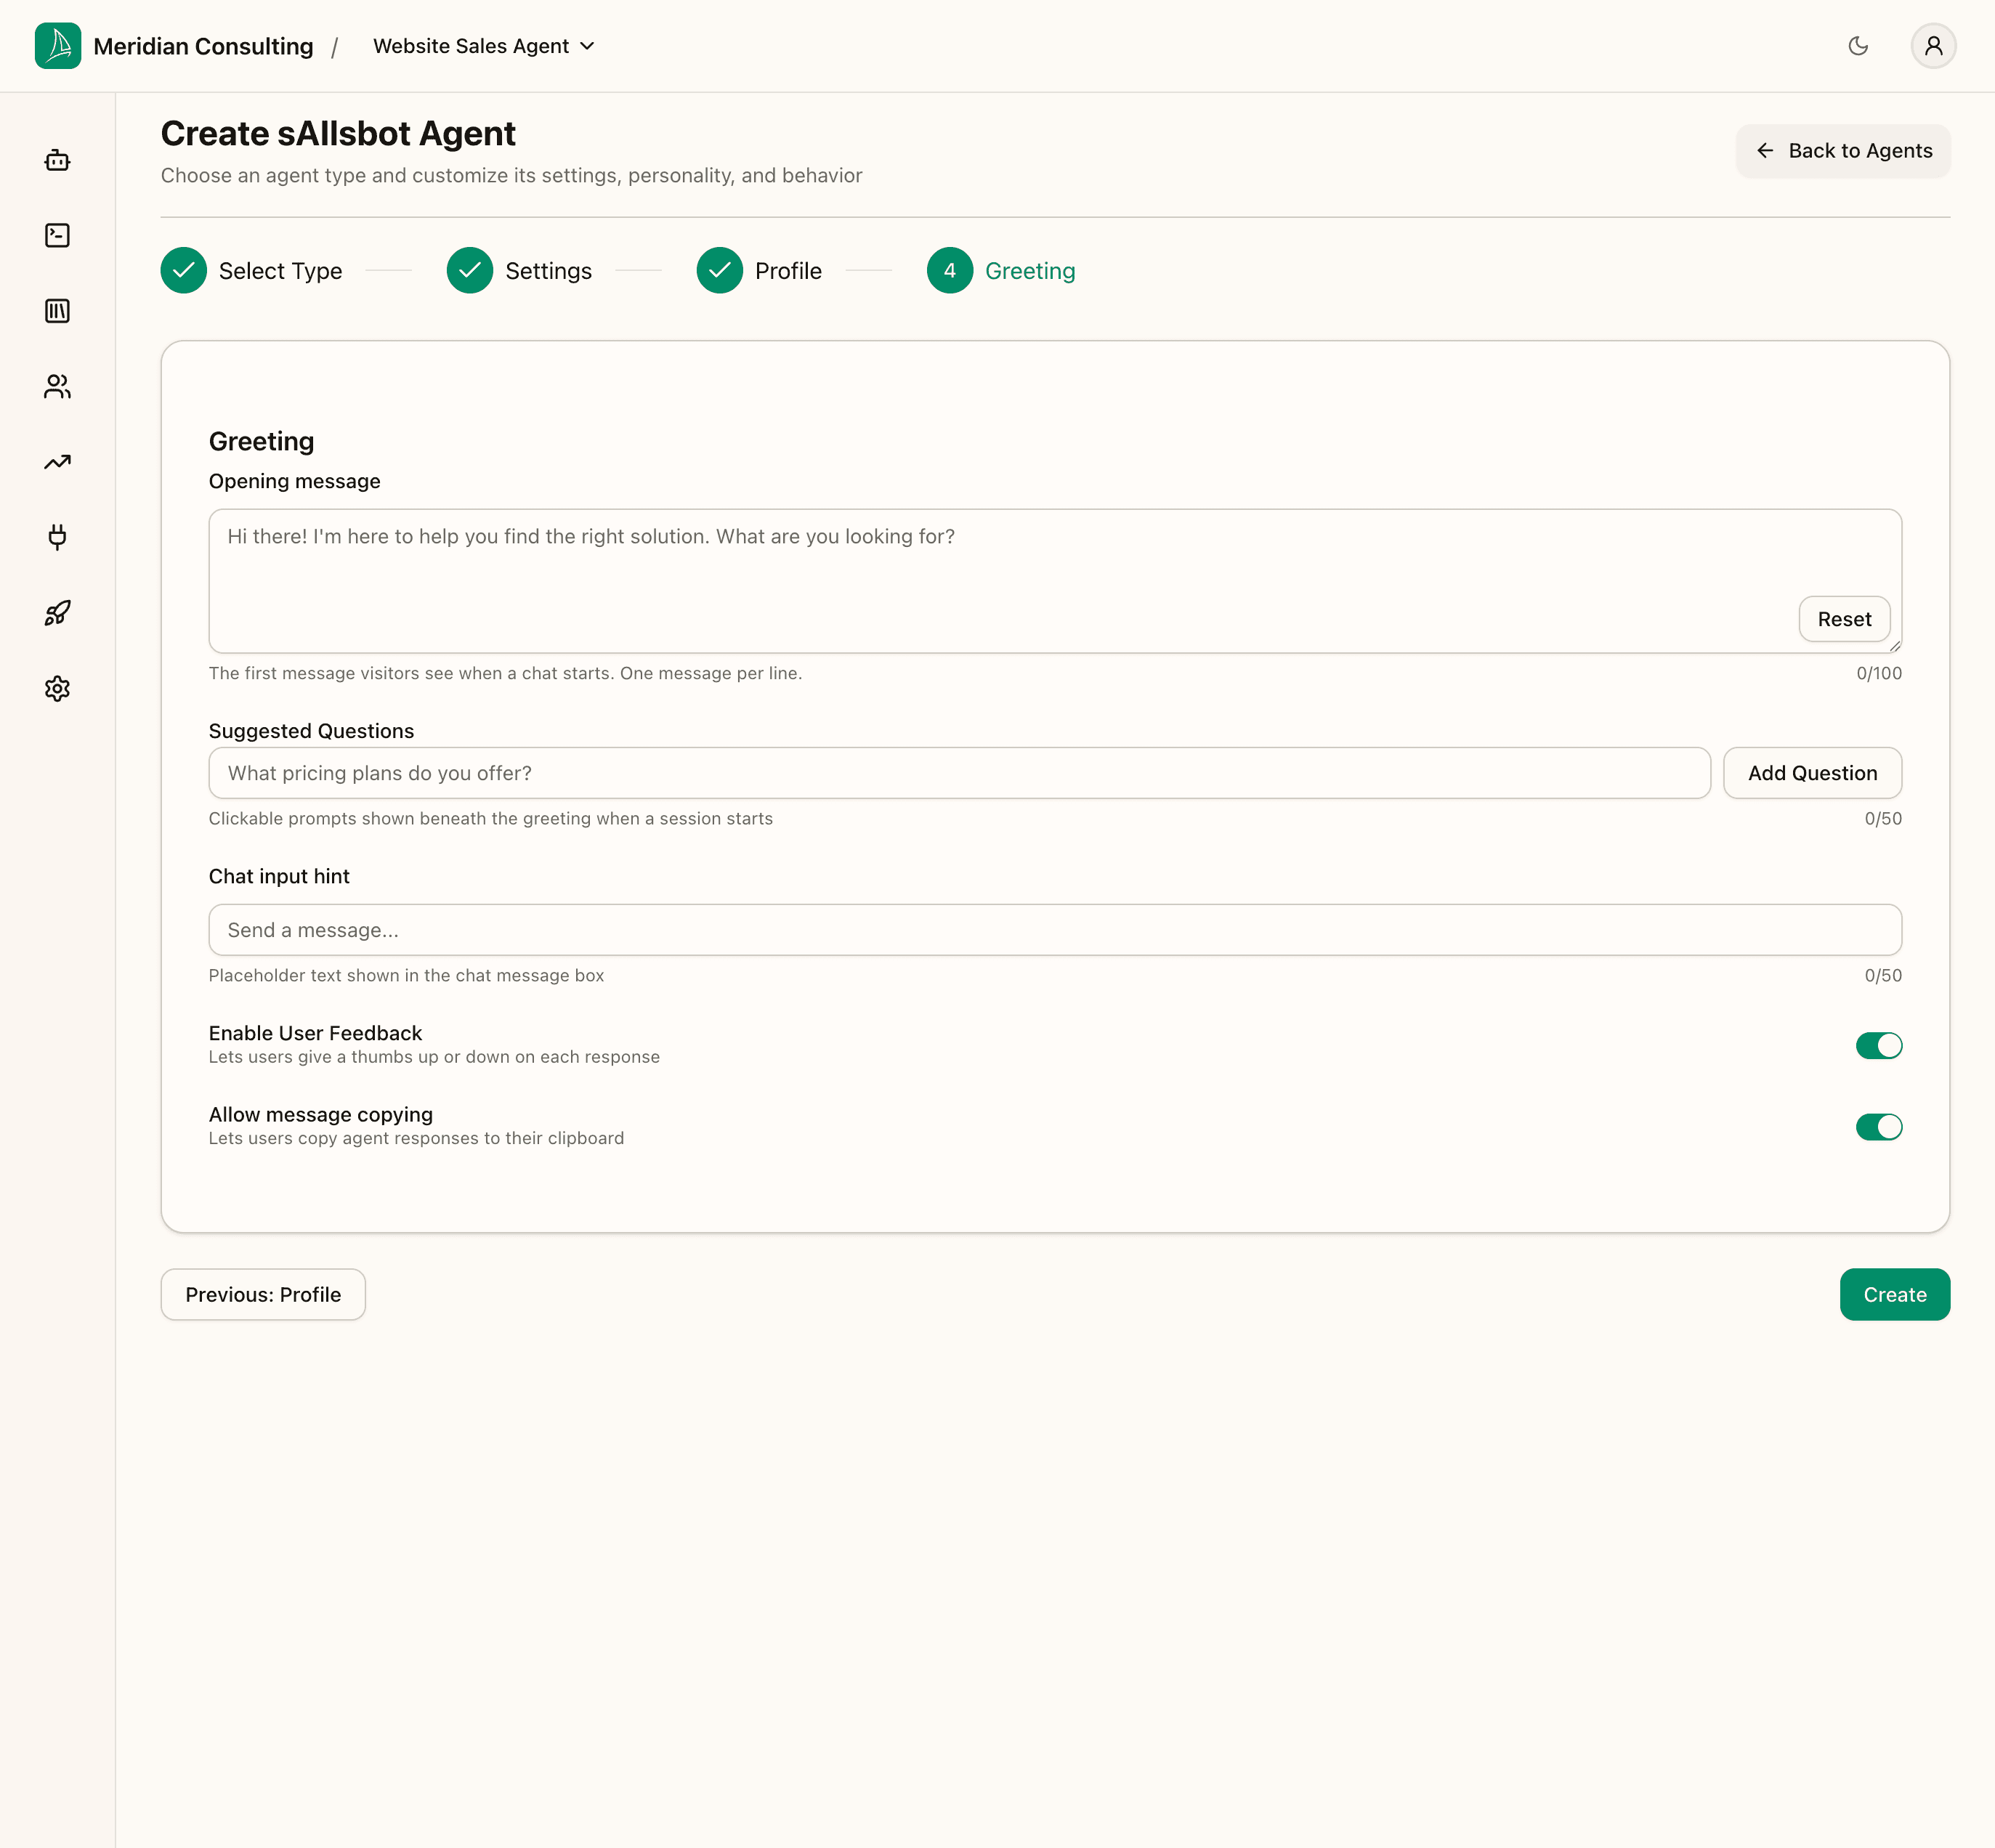
Opening message
The first message the agent sends. Up to 100 characters.
A good greeting:
- Names what the agent can help with so visitors don't have to guess
- Sounds like the brand
- Invites a response without being pushy
If you want to reset to the platform default at any time, click Reset to the right of the textarea.
Suggested questions
Suggested questions are clickable prompts shown beneath the greeting when a session starts. They serve two purposes: they give the visitor a low-friction starting point, and they steer the conversation toward topics the agent handles well.
Up to 50 characters per question. Add one by typing it into the input and clicking Add Question. Remove one with the Remove button beside the chip.
Chat input hint
The placeholder text shown in the visitor's chat input box before they start typing. Up to 50 characters.
Enable User Feedback
A toggle that lets visitors thumbs-up or thumbs-down individual agent responses. Defaults to on. The feedback is captured against the message and surfaced later in the prospects and analytics views. We recommend leaving this on — it's a cheap source of quality signal.
Allow message copying
A toggle that gives visitors a "copy" affordance on agent messages. Defaults to on. Useful when the agent generates content the visitor might want to take away (a service summary, a pricing range, a checklist).
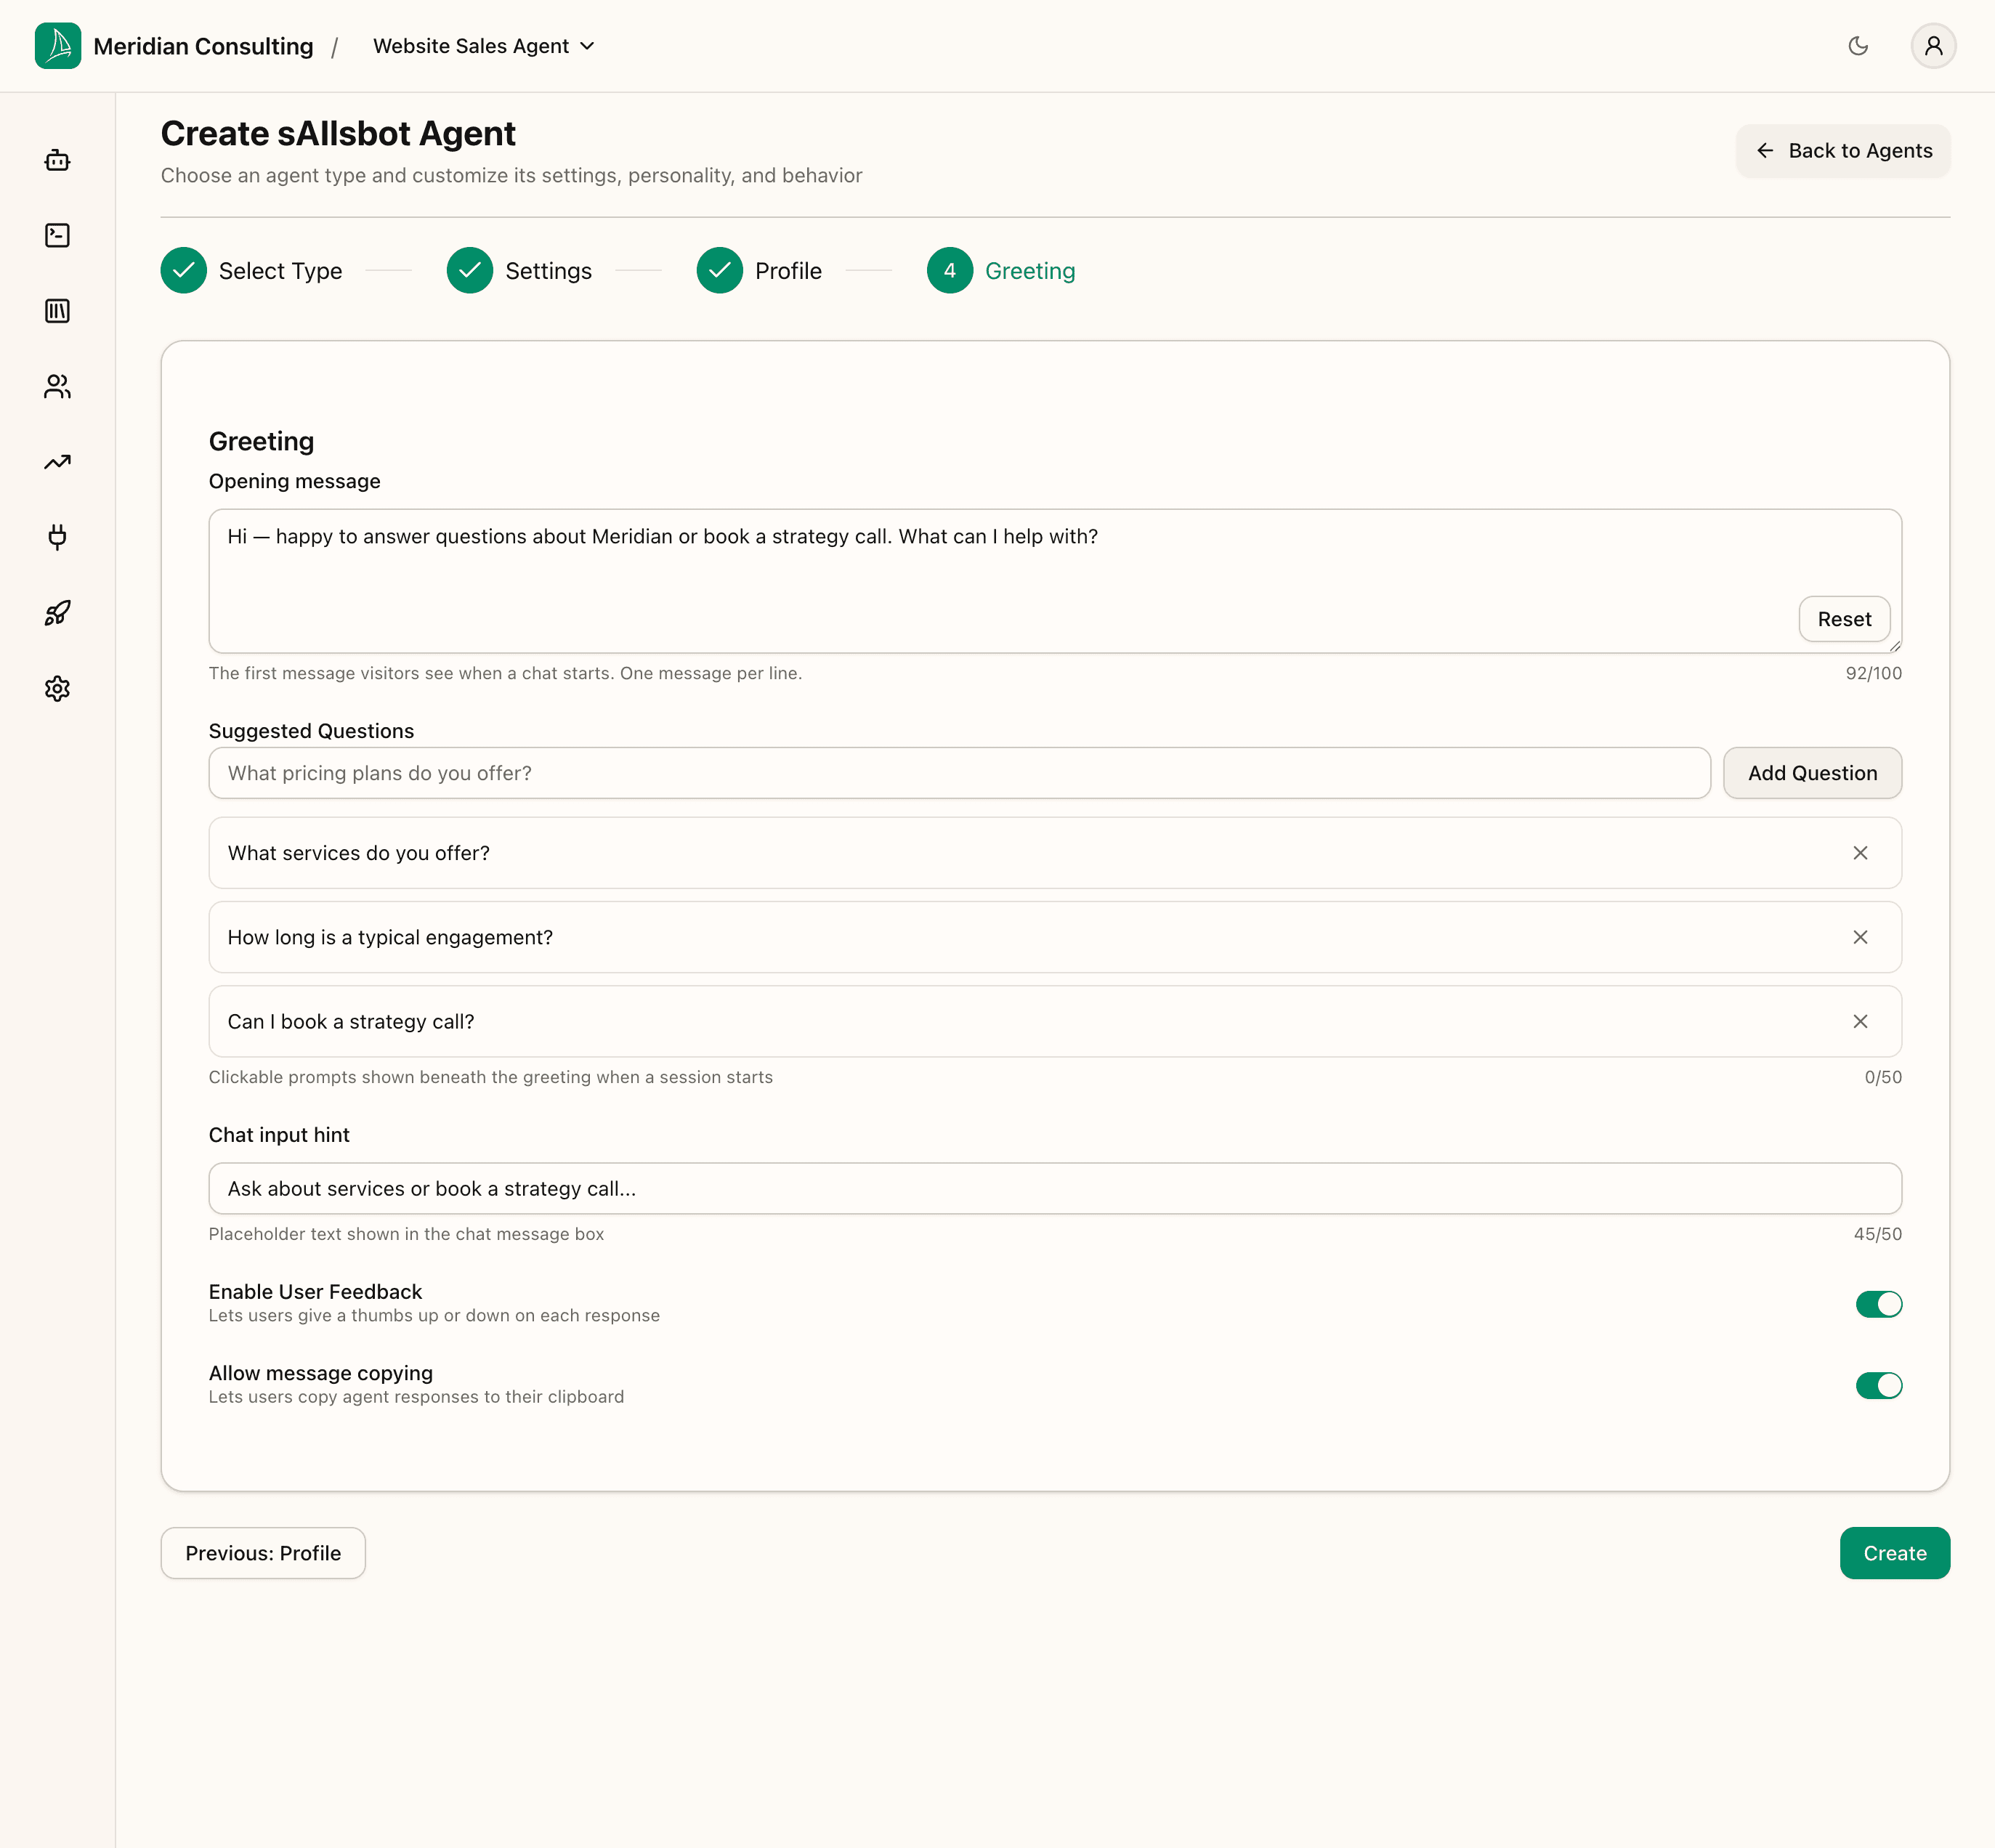
Click Create to create the agent. You'll be redirected to the agent settings page.
Where you land — the agent settings page
After creation the wizard drops you on the agent's settings home.
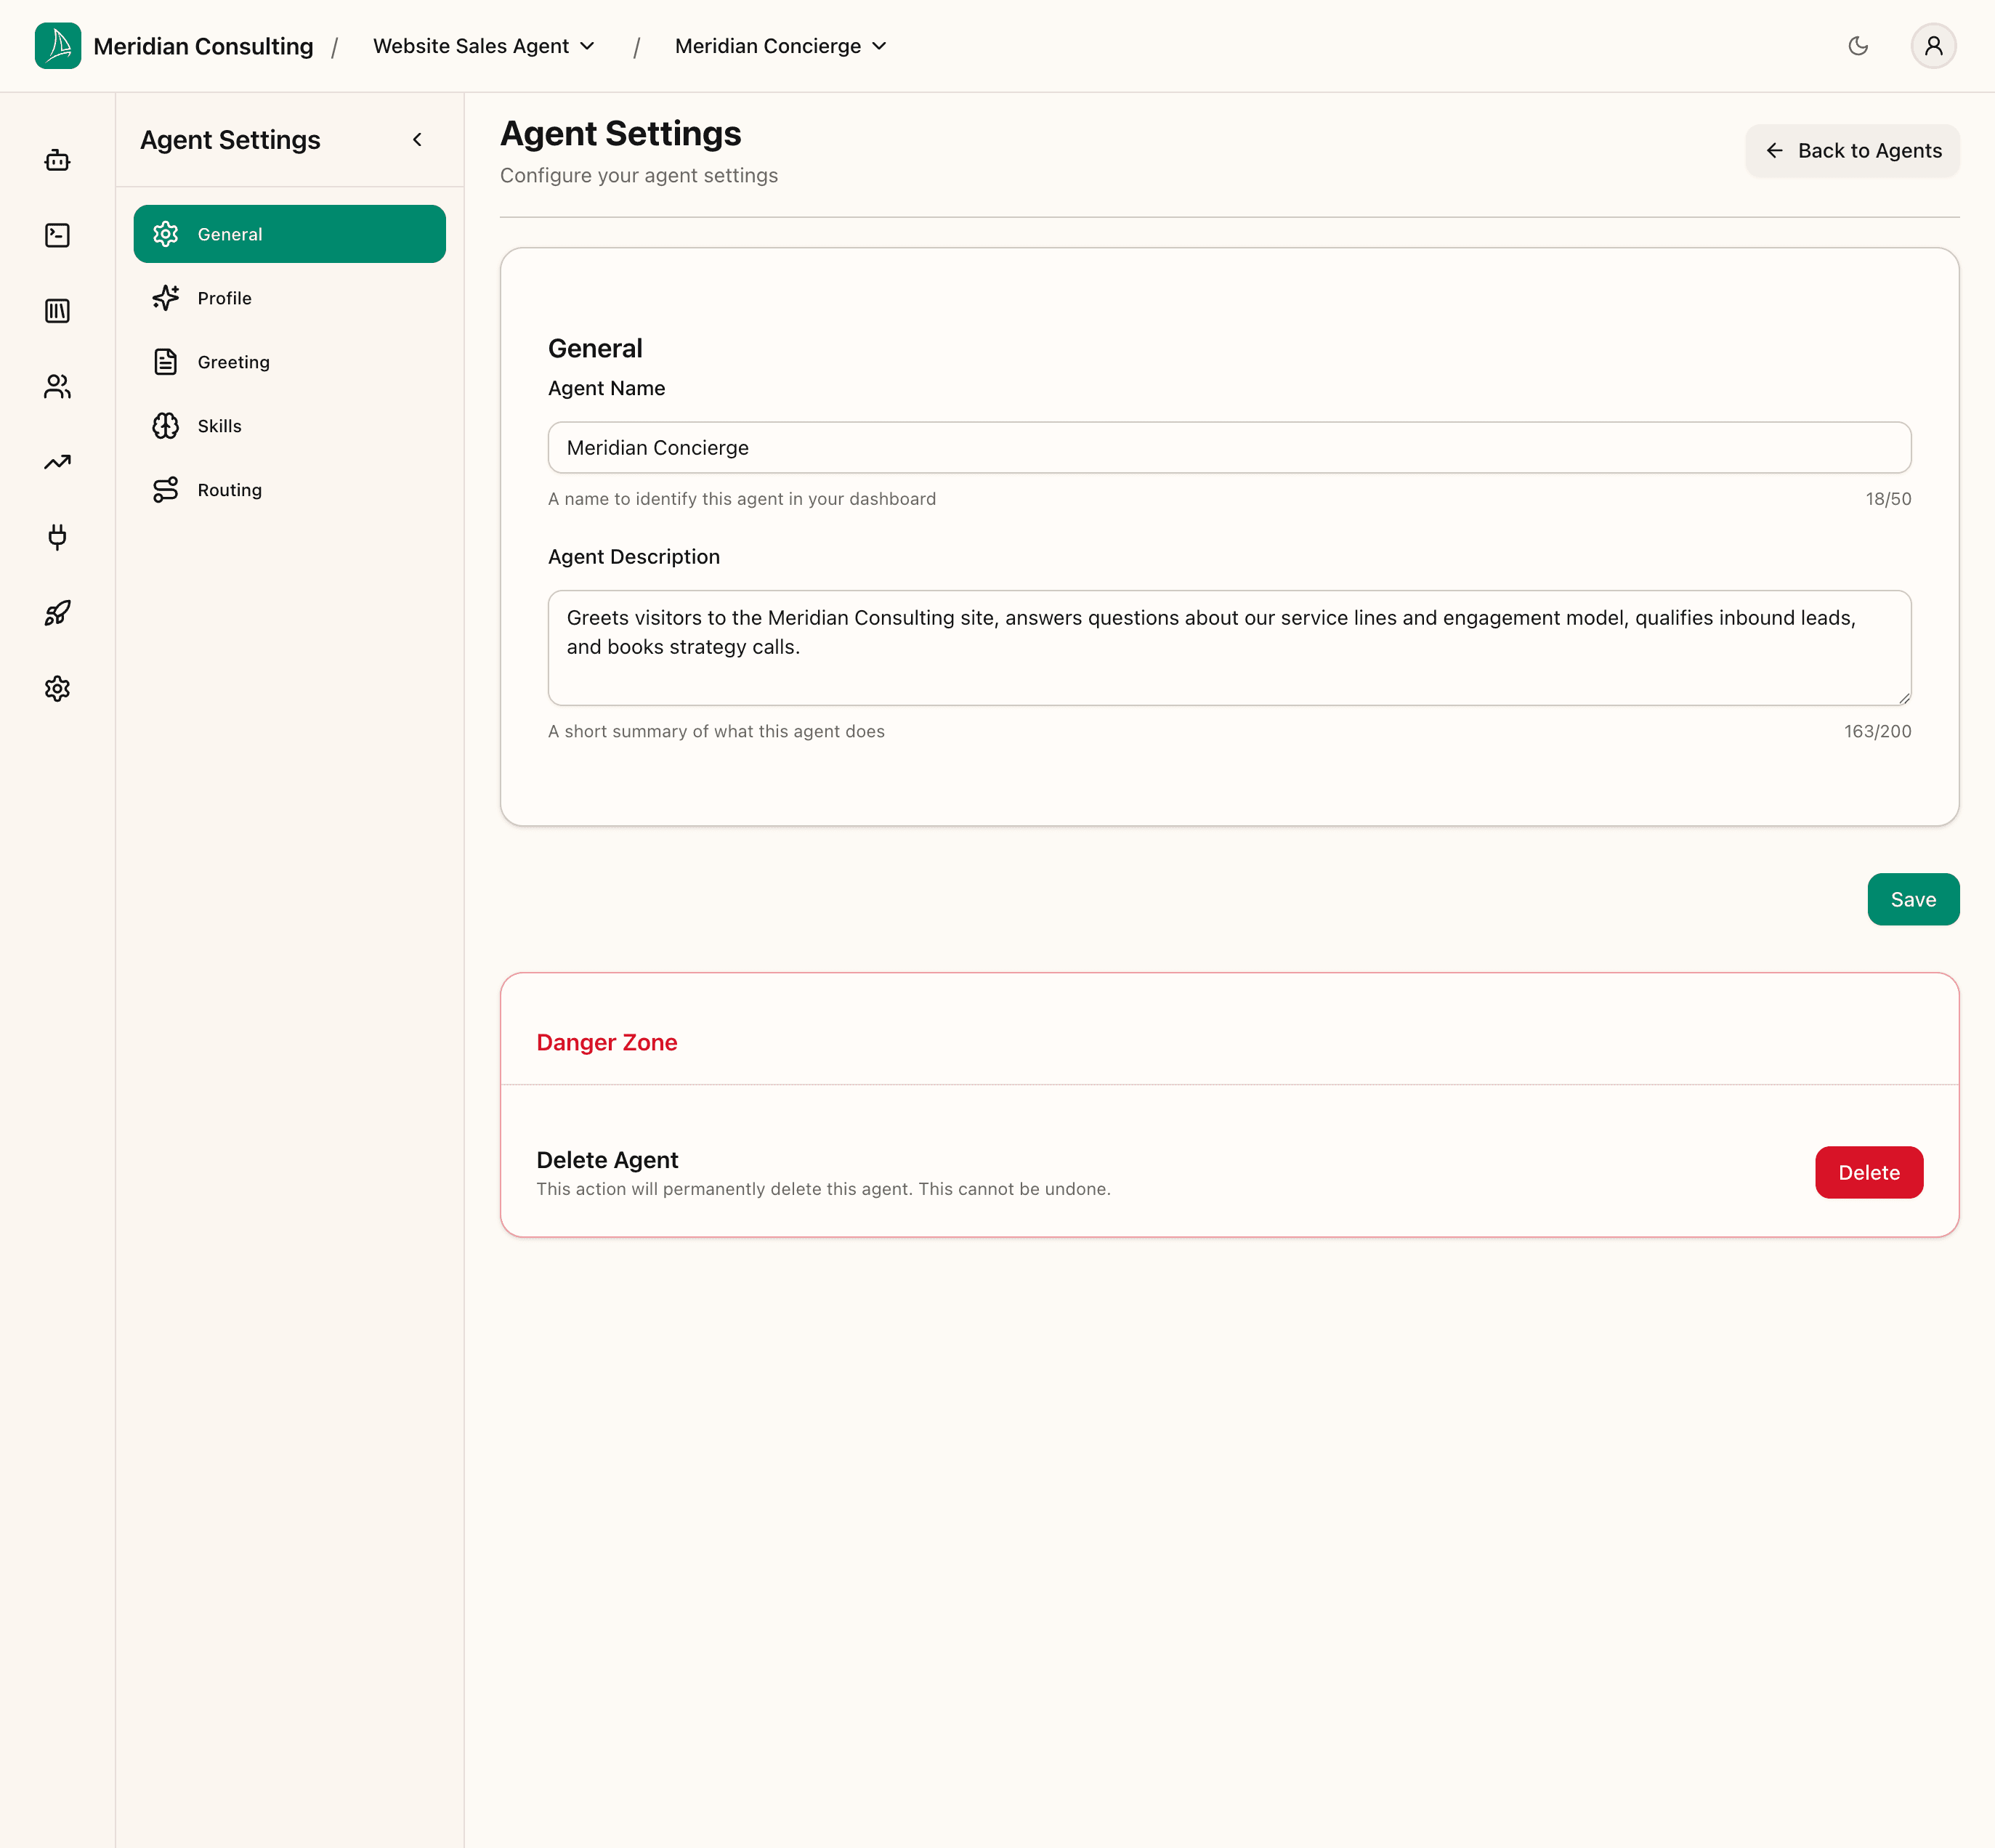
This page is your base of operations for this agent. Note three things:
1. The breadcrumb in the banner. It now shows your organisation, your team, and the agent name as three segments. Each segment is a quick switcher back to the corresponding level.
2. A secondary sidebar on the left, specific to this agent. It has five sections:
- General — the page you're on. Name, description, and the Danger Zone delete.
- Profile — the profession/persona/response-length/goal controls from Step 3 of the wizard. Editable here at any time.
- Greeting — the opening-message and suggested-questions controls from Step 4. Editable here at any time.
- Skills — covered in Configuring skills. This is where you attach the agent's repertoire.
- Routing — covered in Routing rules. Rules that nudge the agent toward or away from particular skills.
3. A Danger Zone with a Delete button. Permanently removes the agent and everything it owns (sessions, votes, deployments configured against it). Used carefully.
Tip. The agent settings sidebar is the only place in the dashboard where the
SkillsandRoutingcontrols live. You can't get to them from the team-level navigation; they're always under a specific agent.
Editing profile and greeting after creation
The standalone Profile and Greeting pages look identical to the wizard steps you just completed, minus the step indicator. Use them whenever you want to tweak the agent's voice or opening behaviour.
The team home, with an agent
Navigate back to the team home (click the team name in the breadcrumb, or use the left-hand rail's Agents icon). The empty state is gone — there's now a tile for the agent you just created.
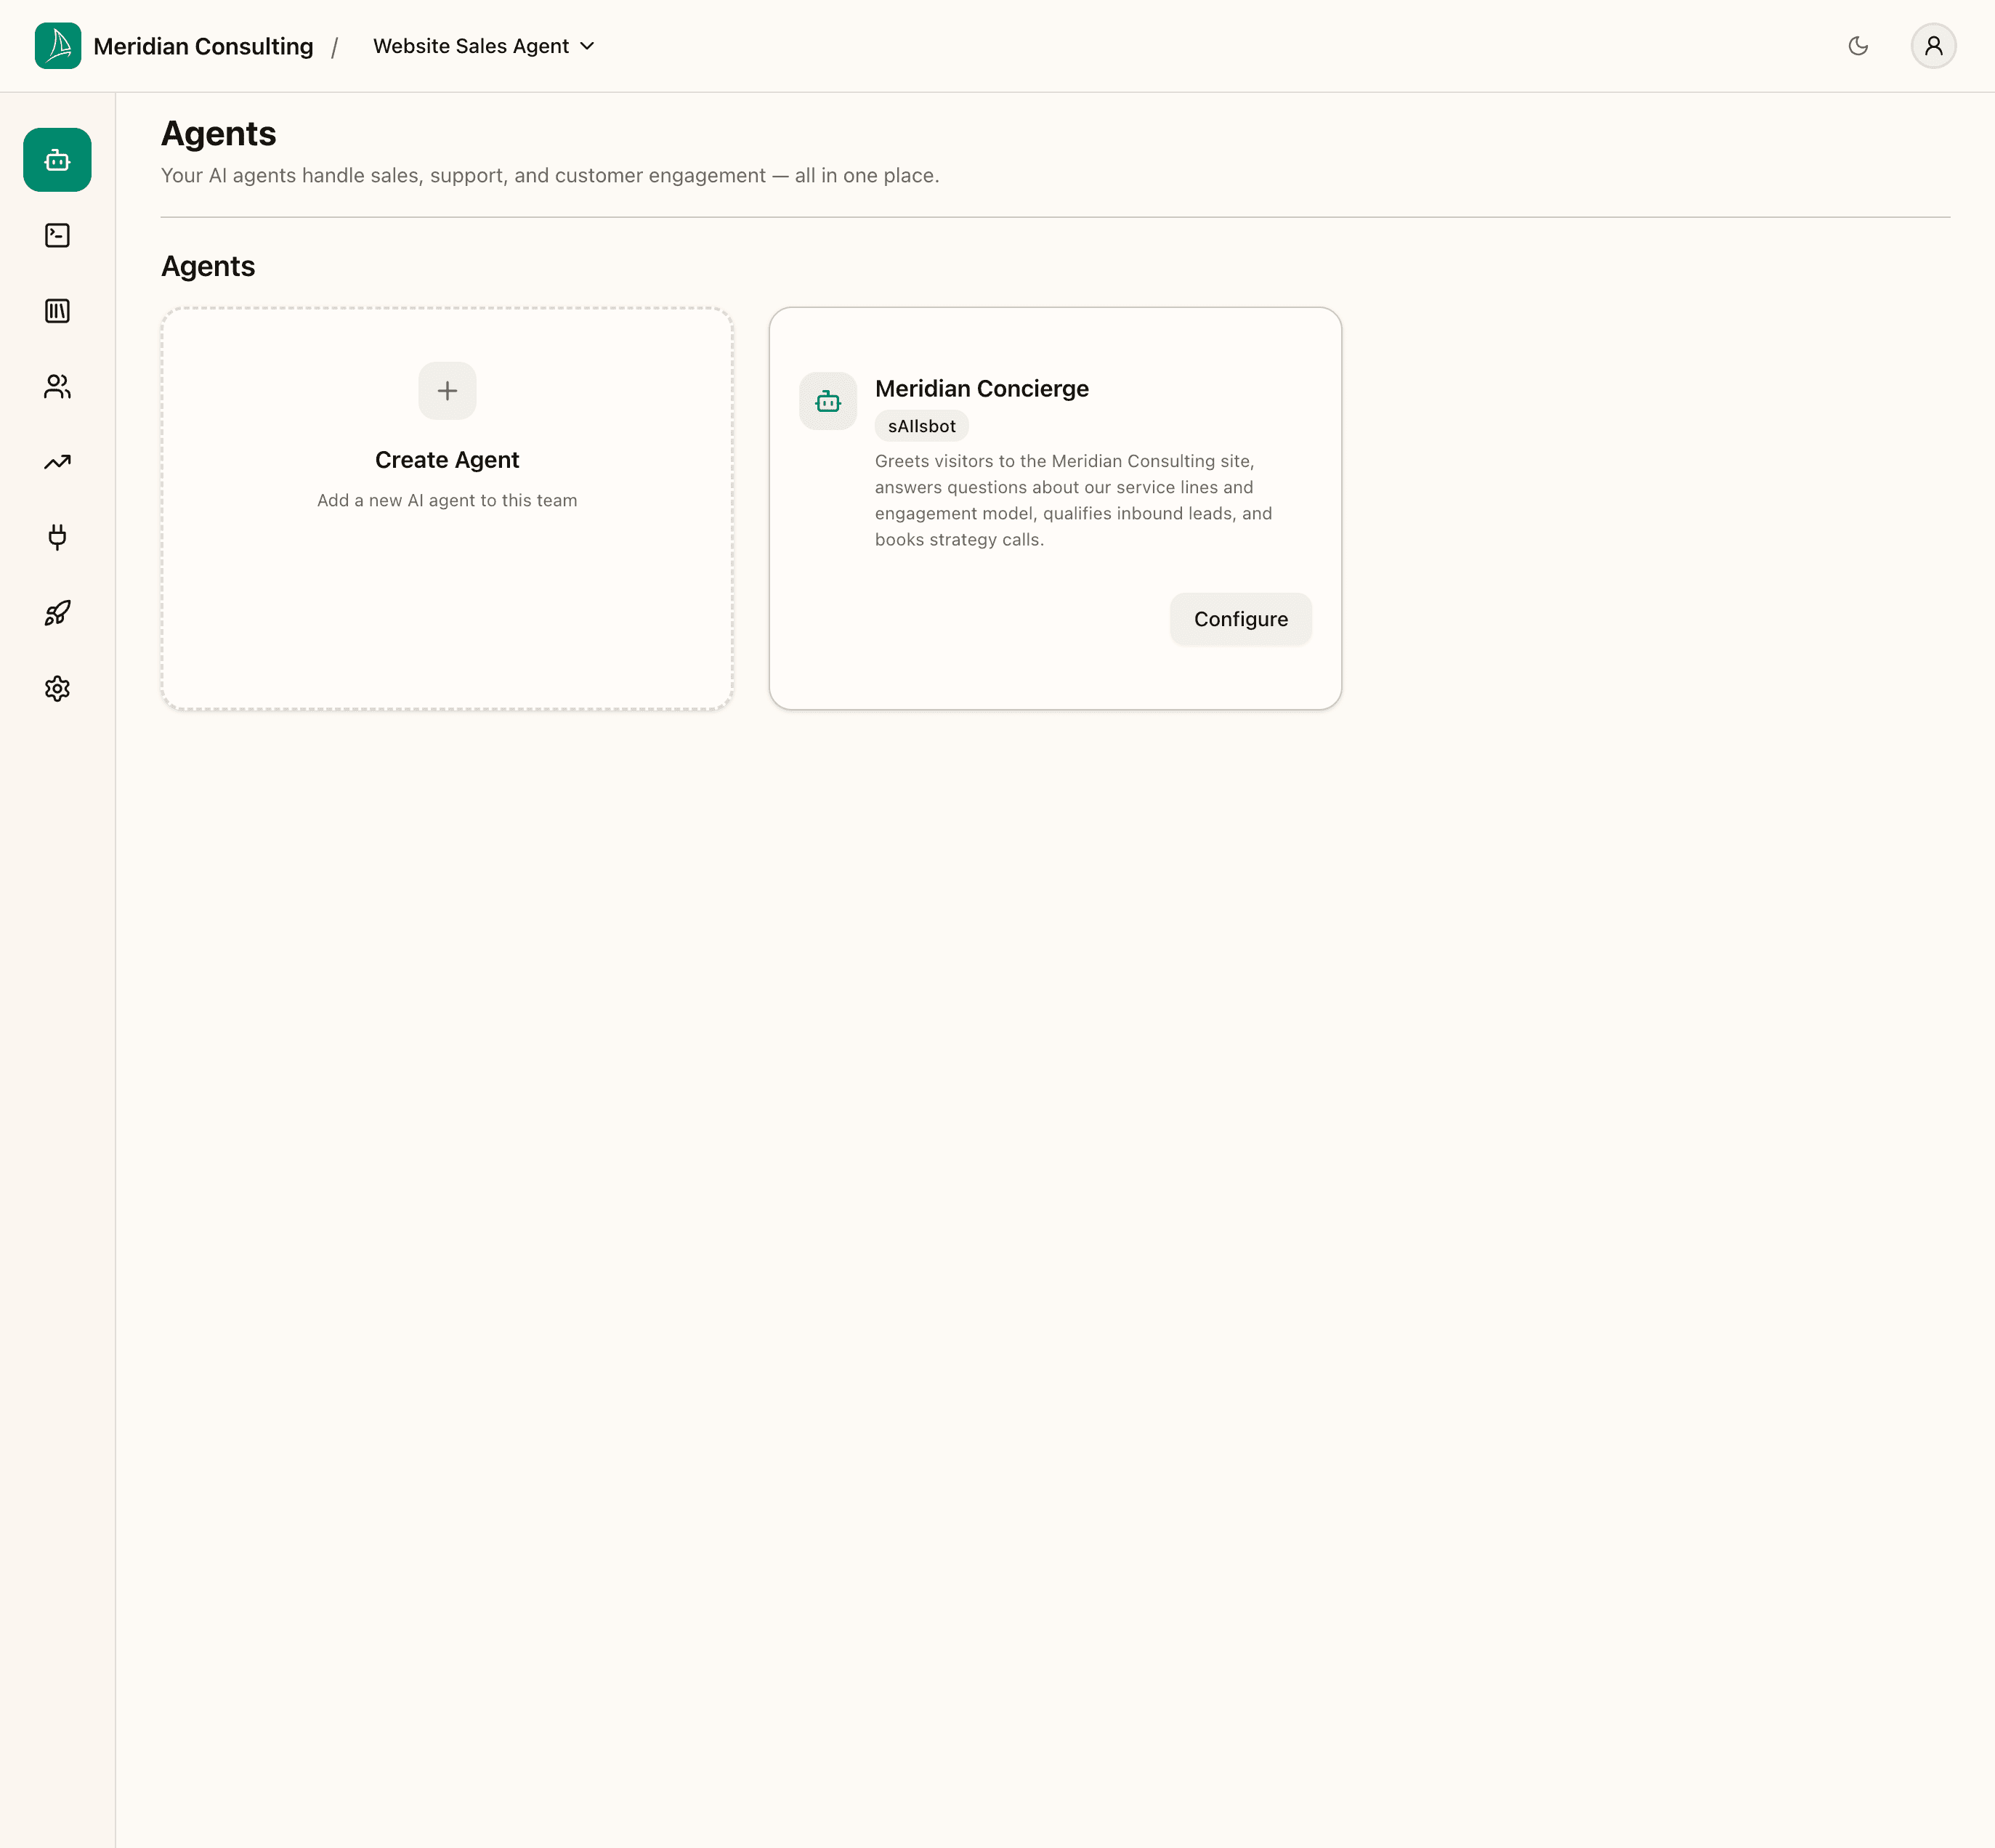
Each agent tile is a shortcut back into the agent settings.
What's next
Your agent exists, but it has nothing to say yet — it has no knowledge of your business, no skills attached, and no memory configuration. Before any of that becomes useful, the agent needs content to draw on.