Account & onboarding
This chapter covers getting into the dashboard for the first time and setting up your tenant. By the end of it, you'll have:
- A Breezee AI user account
- A signed-in session
- An organisation (the top-level tenant that owns everything else)
- A populated personal profile
If your organisation has already been created and you're being added to it as a team member, skip ahead to Organisation & team management.
Creating your account
Breezee AI accounts use email and a password. Sign-up is self-service from the sign-up page.
Navigate to the sign-up page
From the login screen, click the Sign up link at the bottom.

You'll be asked for:
- Full name — how you want to be addressed in the dashboard
- Email address — your work email; you'll log in with this
- Password — chosen by you, validated against standard length and complexity rules
- Repeat password — to catch typos
Confirm your email
After submitting the sign-up form, Breezee AI emails you a confirmation link. Click it to activate the account. Until you confirm, the account exists but can't be used to log in.
If the confirmation email doesn't arrive within a few minutes, check your spam folder. The sender is the email address configured for your Breezee AI deployment (typically no-reply@breezee.ai or your organisation's SMTP sender).
Forgotten password
If you forget your password later, use the Forgot your password? link on the login screen.
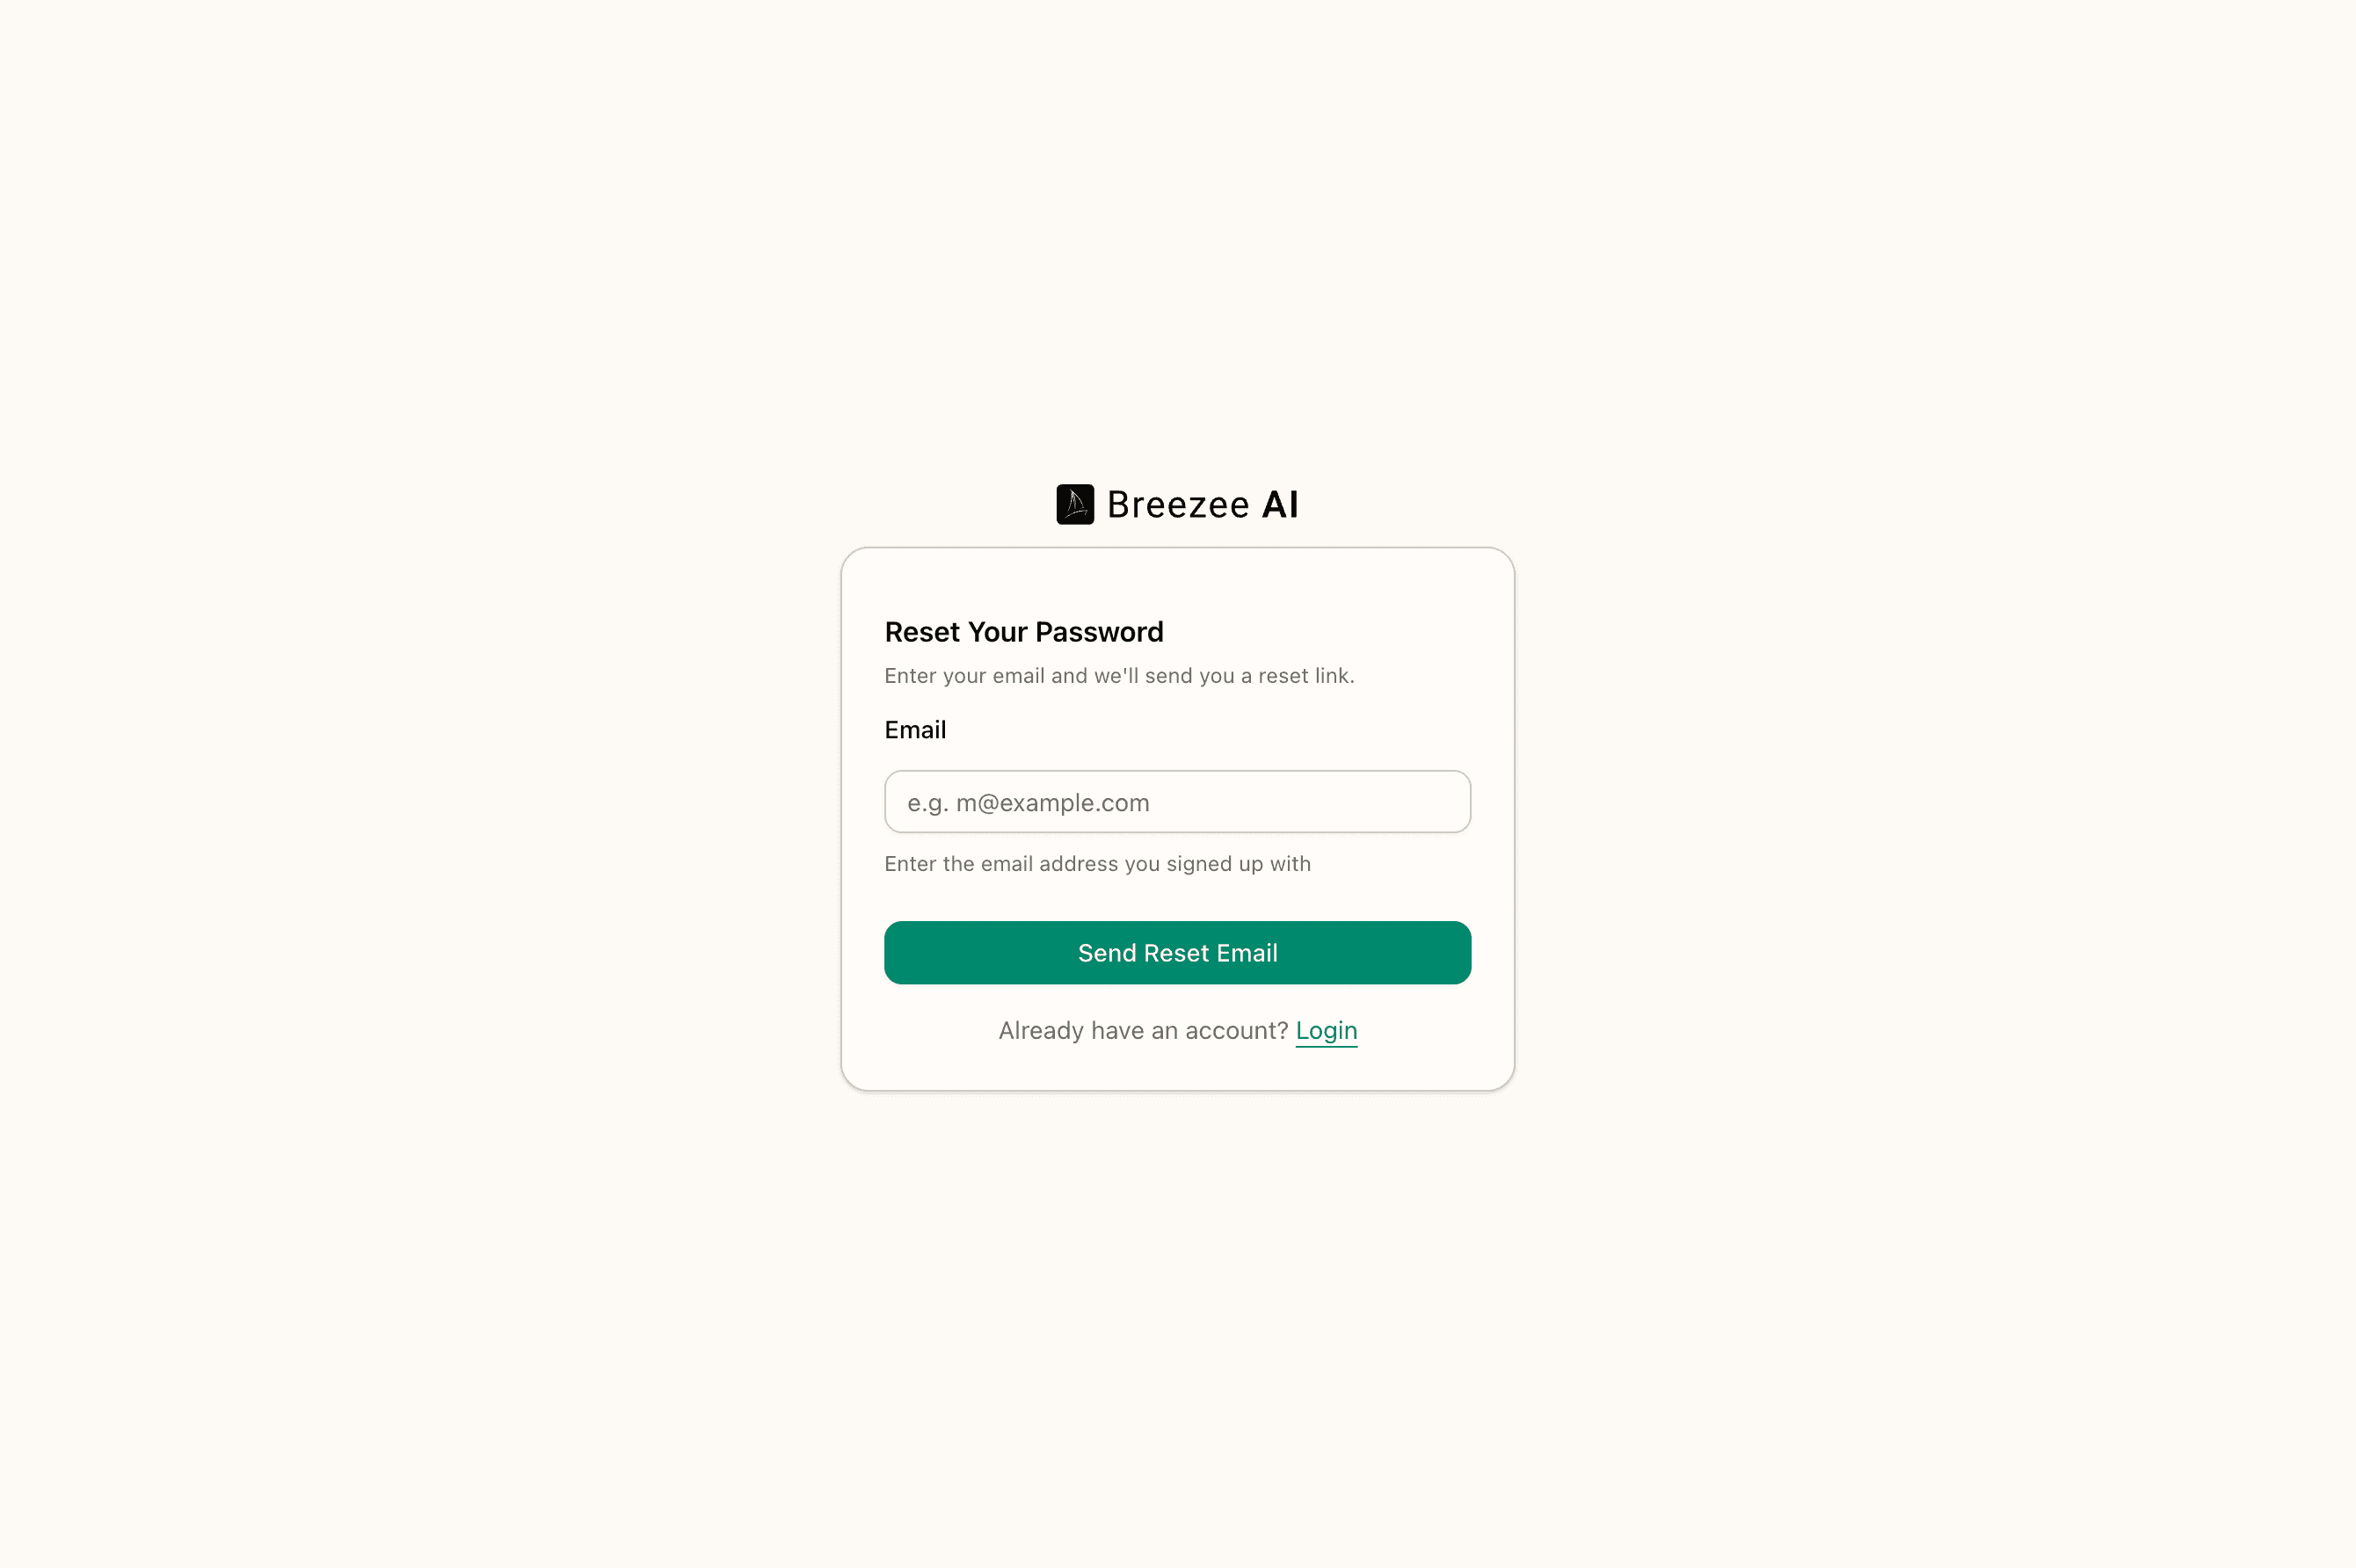
Enter your email; Breezee AI sends a password-reset link. The link is single-use and expires after a short window.
Logging in
Once your account is confirmed, log in from the dashboard sign-in page.
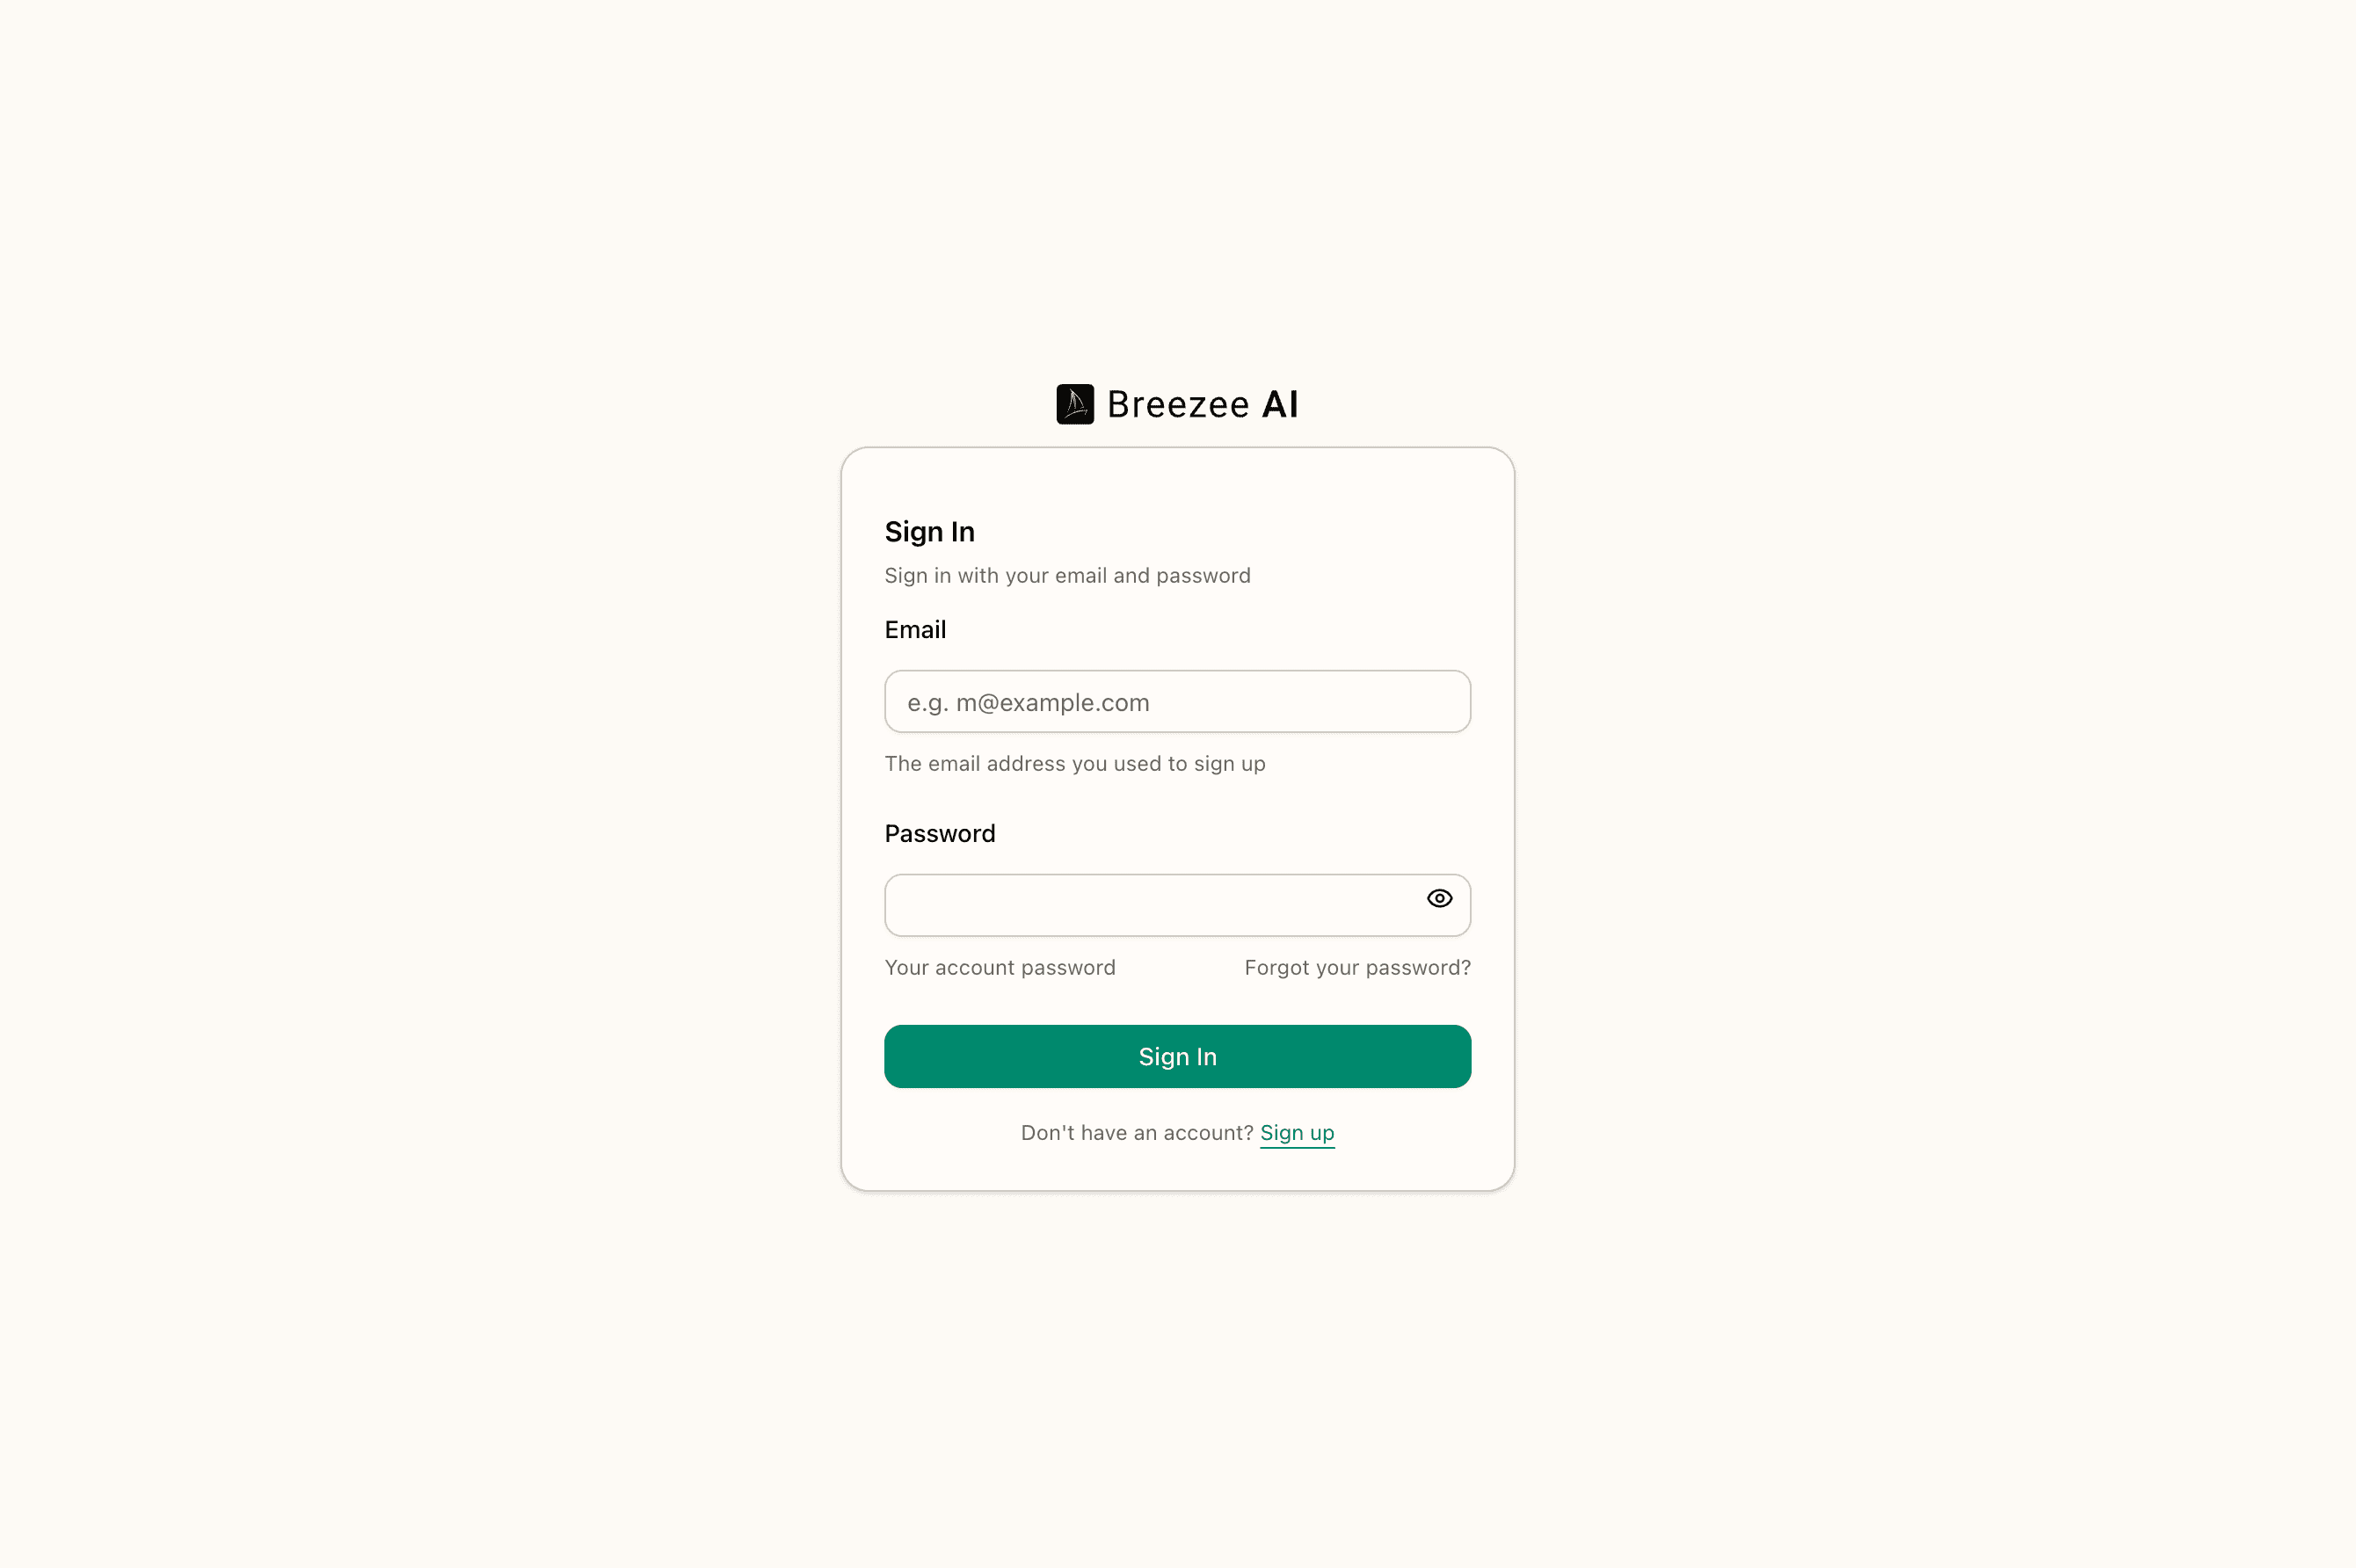
Enter your email and password, then click Sign In. The platform decides what to do with you based on whether you already belong to an organisation:
- No organisation yet — you're sent to the Create Organisation screen. This is the path covered in the next section of this chapter.
- Already a member of an organisation — you're sent straight to the dashboard home page.
Creating your organisation
The first thing every brand-new account does is create an organisation. The organisation is the top-level tenant — everything you do in the dashboard (teams, agents, content, deployments, prospects, integrations) belongs to it.
You arrive at this screen automatically after your first successful login:
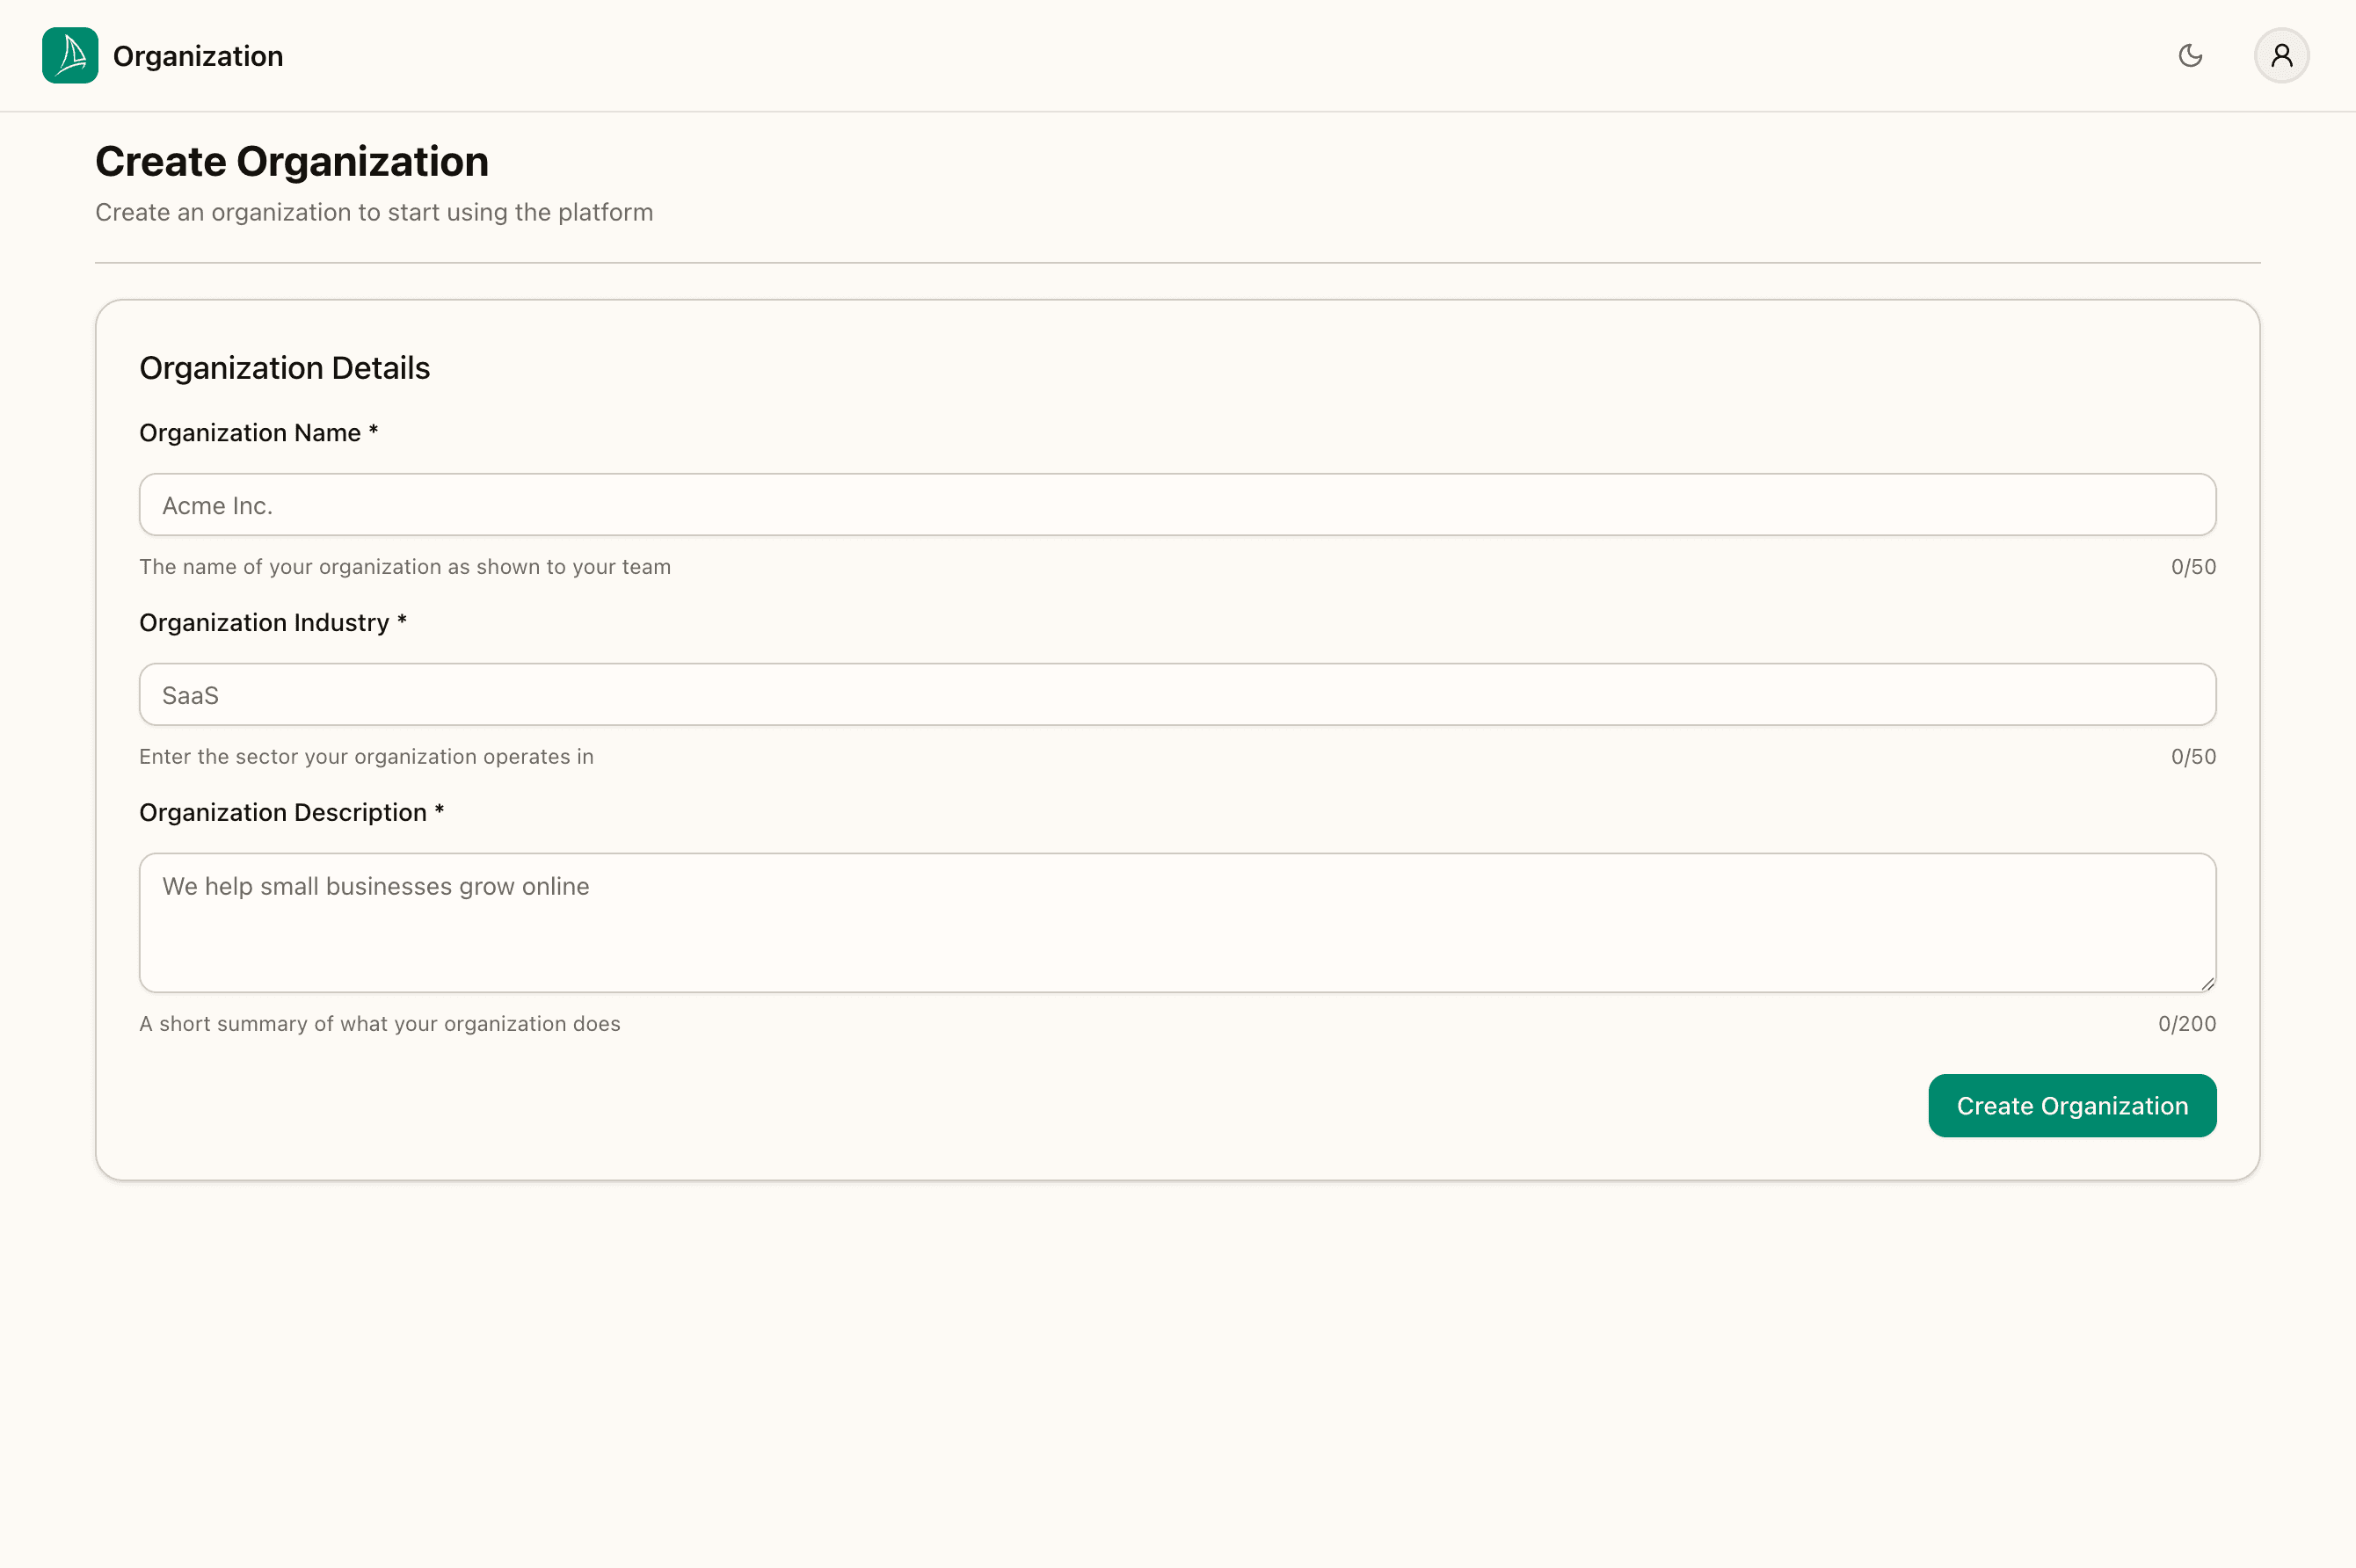
Three required fields: name (your business as it should appear to your team), industry, and a short description of what your business does.
Important: the description is fed to the AI agent as grounding context. Write it the way you'd describe your business to a new hire on day one — what you do, who you do it for, what makes you different. The agent will reach for this whenever it needs to talk about who you are. Don't fill it with marketing fluff; concrete and specific is better than aspirational.

Click Create Organization. You're redirected to the dashboard home page, which is empty for a brand-new organisation:
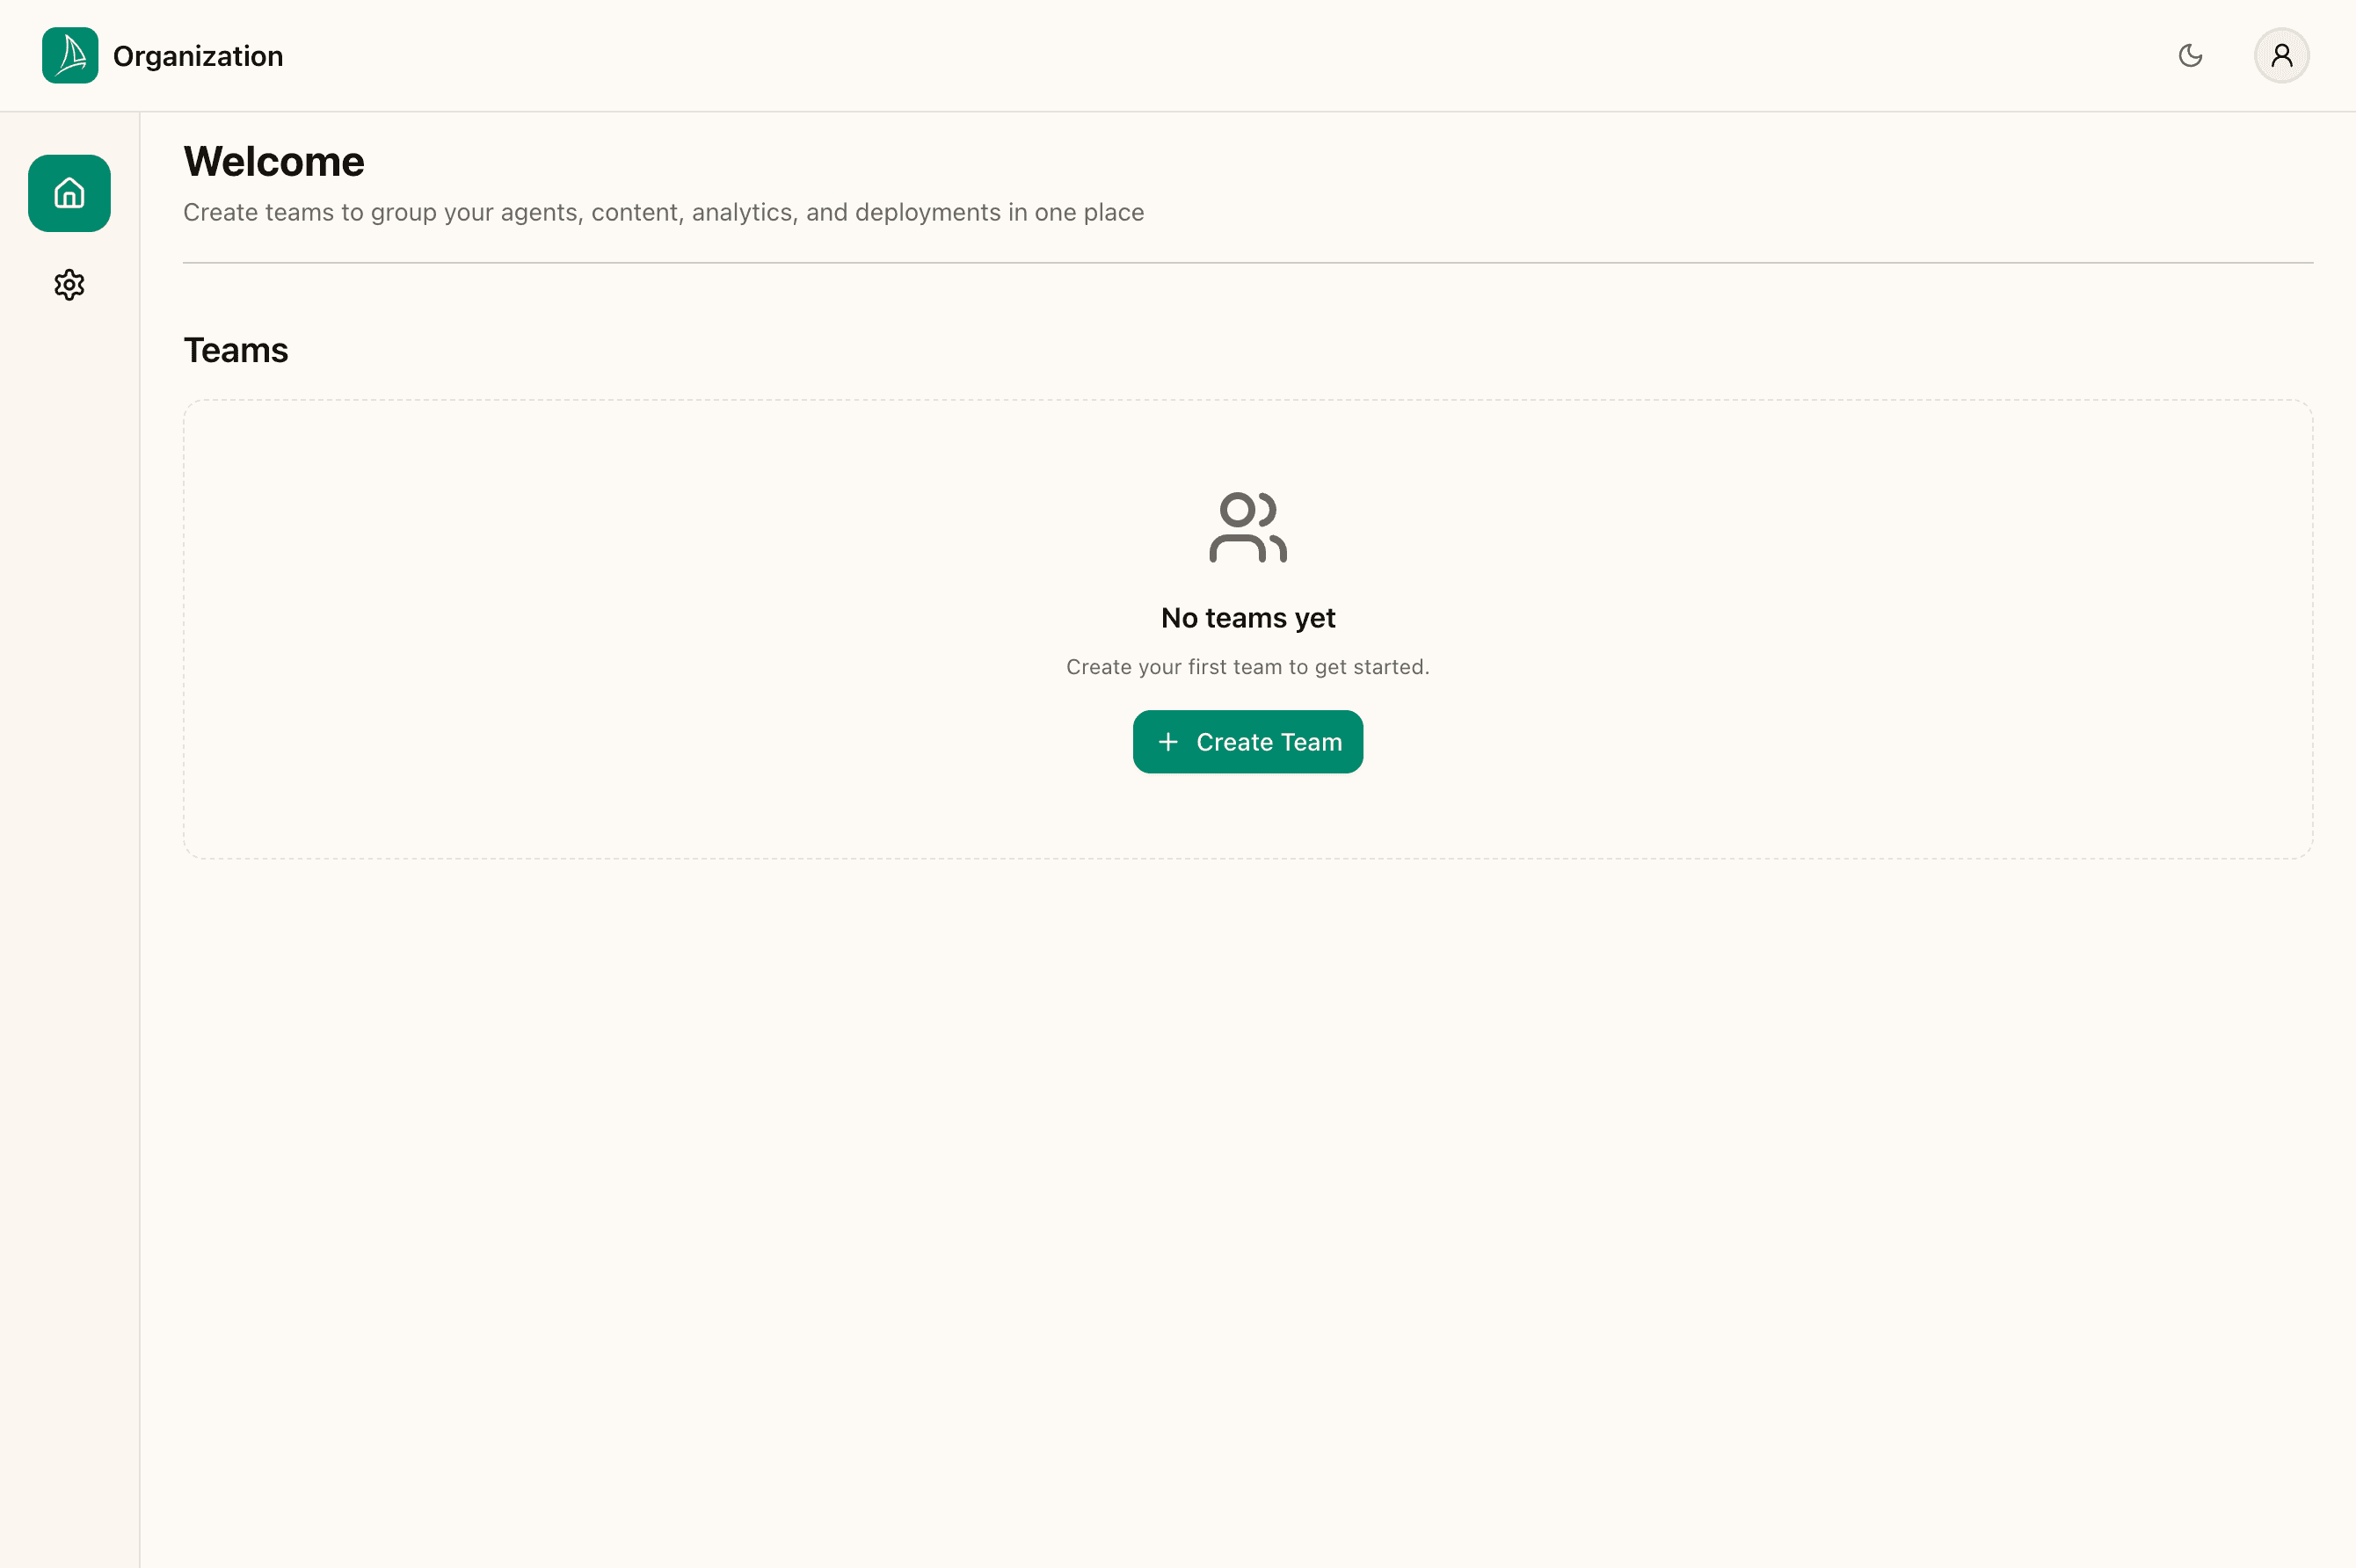
The "No teams yet" state is expected. You'll create your first team in Organisation & team management.
What just happened under the hood. Creating the organisation also creates your membership in it as an owner. Your account now has full rights to add team members, create teams, configure agents, and manage billing. Other users you invite later will be members of the same organisation and will see the same teams (subject to any access controls you configure).
Setting up your personal profile
Before moving on to teams and agents, take a minute to fill in your personal profile. It's surfaced in the activity log (so your colleagues can see who did what) and in places where the dashboard addresses you by name.
Open the user menu
The user menu lives in the top-right of every dashboard page. Click the avatar circle to open it.
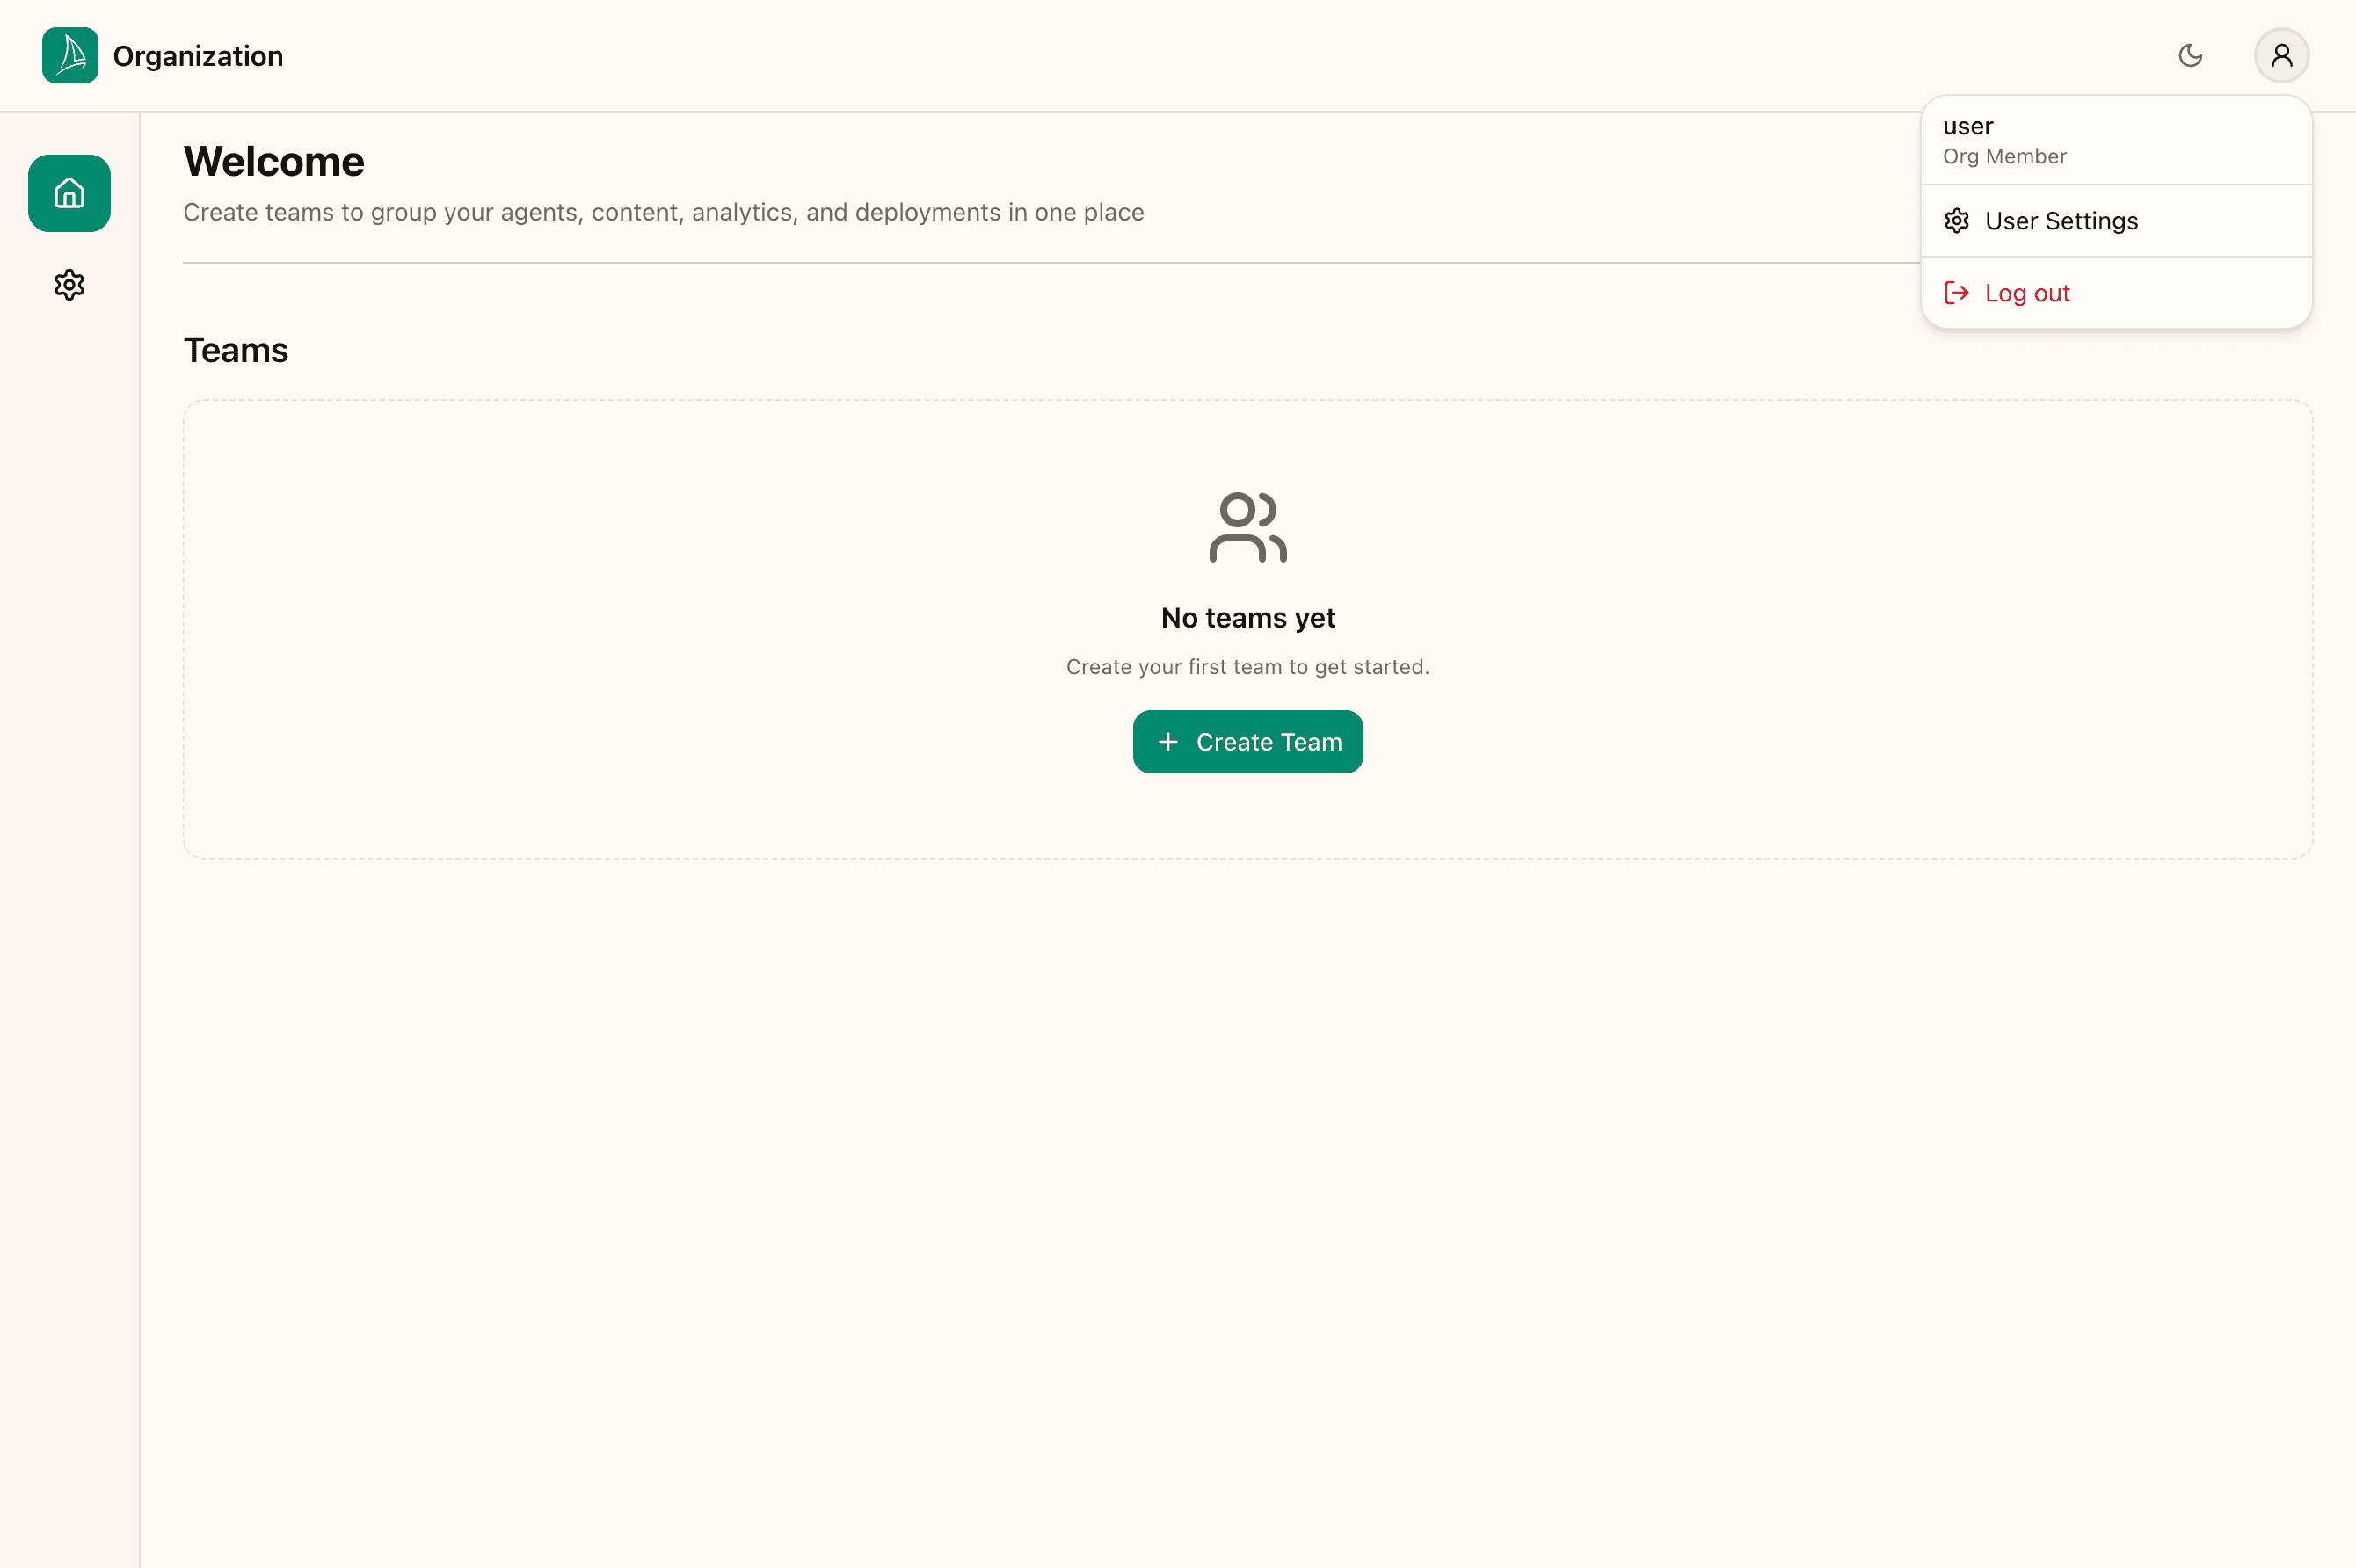
The menu has two items:
- User Settings — opens this page
- Log out — signs you out and returns you to the login screen
Edit your profile
Click User Settings to open the profile page.
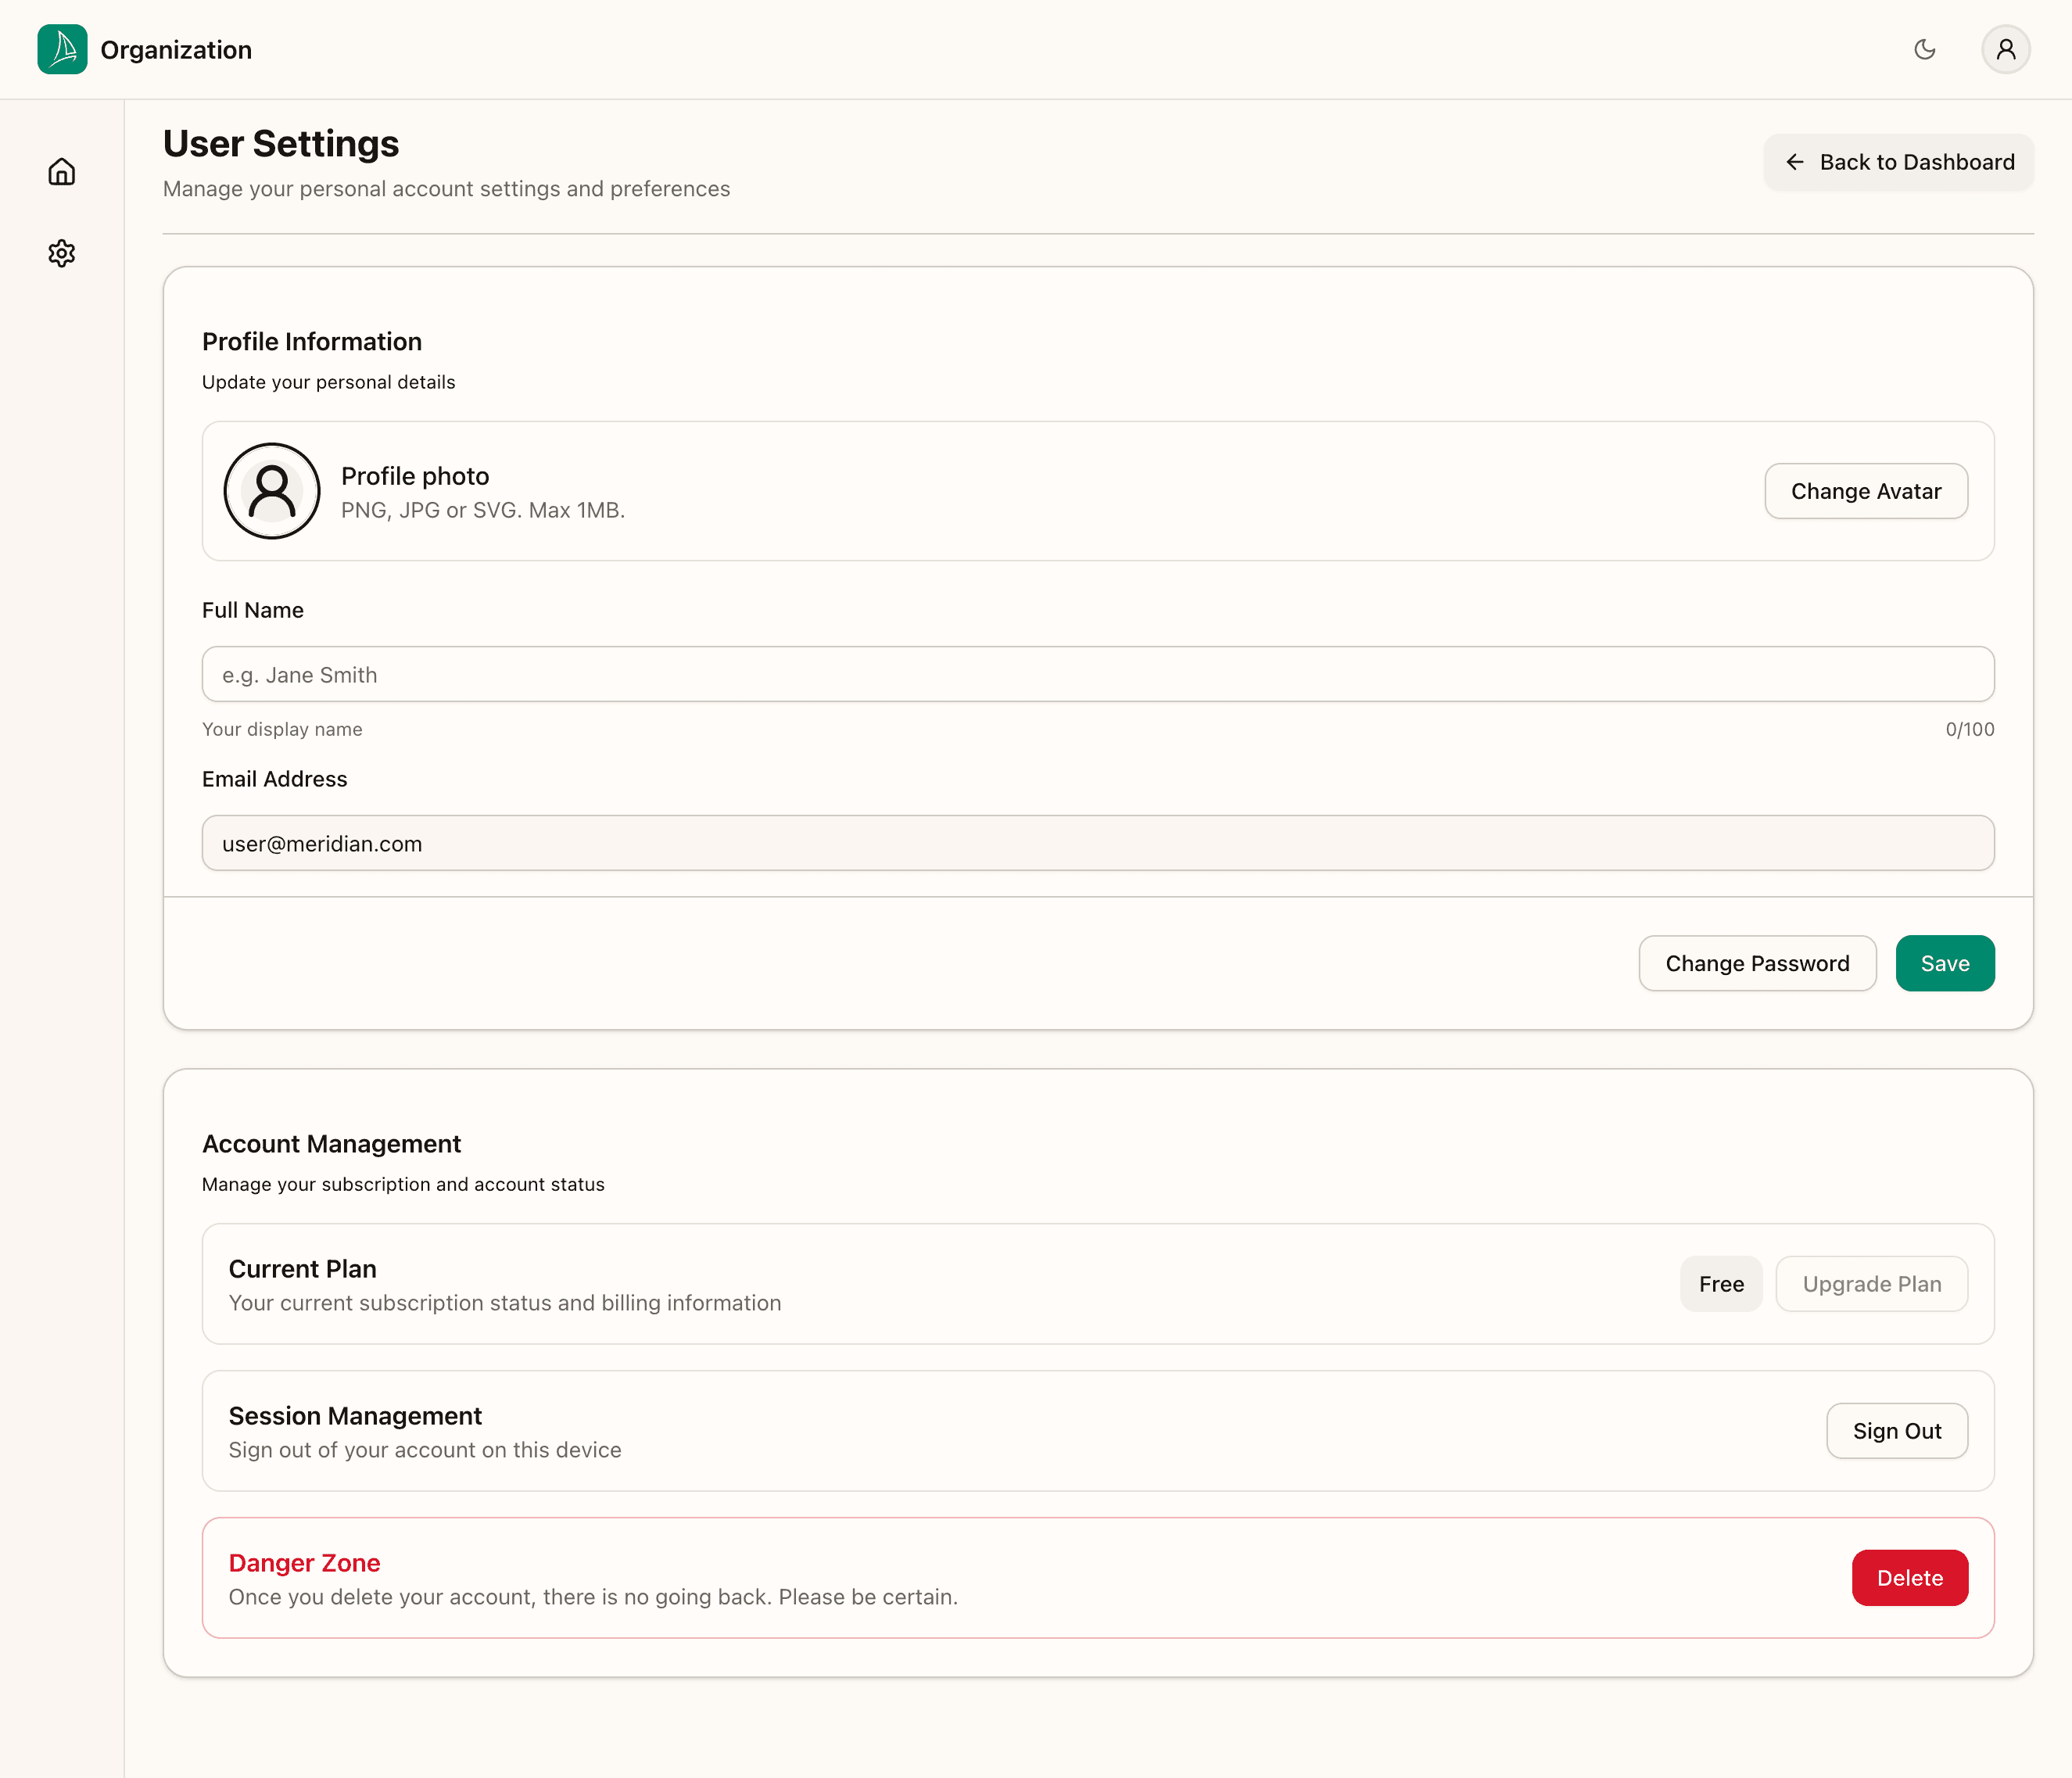
The page has three sections:
Profile Information. The bit you'll use most often.
- Profile photo — a small avatar shown next to your name throughout the dashboard. Click Change Avatar to upload a PNG, JPG, or SVG up to 1 MB.
- Full Name — your display name. Up to 100 characters.
- Email Address — your login email. Read-only here; if you need to change it, contact support.
- Change Password — opens the password reset flow described earlier.
Account Management. Subscription and session controls.
- Current Plan — the subscription tier the organisation is on. The Upgrade Plan button is disabled while plans are managed manually.
- Session Management — a one-click Sign Out that ends your current browser session.
Danger Zone. Permanently delete your user account. This removes your access; it does not delete the organisation or anything you've created in it. Use sparingly.
Fill in your name and save
Type your name into the Full Name field.
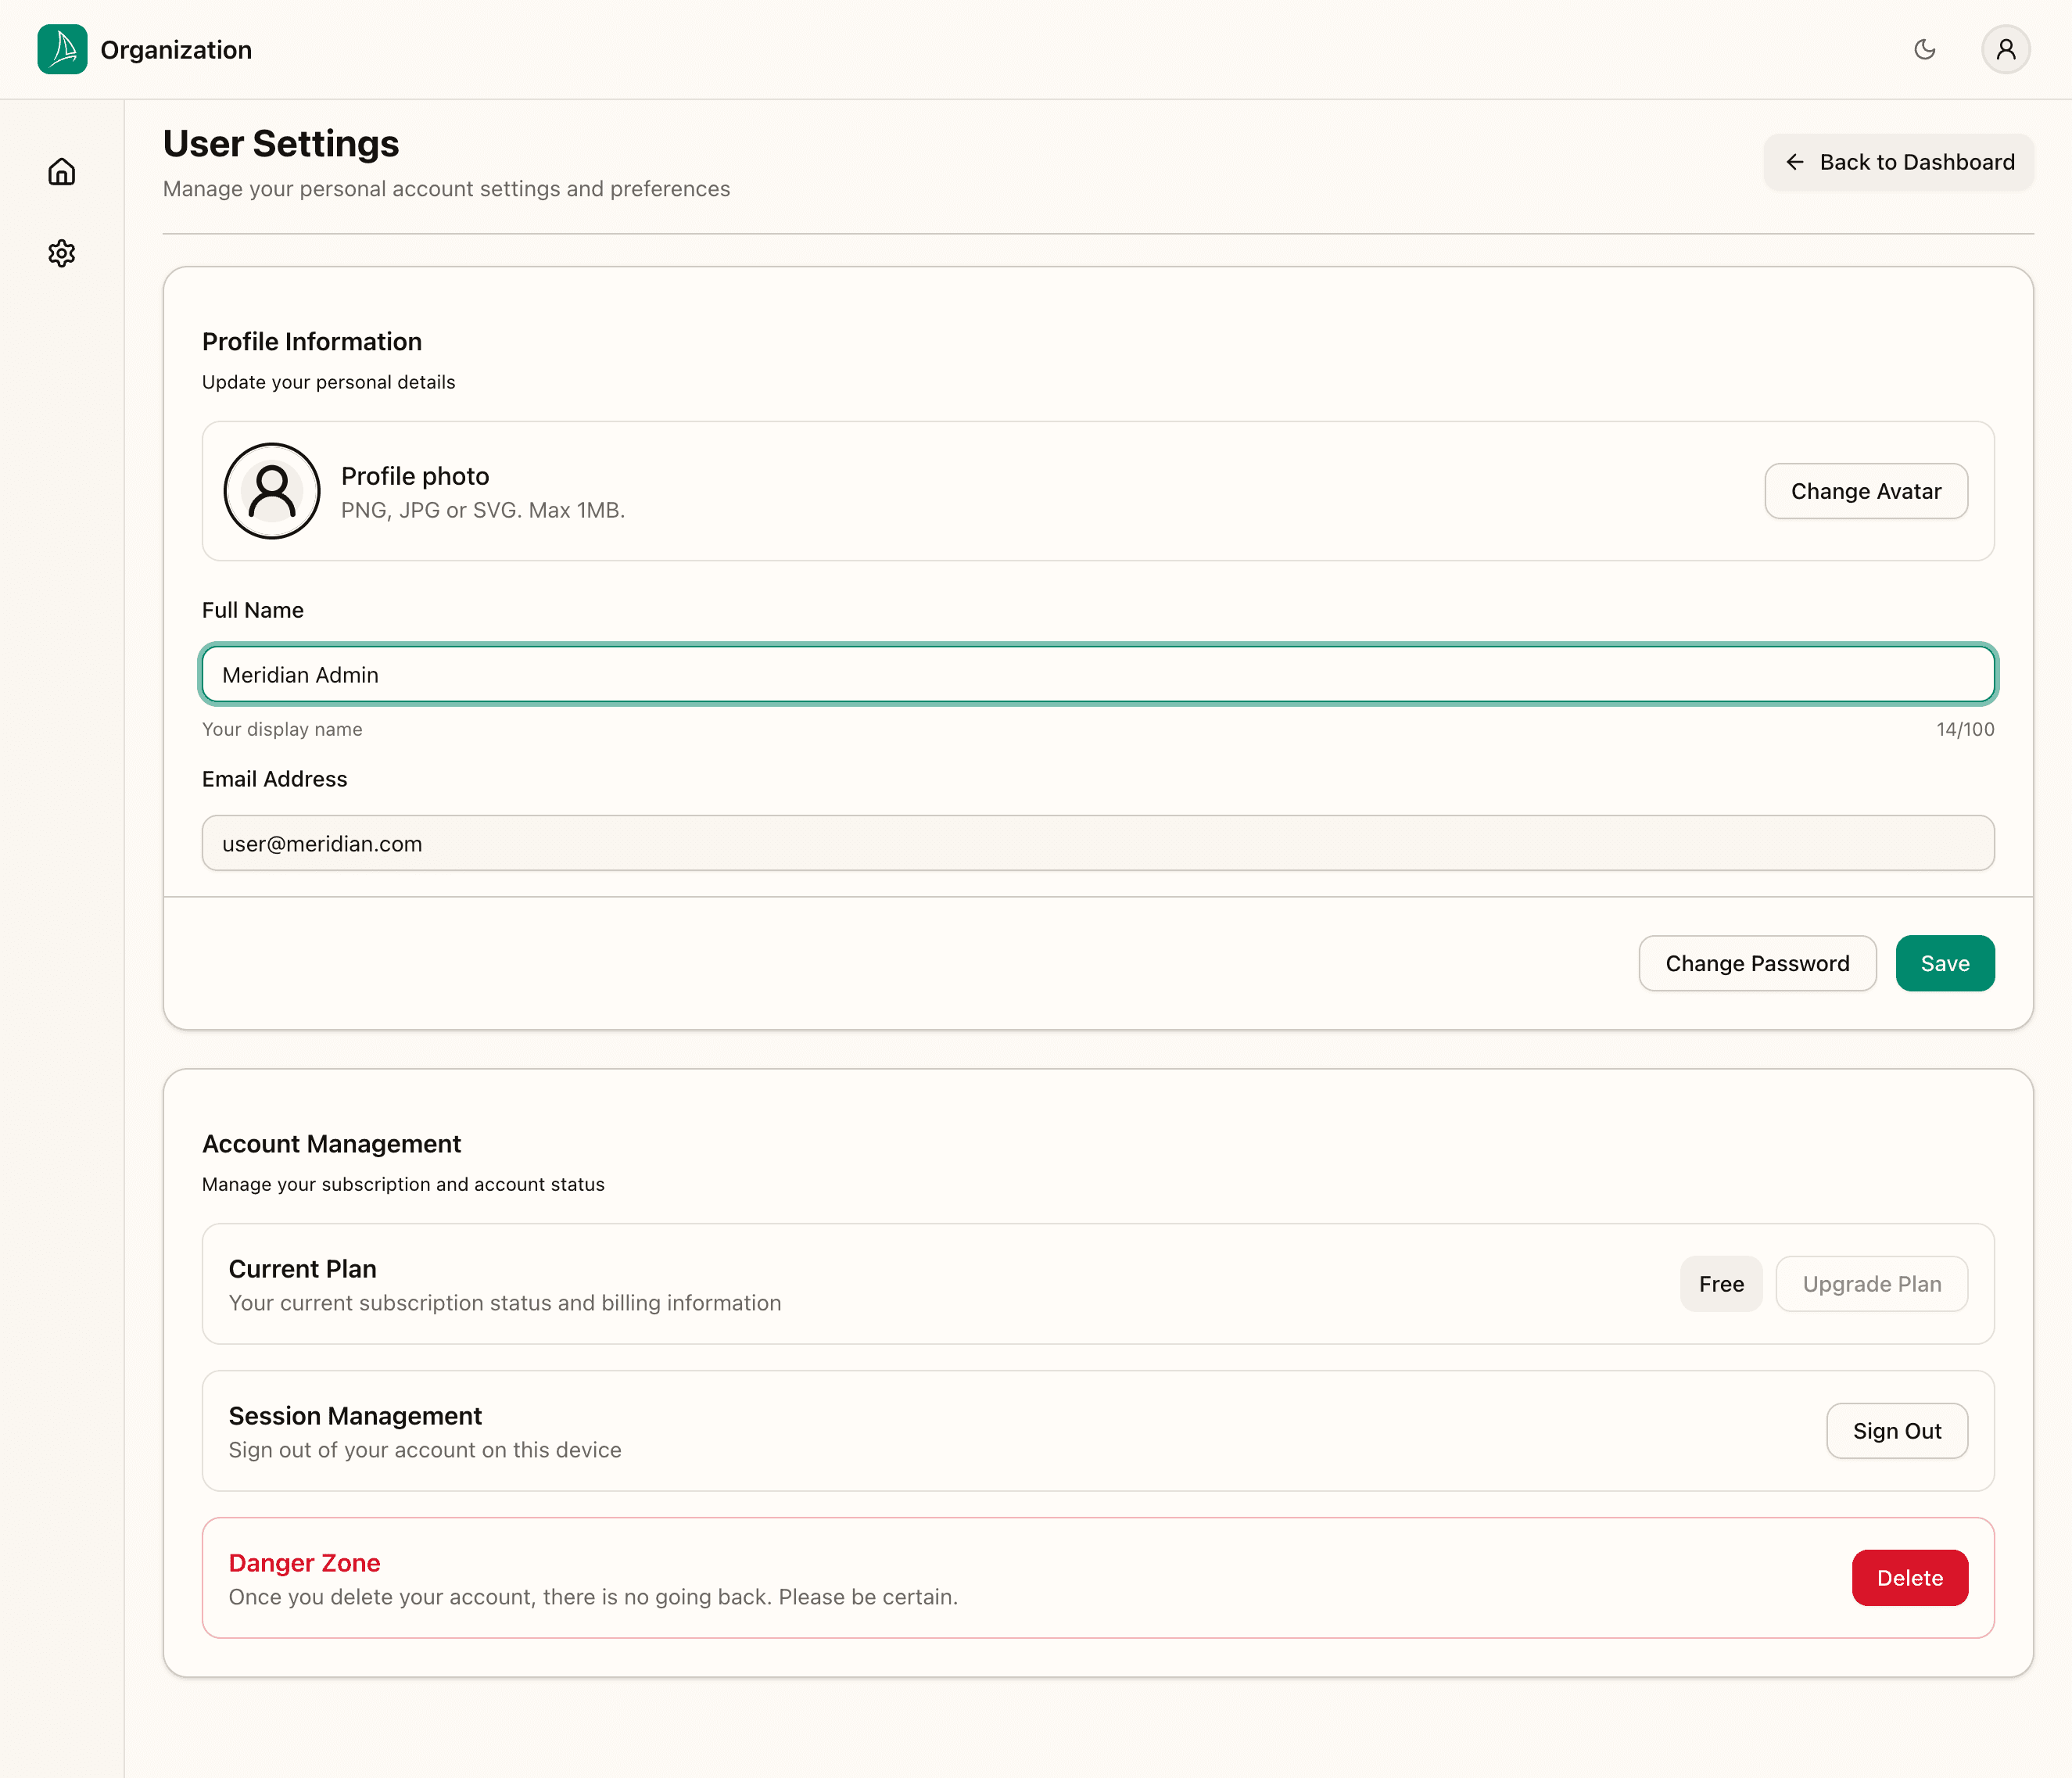
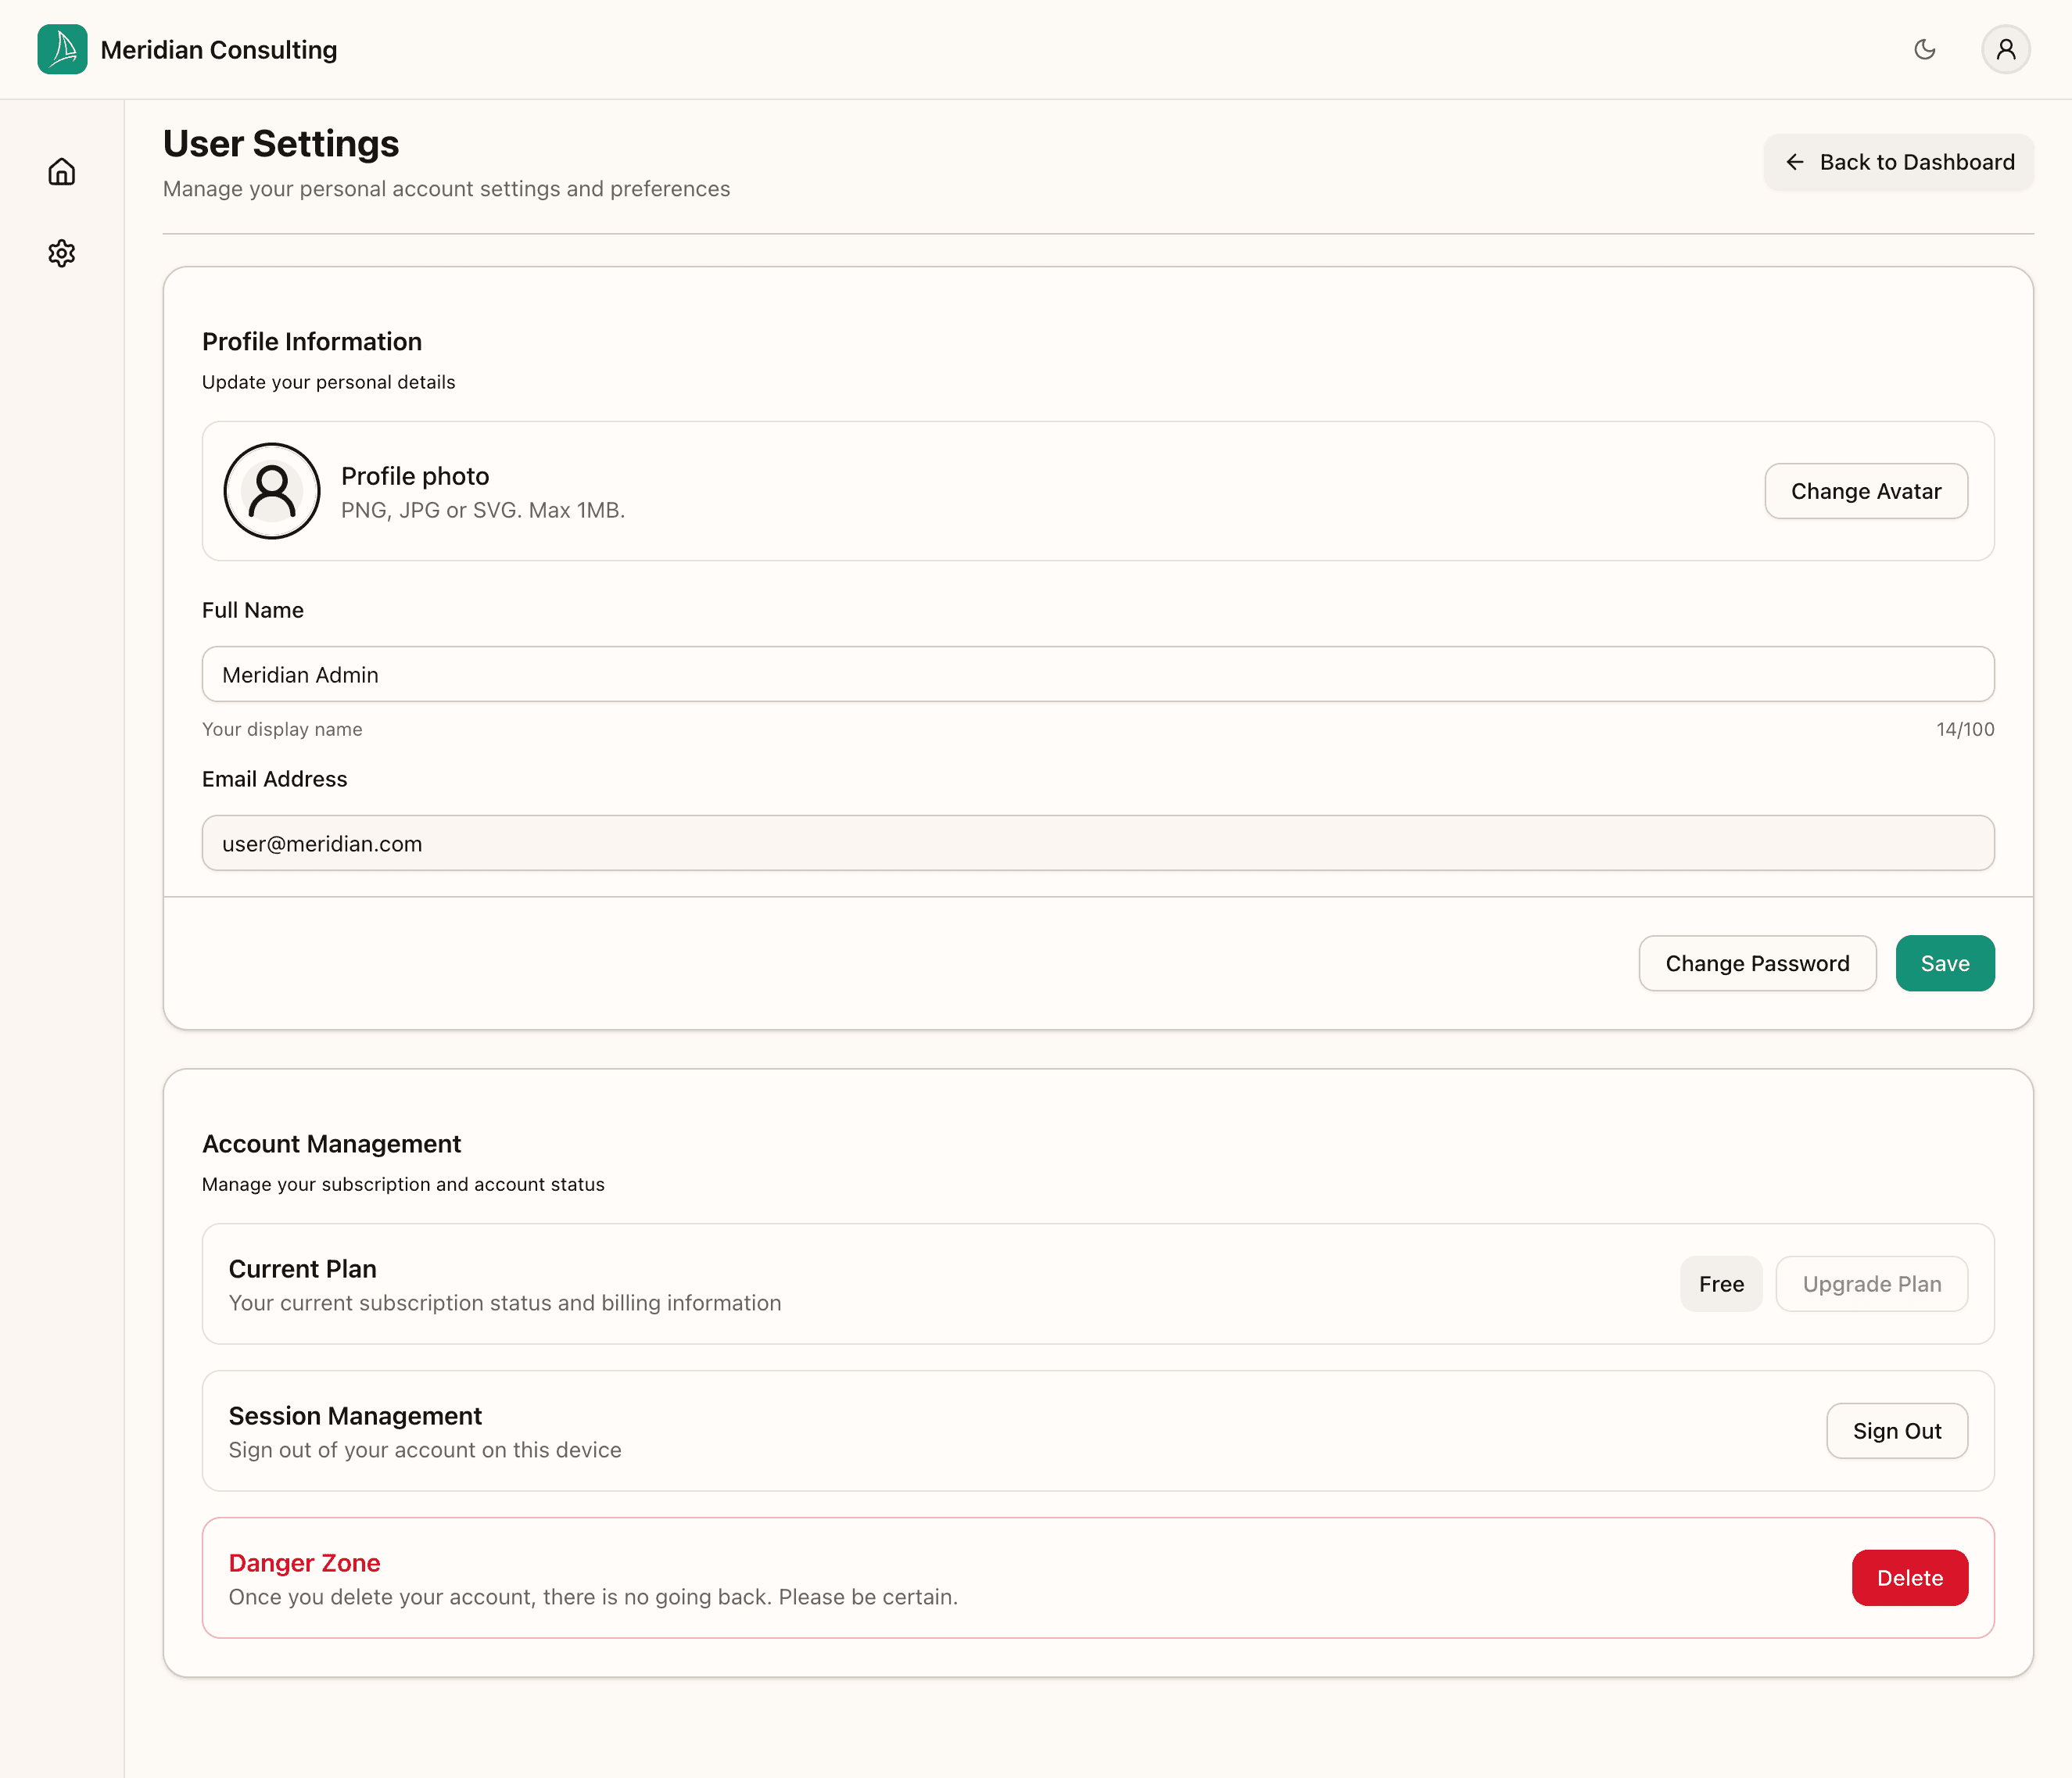
Click Save. The character counter updates and the banner at the top of the page now shows your organisation name in place of the generic "Organization" label, confirming everything's persisted.
What's next
You've got an account, you've created your organisation, and your profile is set. The next thing to do is create your first team — the workspace where agents, content, prospects, and deployments live.