Organisation & team management
In Account & onboarding you created your account and your organisation. In this page you'll:
- Tour the organisation settings page
- Invite colleagues into your organisation and manage who is in it
- Check your plan and what you've used this cycle
- Create your first team — the workspace where agents, content, prospects, and deployments live
- Get oriented in the team home page and its left-hand navigation
Organisation settings
The organisation is your top-level tenant. Its settings page is where you edit the name, industry, and description you provided at sign-up.
When you're not inside a team, the left-hand rail shows the organisation's own sections: Home, People, Billing & Usage and Settings. Open Settings to reach the Organization Settings page.
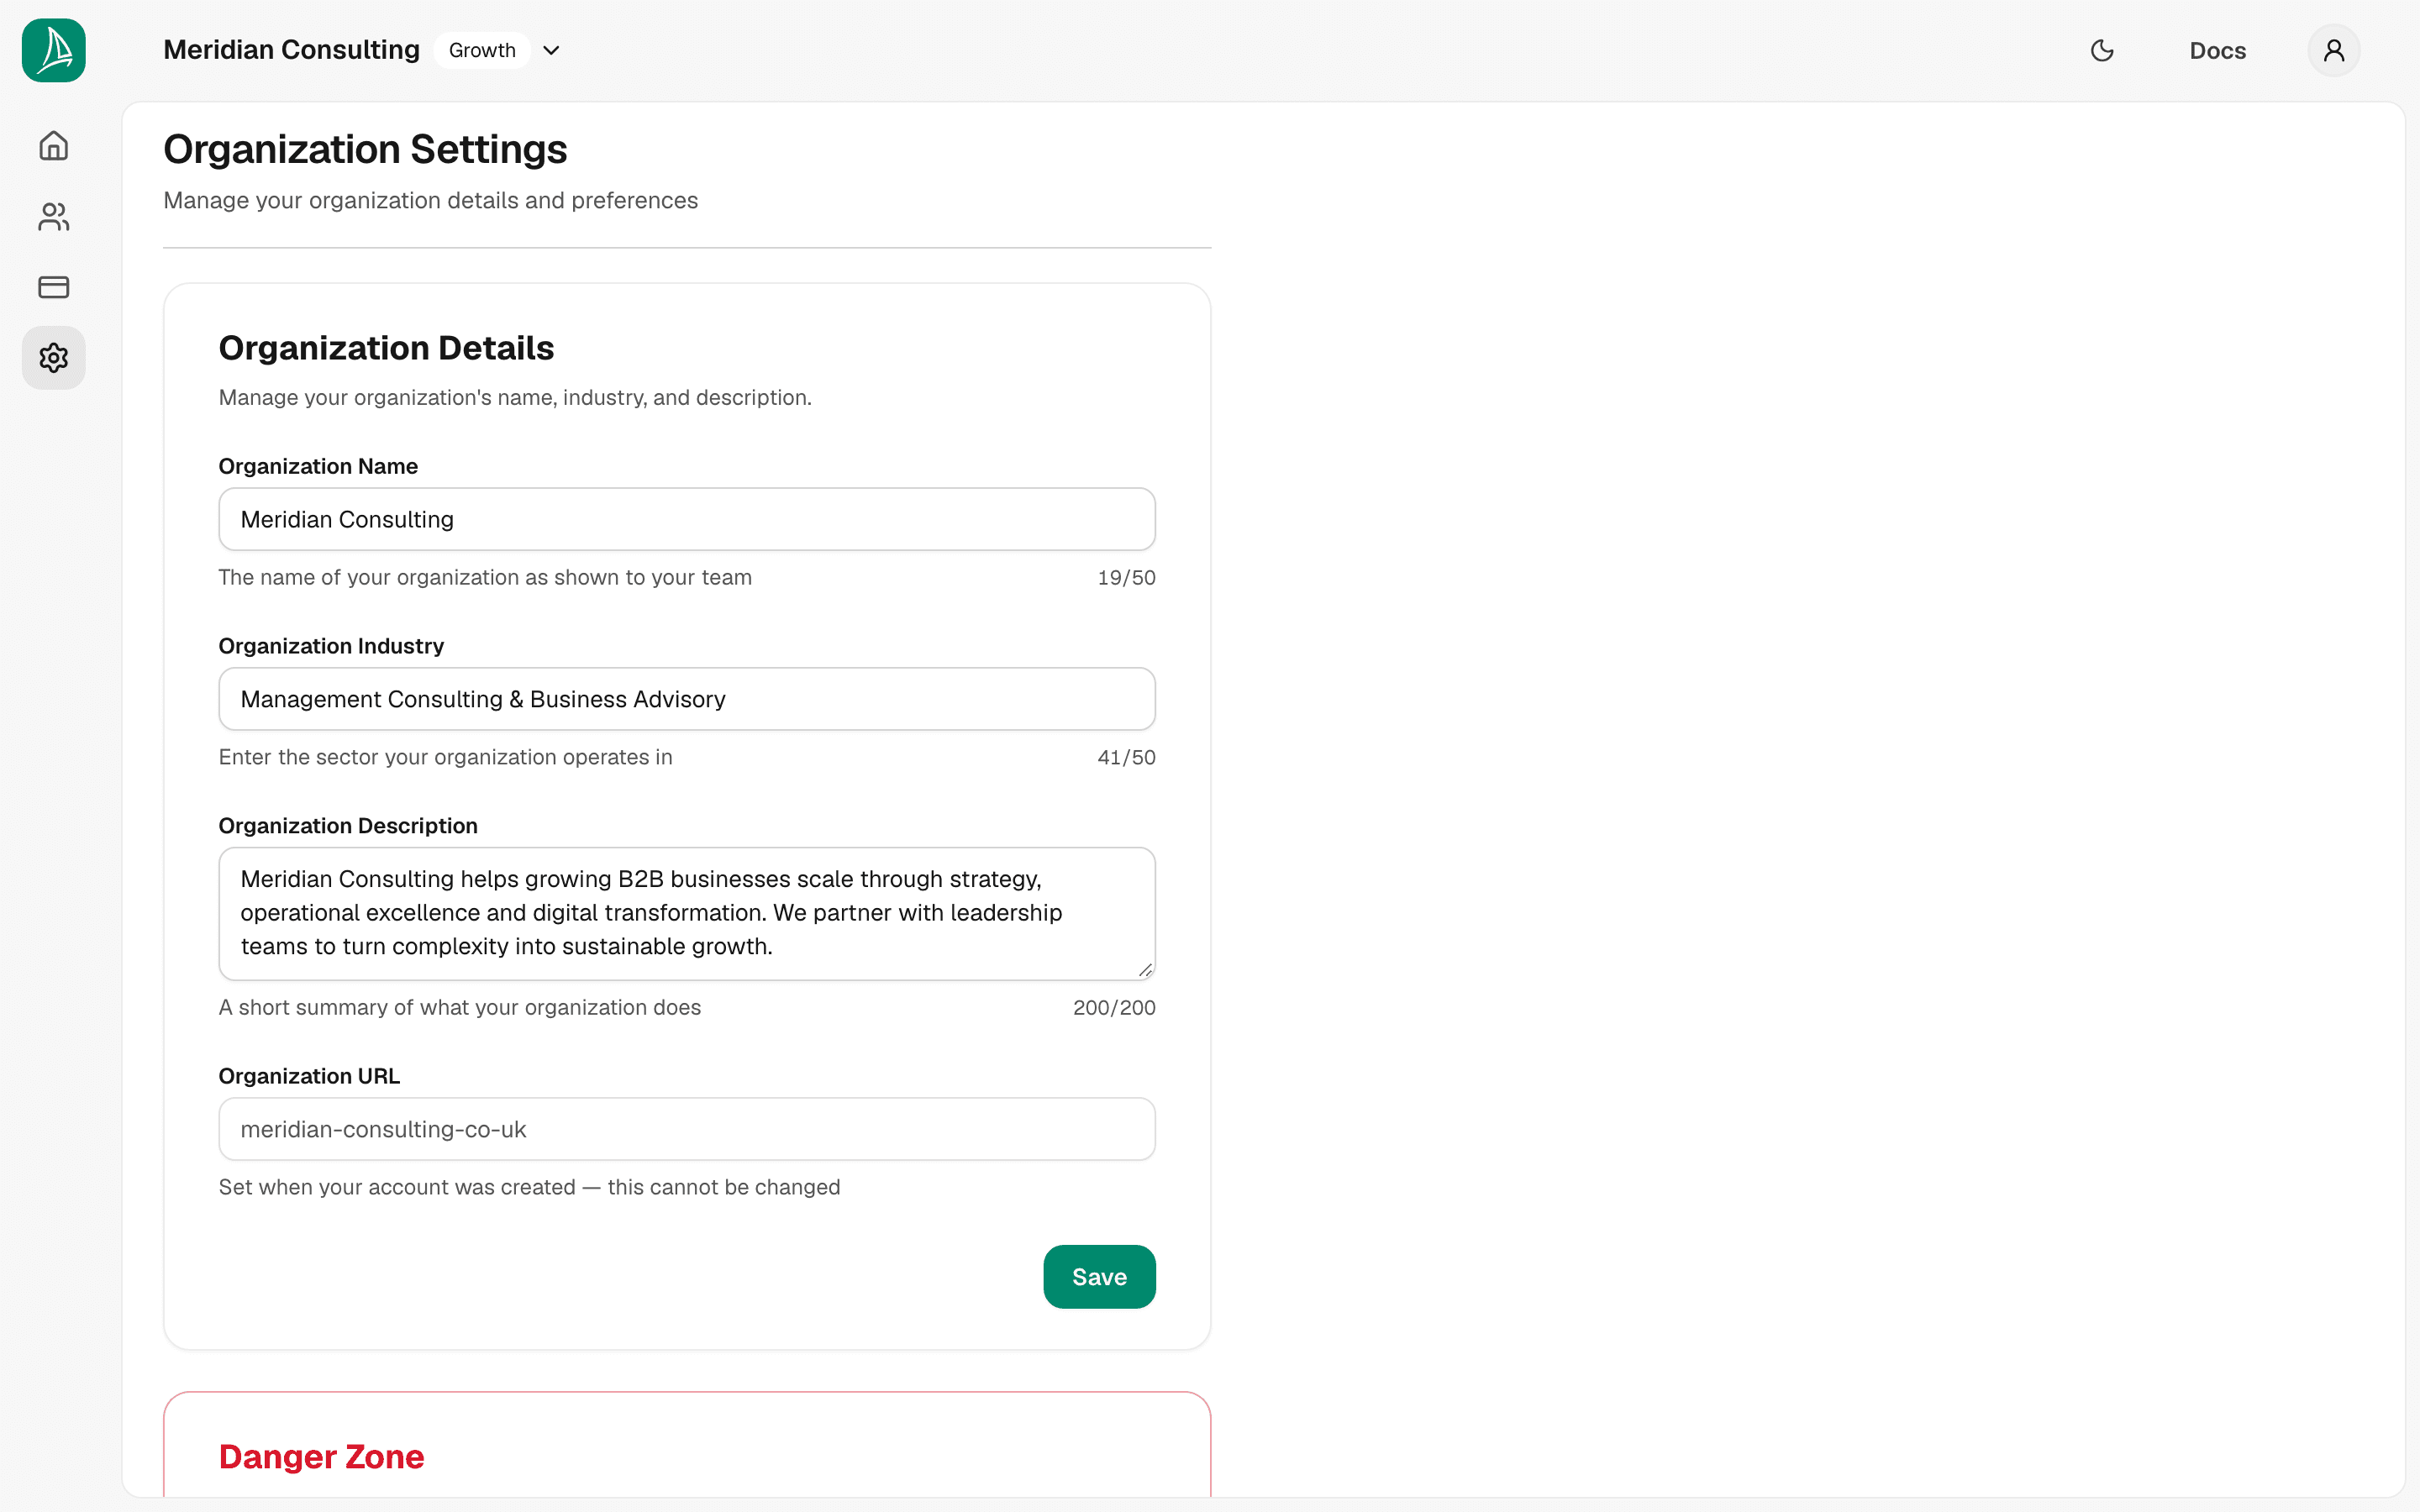
The Organization Details card holds four fields:
- Organization Name — shown to your team in the top bar and in screens where the organisation appears.
- Organization Industry — context for the AI agent and for sensible defaults; not visible to your customers.
- Organization Description — fed into the AI agent's grounding context so it can answer questions about who you are without going off-piste.
- Organization URL — read-only, generated when the organisation was created and used as a stable identifier in internal links. It can't be changed.
Edit any of the editable fields and click Save at the foot of the card. The top bar updates straight away to show the new name.
Only an owner can save these settings. Admins and members can open the page and read it, but a save from anyone who isn't an owner is refused.
Delete Organization
Below the form is a Delete Organization card. Deleting an organisation removes all of its teams, agents, content, deployments, and prospects. It can't be undone, and only an owner can do it. Use only when you really mean it.
Who is in your organisation
People in the organisation navigation lists who is in the organisation — not the teams, which are the workspaces covered further down this page. Open it to see everyone in your organisation and everyone you have invited but who has not joined yet — one list, ordered so that active people come first, then outstanding invitations, then anyone whose access you have removed.
Inviting somebody
Type their email address, choose a role, and click Send invitation. Any address works — a colleague, a freelancer, or an agency. The rule that your organisation must be created from a business address applies only to creating a new organisation, never to being invited into an existing one.
Three roles are offered:
- Owner — full control: invite and remove people, change roles, rename the organisation, change its settings, manage billing, delete the organisation, and delete any team.
- Admin — everything day to day: agents, content, prospects, deployments and teams. Cannot invite or remove people, change the organisation's settings or billing, or delete the organisation. Can delete a team only if they created it.
- Member — the same as Admin today. This is where narrower permissions will land, so choosing it now does not yet restrict anything.
Everybody who joins can see and work in every team in the organisation, including teams created before they arrived.
Everyone you invite gets the same email, whether or not they already have a Breezee AI account. It names you and your organisation, and it carries one link to the invitation.
That link lasts fourteen days and can be opened as many times as they like — opening it does not use it up, so a link scanner or a forwarded copy costs them nothing. Opening it shows them what they have been invited to and asks them to sign in, or, if the address has no account yet, to choose a password there and then. Accepting is the button they press afterwards, and it is the only step that joins them to the organisation.
After you send an invitation, that same link is also shown to you, once. It cannot be shown again, because only a scrambled version of it is stored, so keep it if you might need it. It is a convenience rather than a second invitation: if the email does not reach them, or we cannot confirm it was sent, you can pass this link on yourself and it works exactly the same way. An invitation that has passed fourteen days is shown as expired.
Resend is on every outstanding invitation's row, expired ones included, and on the notice above when the email did not go out. It sends a fresh invitation rather than the same one again — only a scrambled copy of the original link is stored, so there is no way to send that one twice. The link already in their inbox stops working immediately, they get a new email, and the fourteen days start over. You are asked to confirm before any of that happens.
Revoke withdraws an outstanding invitation. The link stops working immediately, and the address is free to be invited again.
The link only works for the address it was sent to. Somebody signed in with a different account — even a colleague at the same company — can't use it to join, and the invited address has to be confirmed before they can accept.
Changing a role, removing somebody, restoring them
Each person's controls are in the ⋯ menu at the end of their row.
- Make owner / admin / member changes their role. Your own row has no menu: you cannot change or remove your own membership.
- Remove from organization takes them out of the organisation and out of every team in it. Their access to every team is dropped, so putting them back later means granting it again. You are asked to confirm.
- Restore access brings back somebody you removed. This is the way back — sending them a new invitation will not work, because they still have a record in the organisation.
An organisation must always keep at least one active owner, so the only owner's controls are unavailable with the reason shown. Make somebody else an owner first.
If you are not an owner
Admins and members see who is in the organisation but cannot invite, remove, or change roles — the page says Invitations are managed by owners in place of the invite form. Outstanding invitations are not shown to you at all — so if you need to know whether somebody has been invited, ask an owner rather than reading an empty list.
Billing & usage
Open Billing & Usage in the organisation's left-hand rail to see which plan your organisation is on and how much of this cycle's allowance it has used.
The page is made of up to four cards, top to bottom:
- Free trial — only while your organisation is on a trial. It shows the date the trial ends, how long is left, and a button to choose a plan. When the trial has ended it says so, and confirms that your content, your agent's configuration and your conversation history have all been kept.
- Current Plan — the plan's name and when this cycle's allowance resets (or, on a trial, when the trial ends and that you'll move to the Free plan). If a payment has failed, this is where you're told, with a way to update your card. Upgrade Plan — Change plan once you have a subscription — opens the Plans page.
- This cycle's usage — a meter for each allowance your plan meters: conversations and document pages. A meter turns amber as you near the limit.
- Billing contact — the Billing email that invoices, receipts and payment notices go to. Use a shared company address rather than one person's inbox, so a payment notice still reaches somebody when that person leaves.
What each plan includes
The Plans page lists the plans you can choose, with a Monthly / Annual switch and live prices. The allowances reset every cycle:
| Plan | Conversations | Messages | Document pages | Connected integrations |
|---|---|---|---|---|
| Free | 5 | 200 | 10 | none |
| Launch | 50 | 2,000 | 50 | 1 |
| Growth | 200 | 8,000 | 100 | 3 |
| Scale | 500 | unlimited | 200 | unlimited |
| Growth trial | 25 | 1,000 | 25 | 1 |
If your organisation is on the beta, it has exactly what Growth has.
Only an owner can start or change a subscription. Anybody in the organisation can open the page and read the plan and the meters.
When an allowance runs out
When your organisation uses all of its conversations or all of its messages for the cycle, a red notice appears across the top of every dashboard page: your agent has stopped taking new conversations (or stopped replying) until the allowance resets or you move to a larger plan. It has an Upgrade plan button and can't be dismissed, because the agent really has stopped. Visitors in the widget see a line at the end of the conversation saying so.
Running out of document pages doesn't stop the agent. It stops new content being imported until the allowance resets.
Creating your first team
The team is where the work happens. Every agent, every piece of content, every deployment, and every prospect belongs to a team. Most organisations start with one team and add more only when they have distinct use cases that shouldn't share data.
Open the create-team form
From the empty dashboard home page you saw at the end of Account & onboarding, click Create Team.
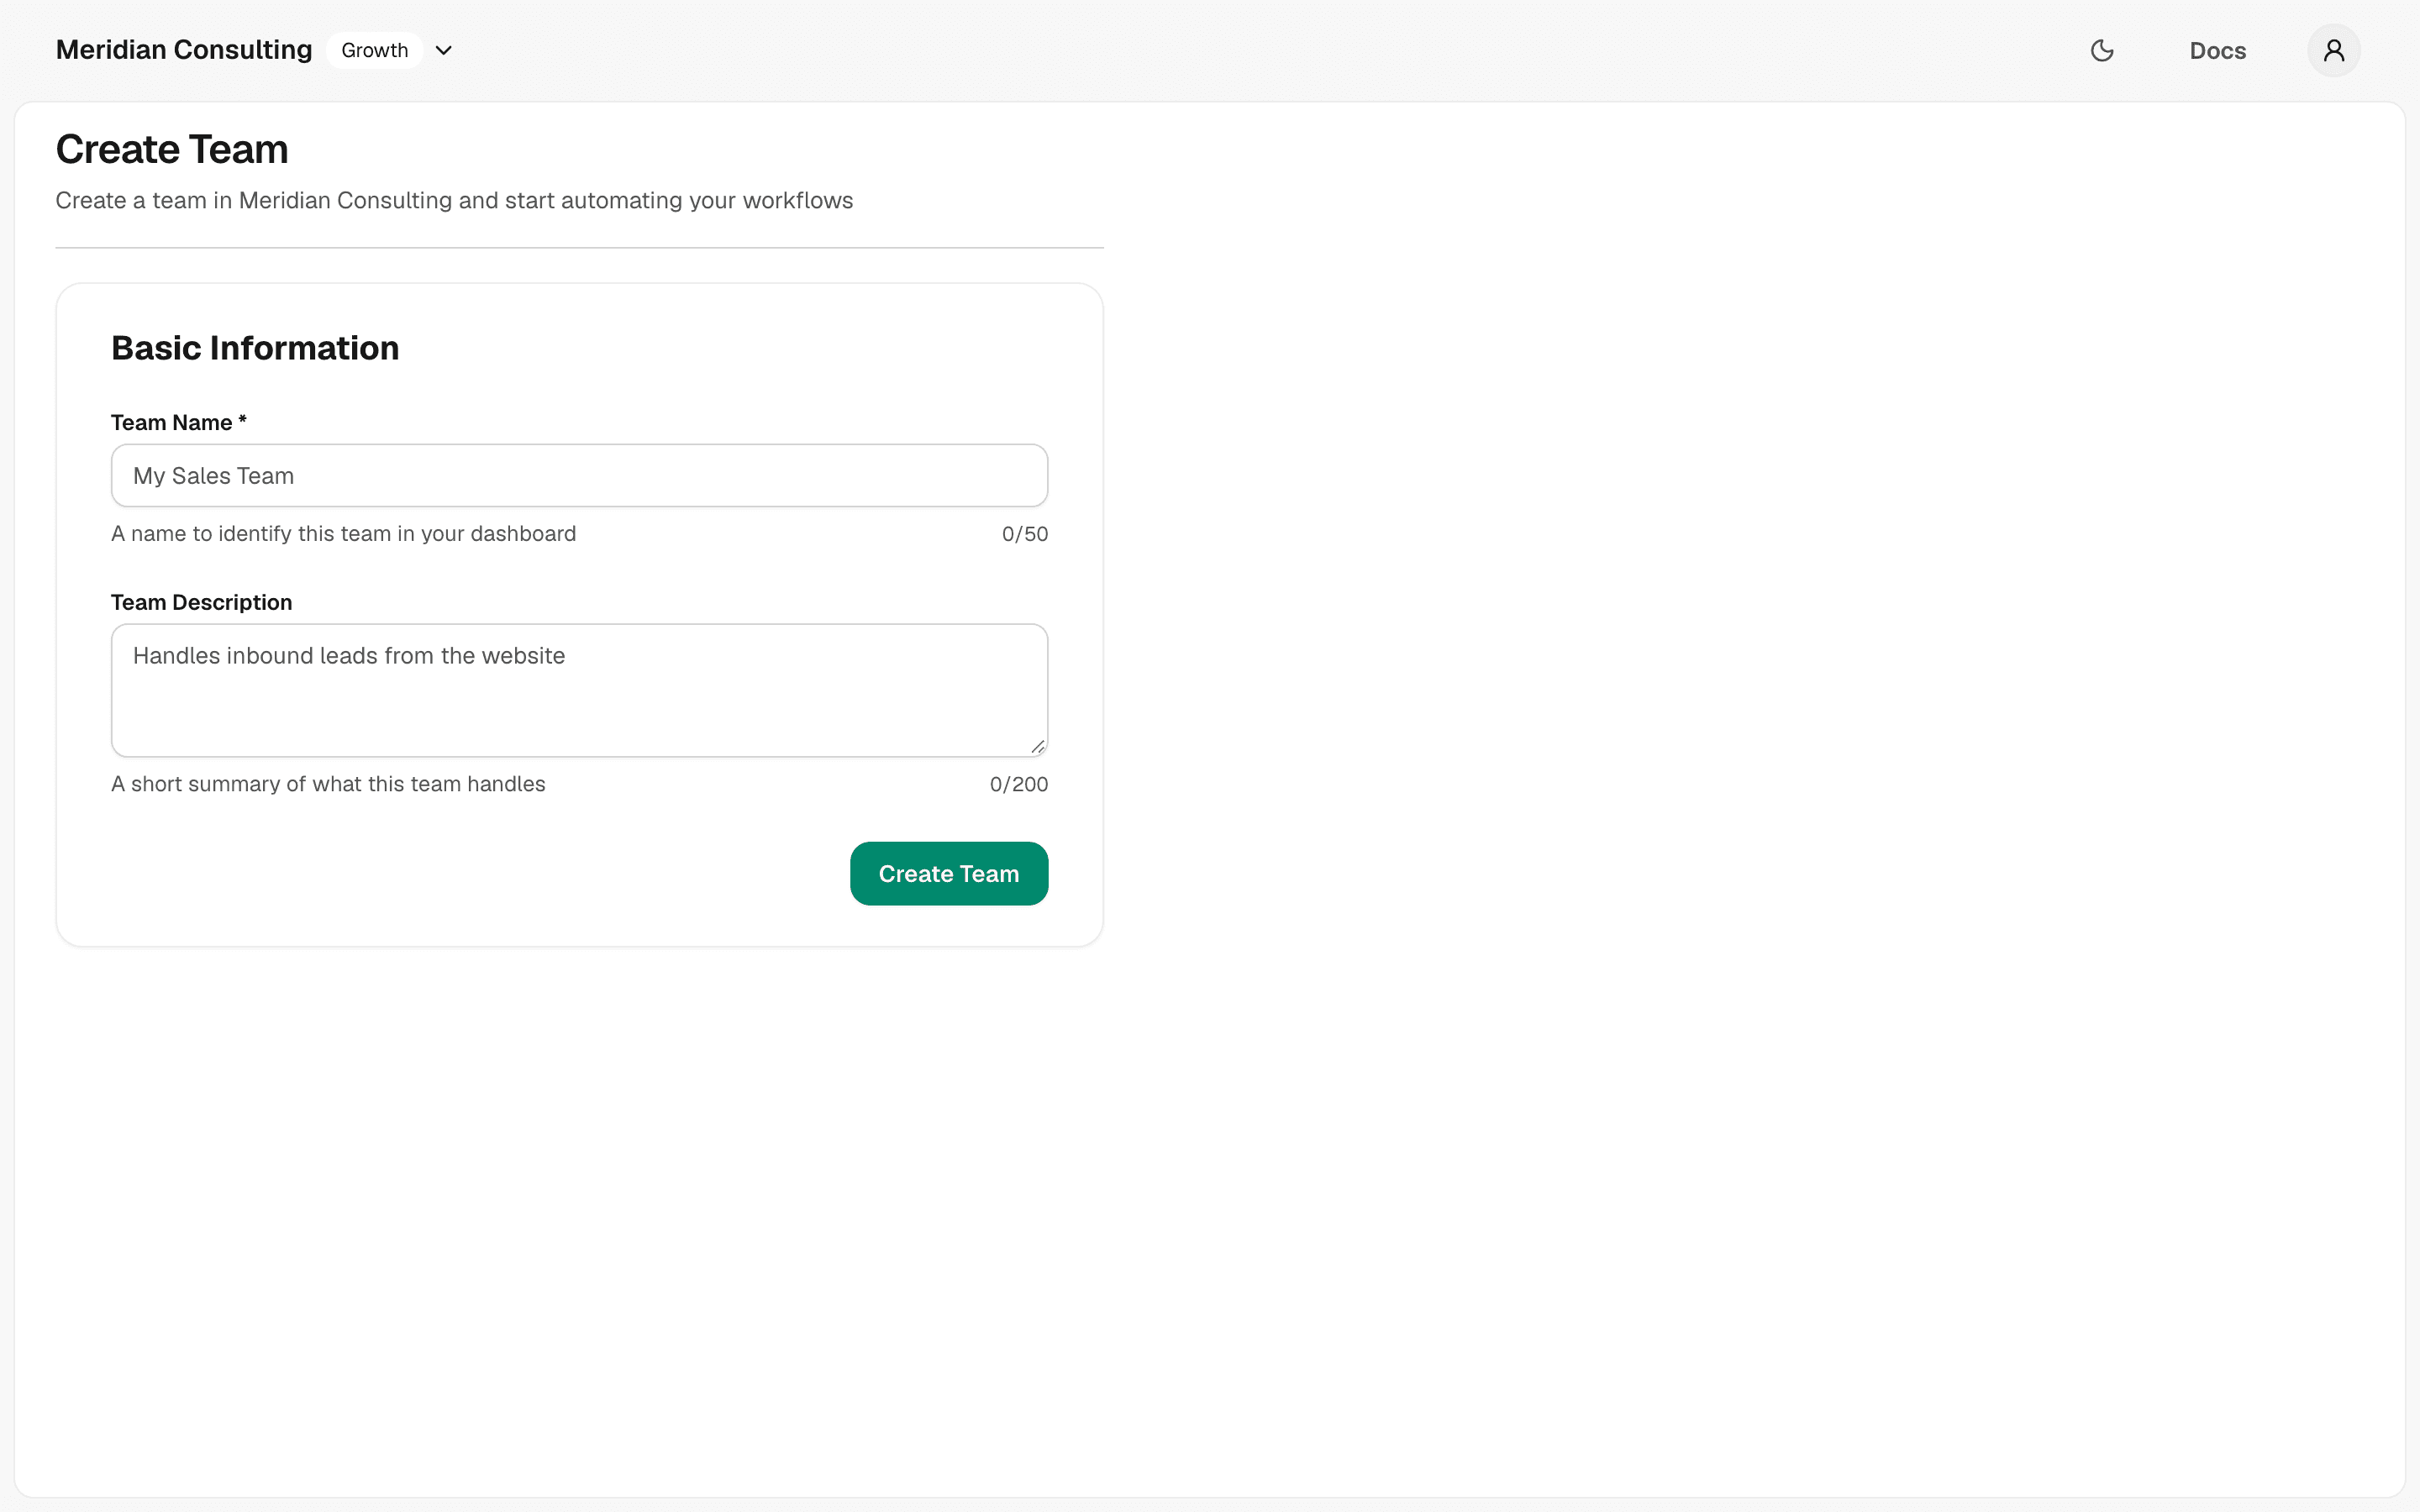
Two fields:
- Team Name — required, up to 50 characters. Shown wherever the team is referenced. Choose something specific (e.g. Website Sales Agent, Support Chat, Partner Portal) rather than generic.
- Team Description — optional, up to 200 characters. A short reminder of what this team handles, useful if you end up with several teams in the same organisation.
Fill in the team
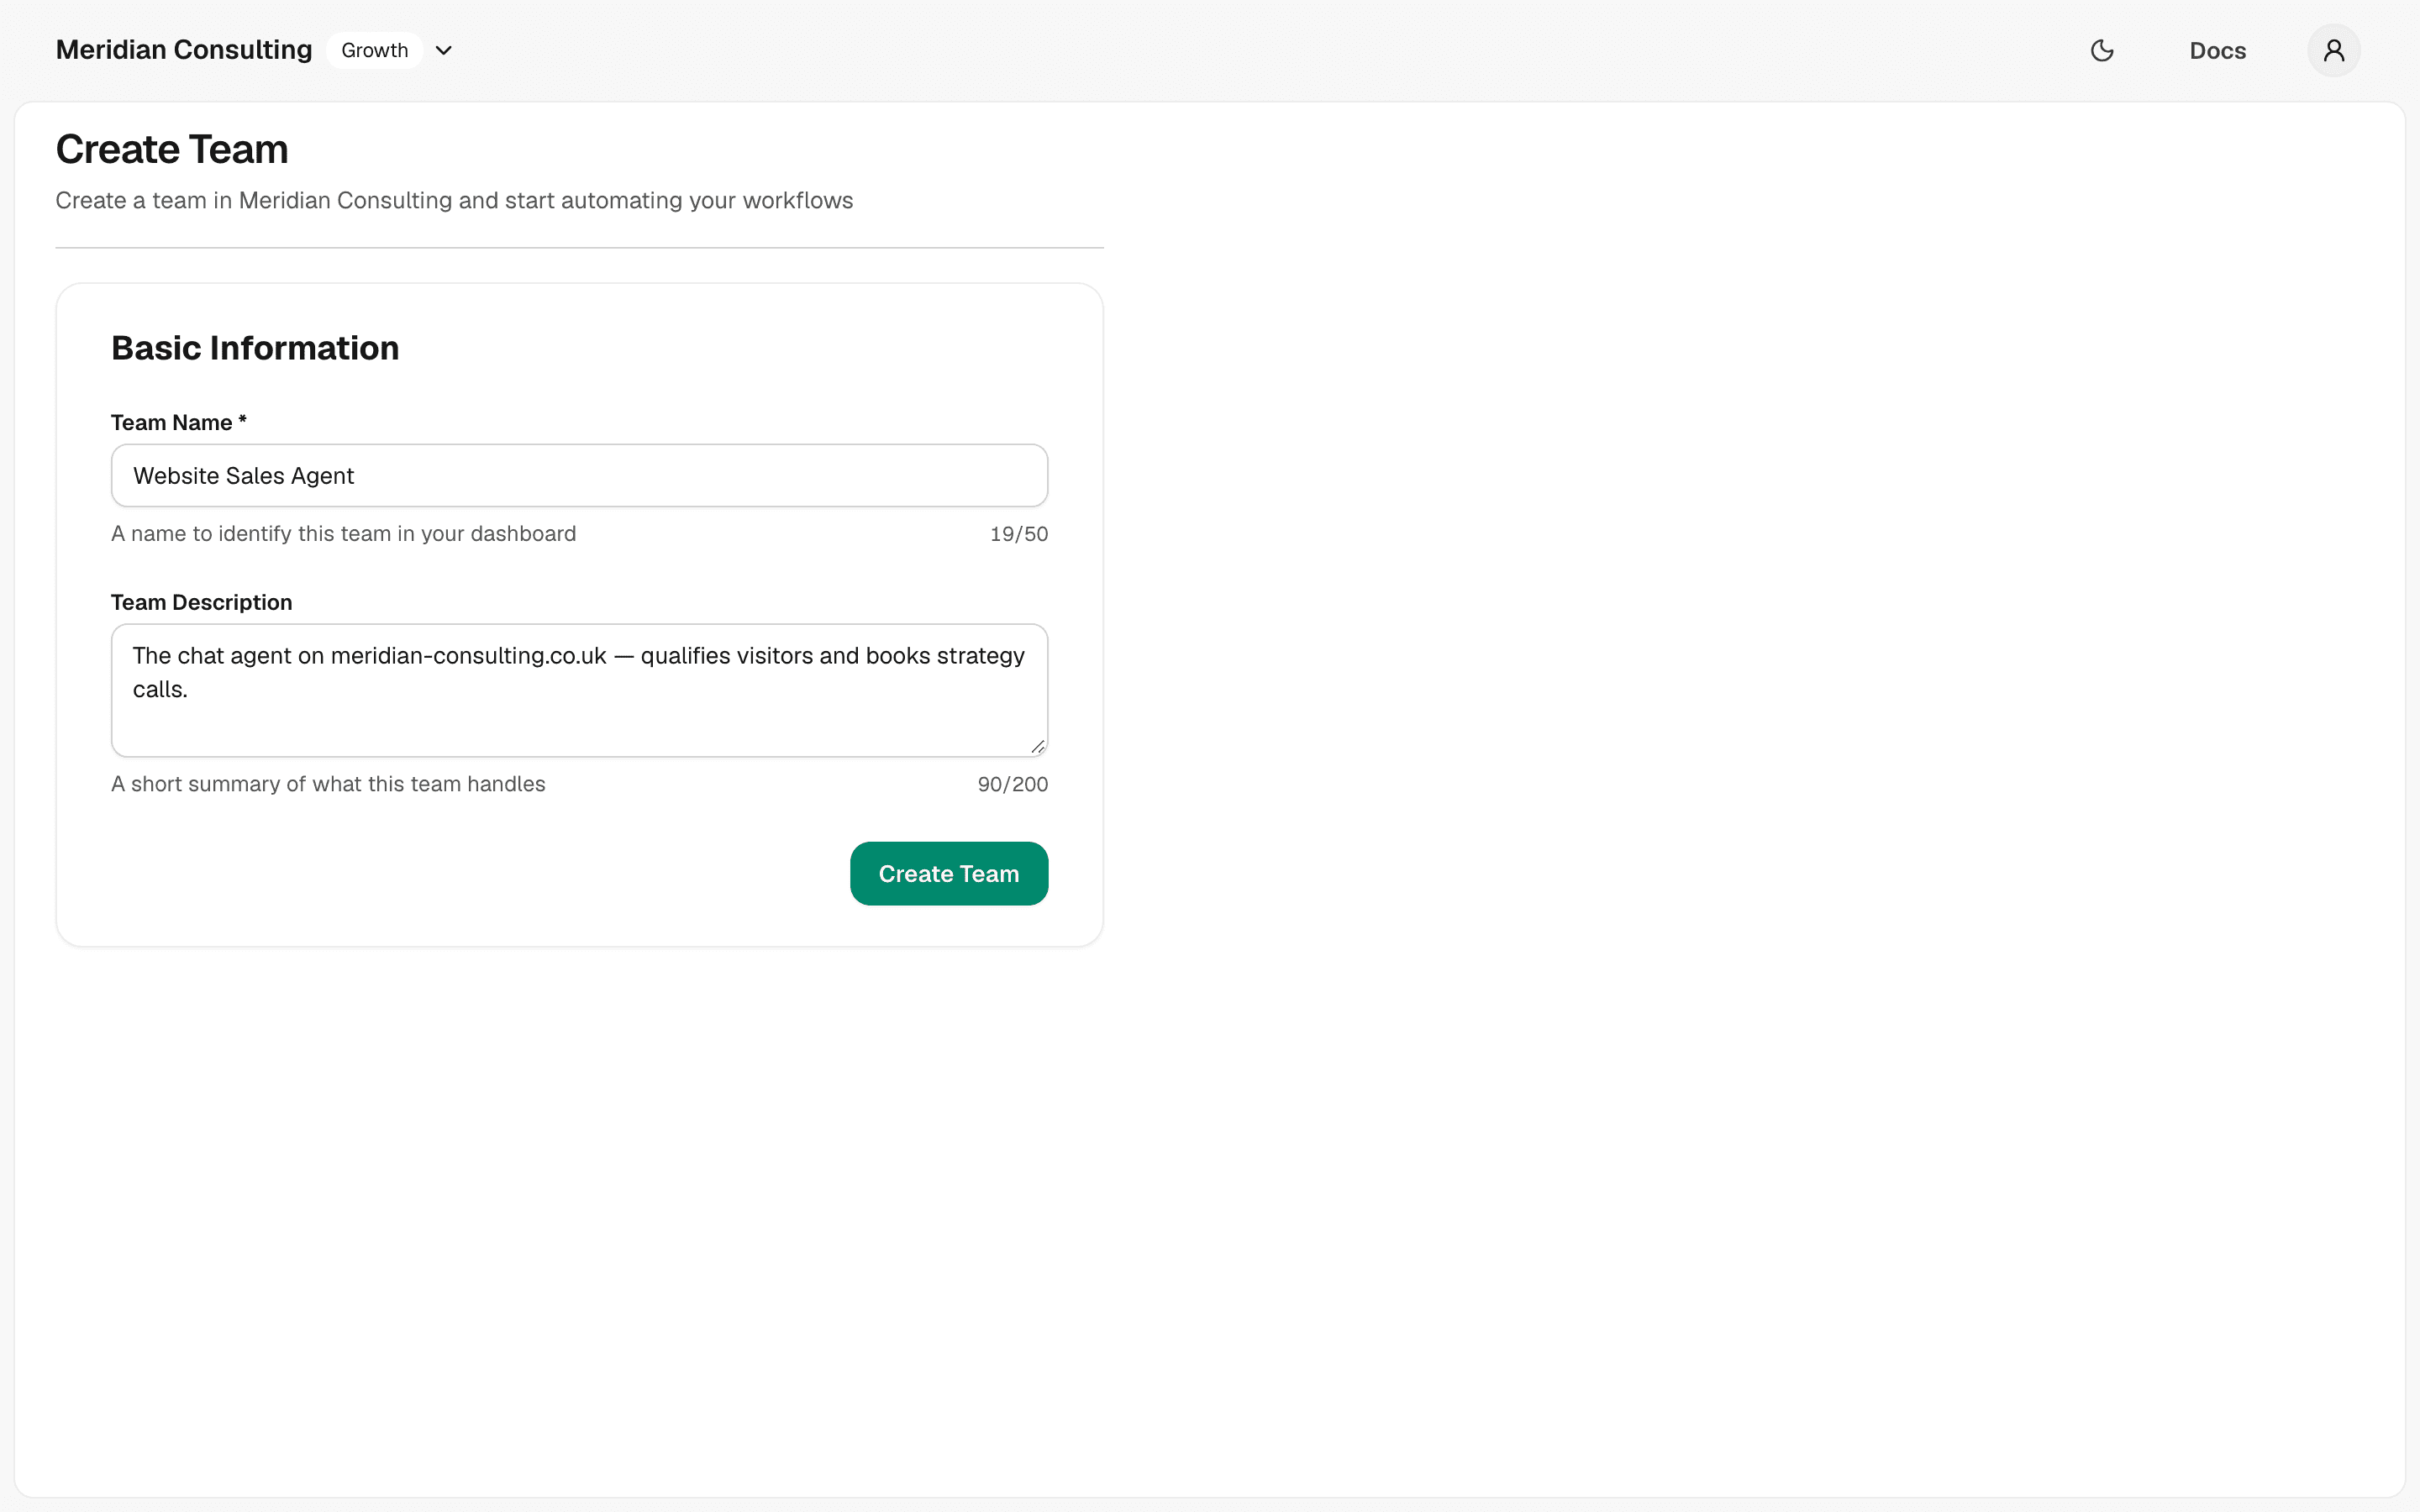
Click Create Team. You're redirected to the team's home page.
The team home page
The team home page is your day-to-day starting point. Everything you do for this team is one or two clicks away from here.
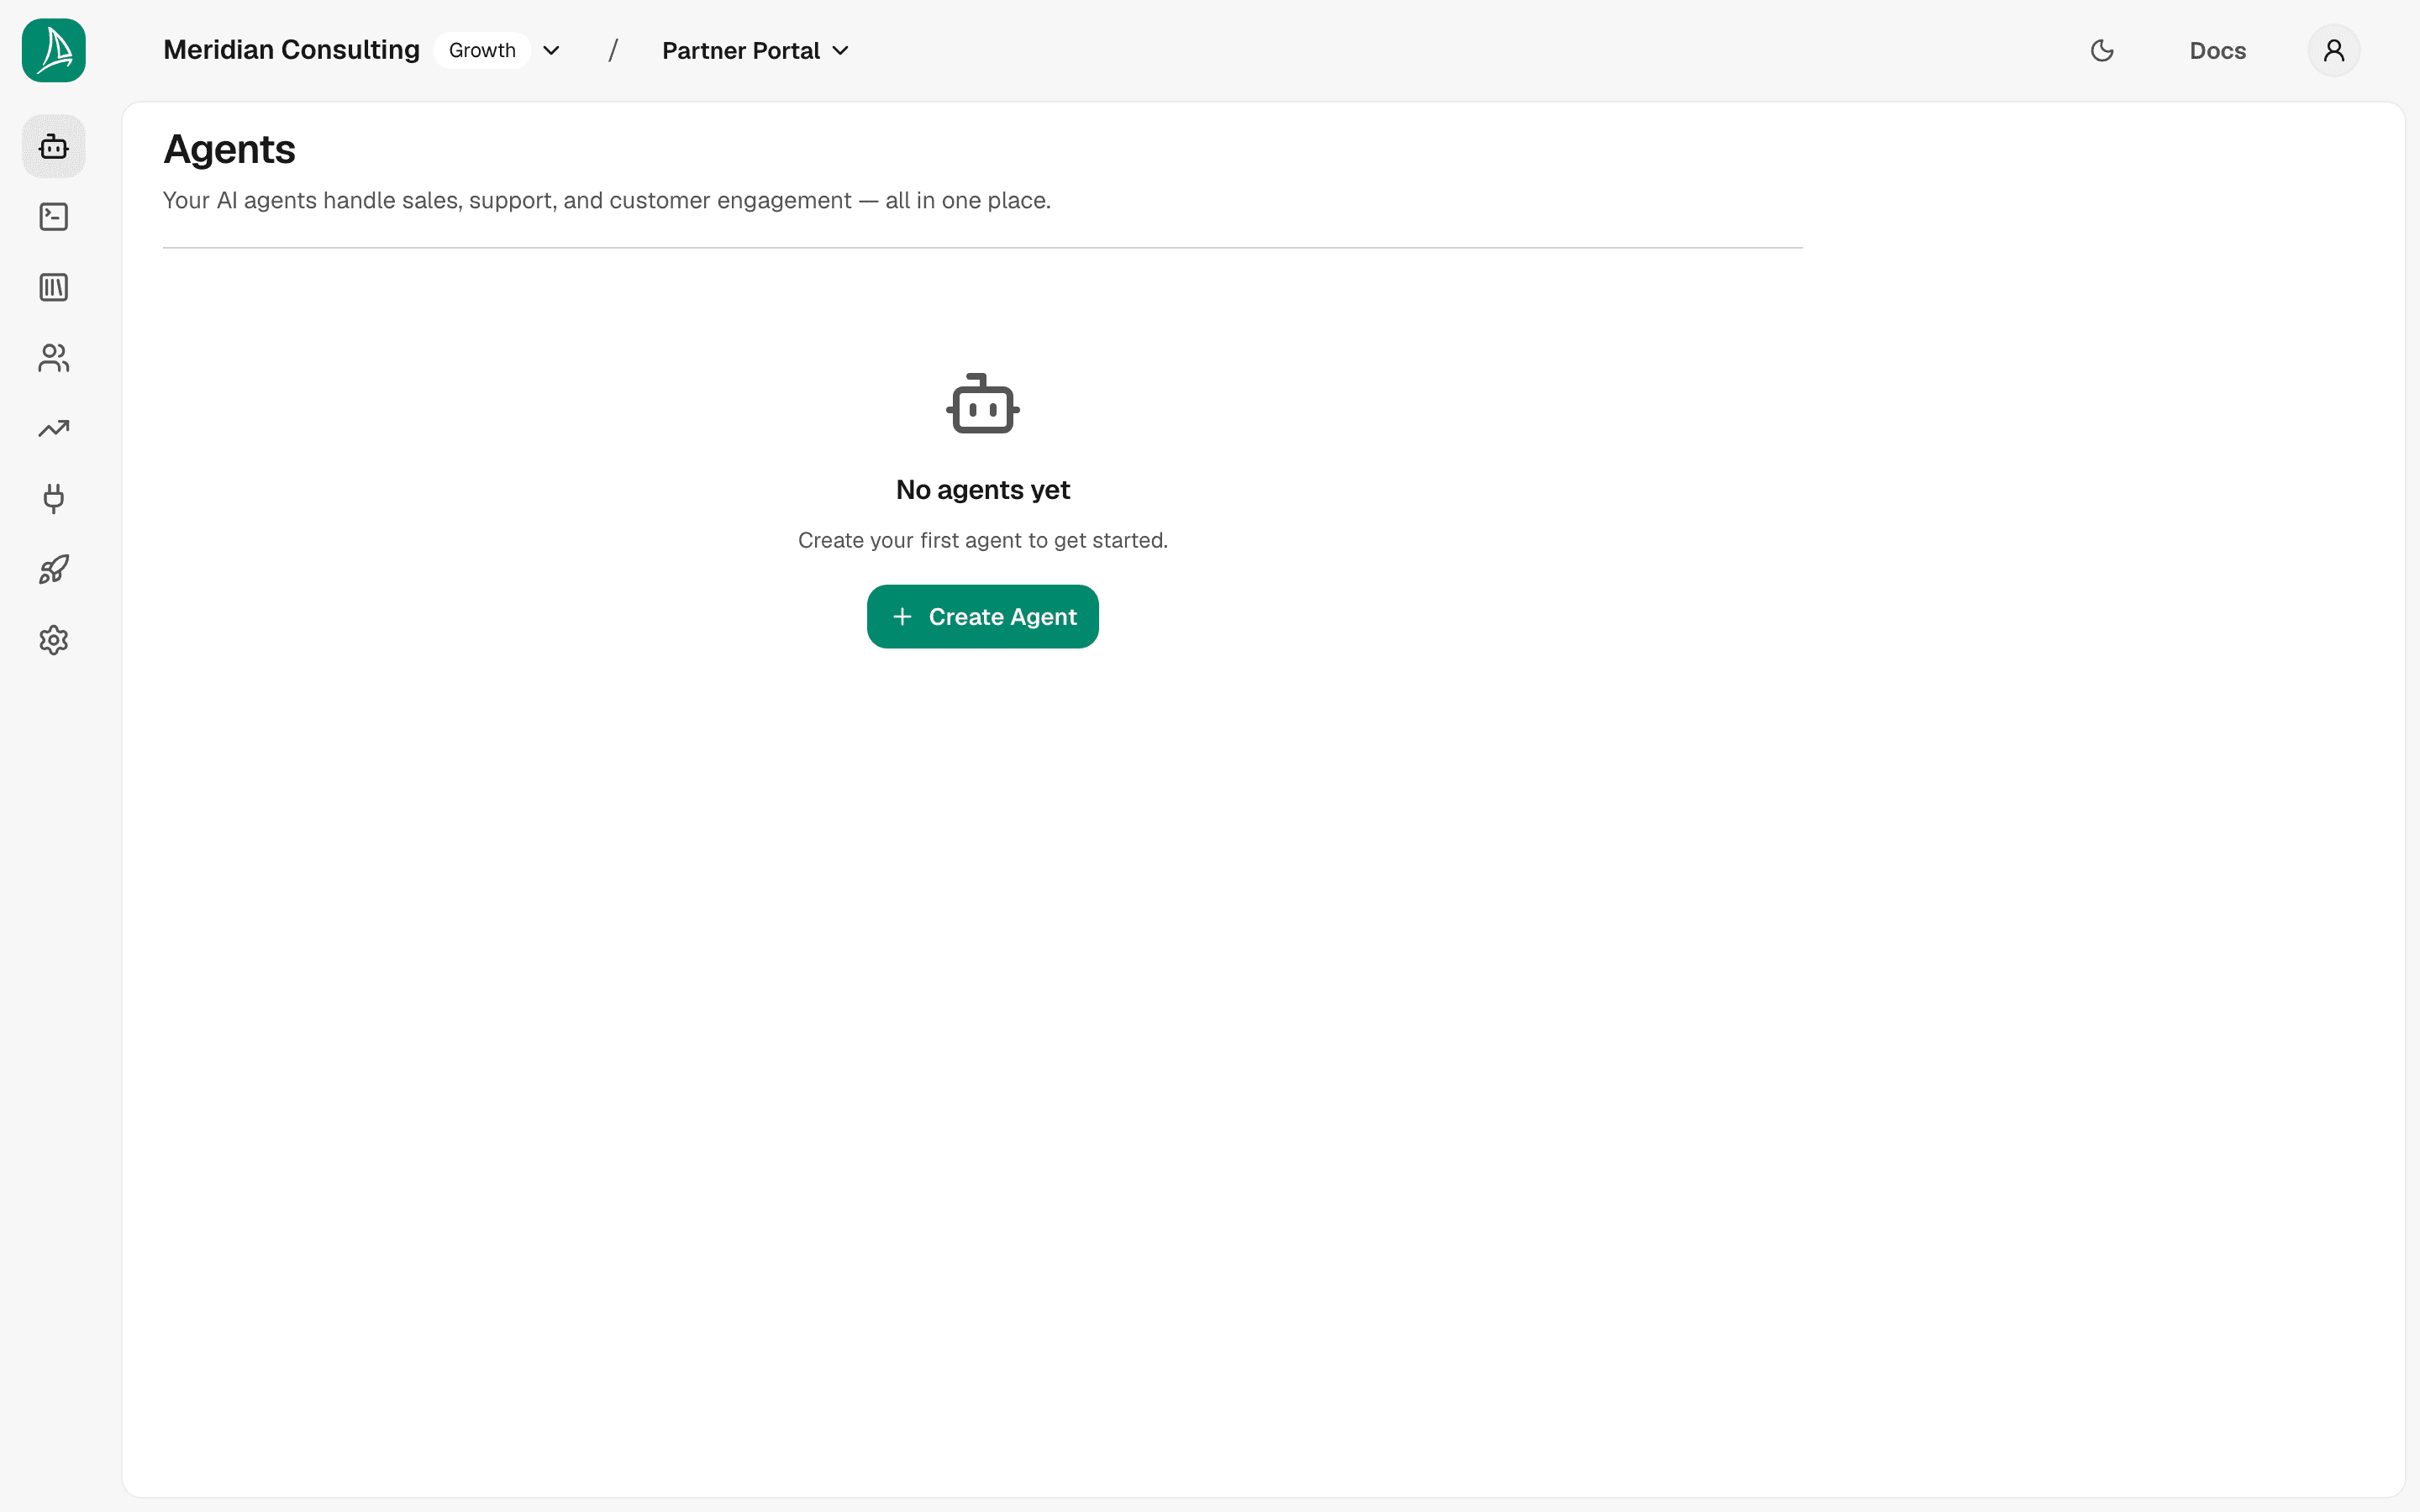
A new team has no agents yet, so the main content area shows the "No agents yet" empty state with a Create Agent button. This is what you'll exercise in Building your first agent.
The left-hand navigation
The left-hand rail is your map of the team. Each icon takes you to one of the team's major sections:
| Section | What it's for |
|---|---|
| Agents | Create and configure the AI agents that belong to this team. |
| Playground | A safe space to test conversations before deploying. Covered in Playground testing. |
| Content | Add knowledge — scan a website, upload documents, manage attributes. Covered in Ingesting knowledge. |
| Prospects | Triage visitors who've talked to the bot. Also where properties and segments are configured. Covered in Properties & segments and Prospects. |
| Analytics | Conversation volume, leads captured, sentiment, and ratings. Covered in Analytics. |
| Integrations | Connect CRMs and other downstream systems. Covered in Integrations. |
| Deployments | Configure and theme the chat widgets you embed on websites. Covered in Deployments & widget embed. |
| Settings | Edit the team's name and description, or delete the team. |
The rail shows icons to keep the screen calm. Hover over it and it opens to show each section's name. To keep it open, use Pin navigation open at the foot of the rail — a pinned rail moves the page across rather than covering it.
The top bar
Along the top of every dashboard page:
- Organisation switcher (top-left) — your organisation's name and its plan. Open it to switch to another organisation you belong to, find one by name, or choose Create Organisation.
- Team switcher (next to it, only inside a team) — switch to another team in the same organisation, or choose Create Team.
- Agent switcher (only inside an agent) — jump to another agent in the team.
- On the right: the light/dark theme toggle, Docs (this manual), and your account menu.
Team settings
Open Settings from the left-hand rail.
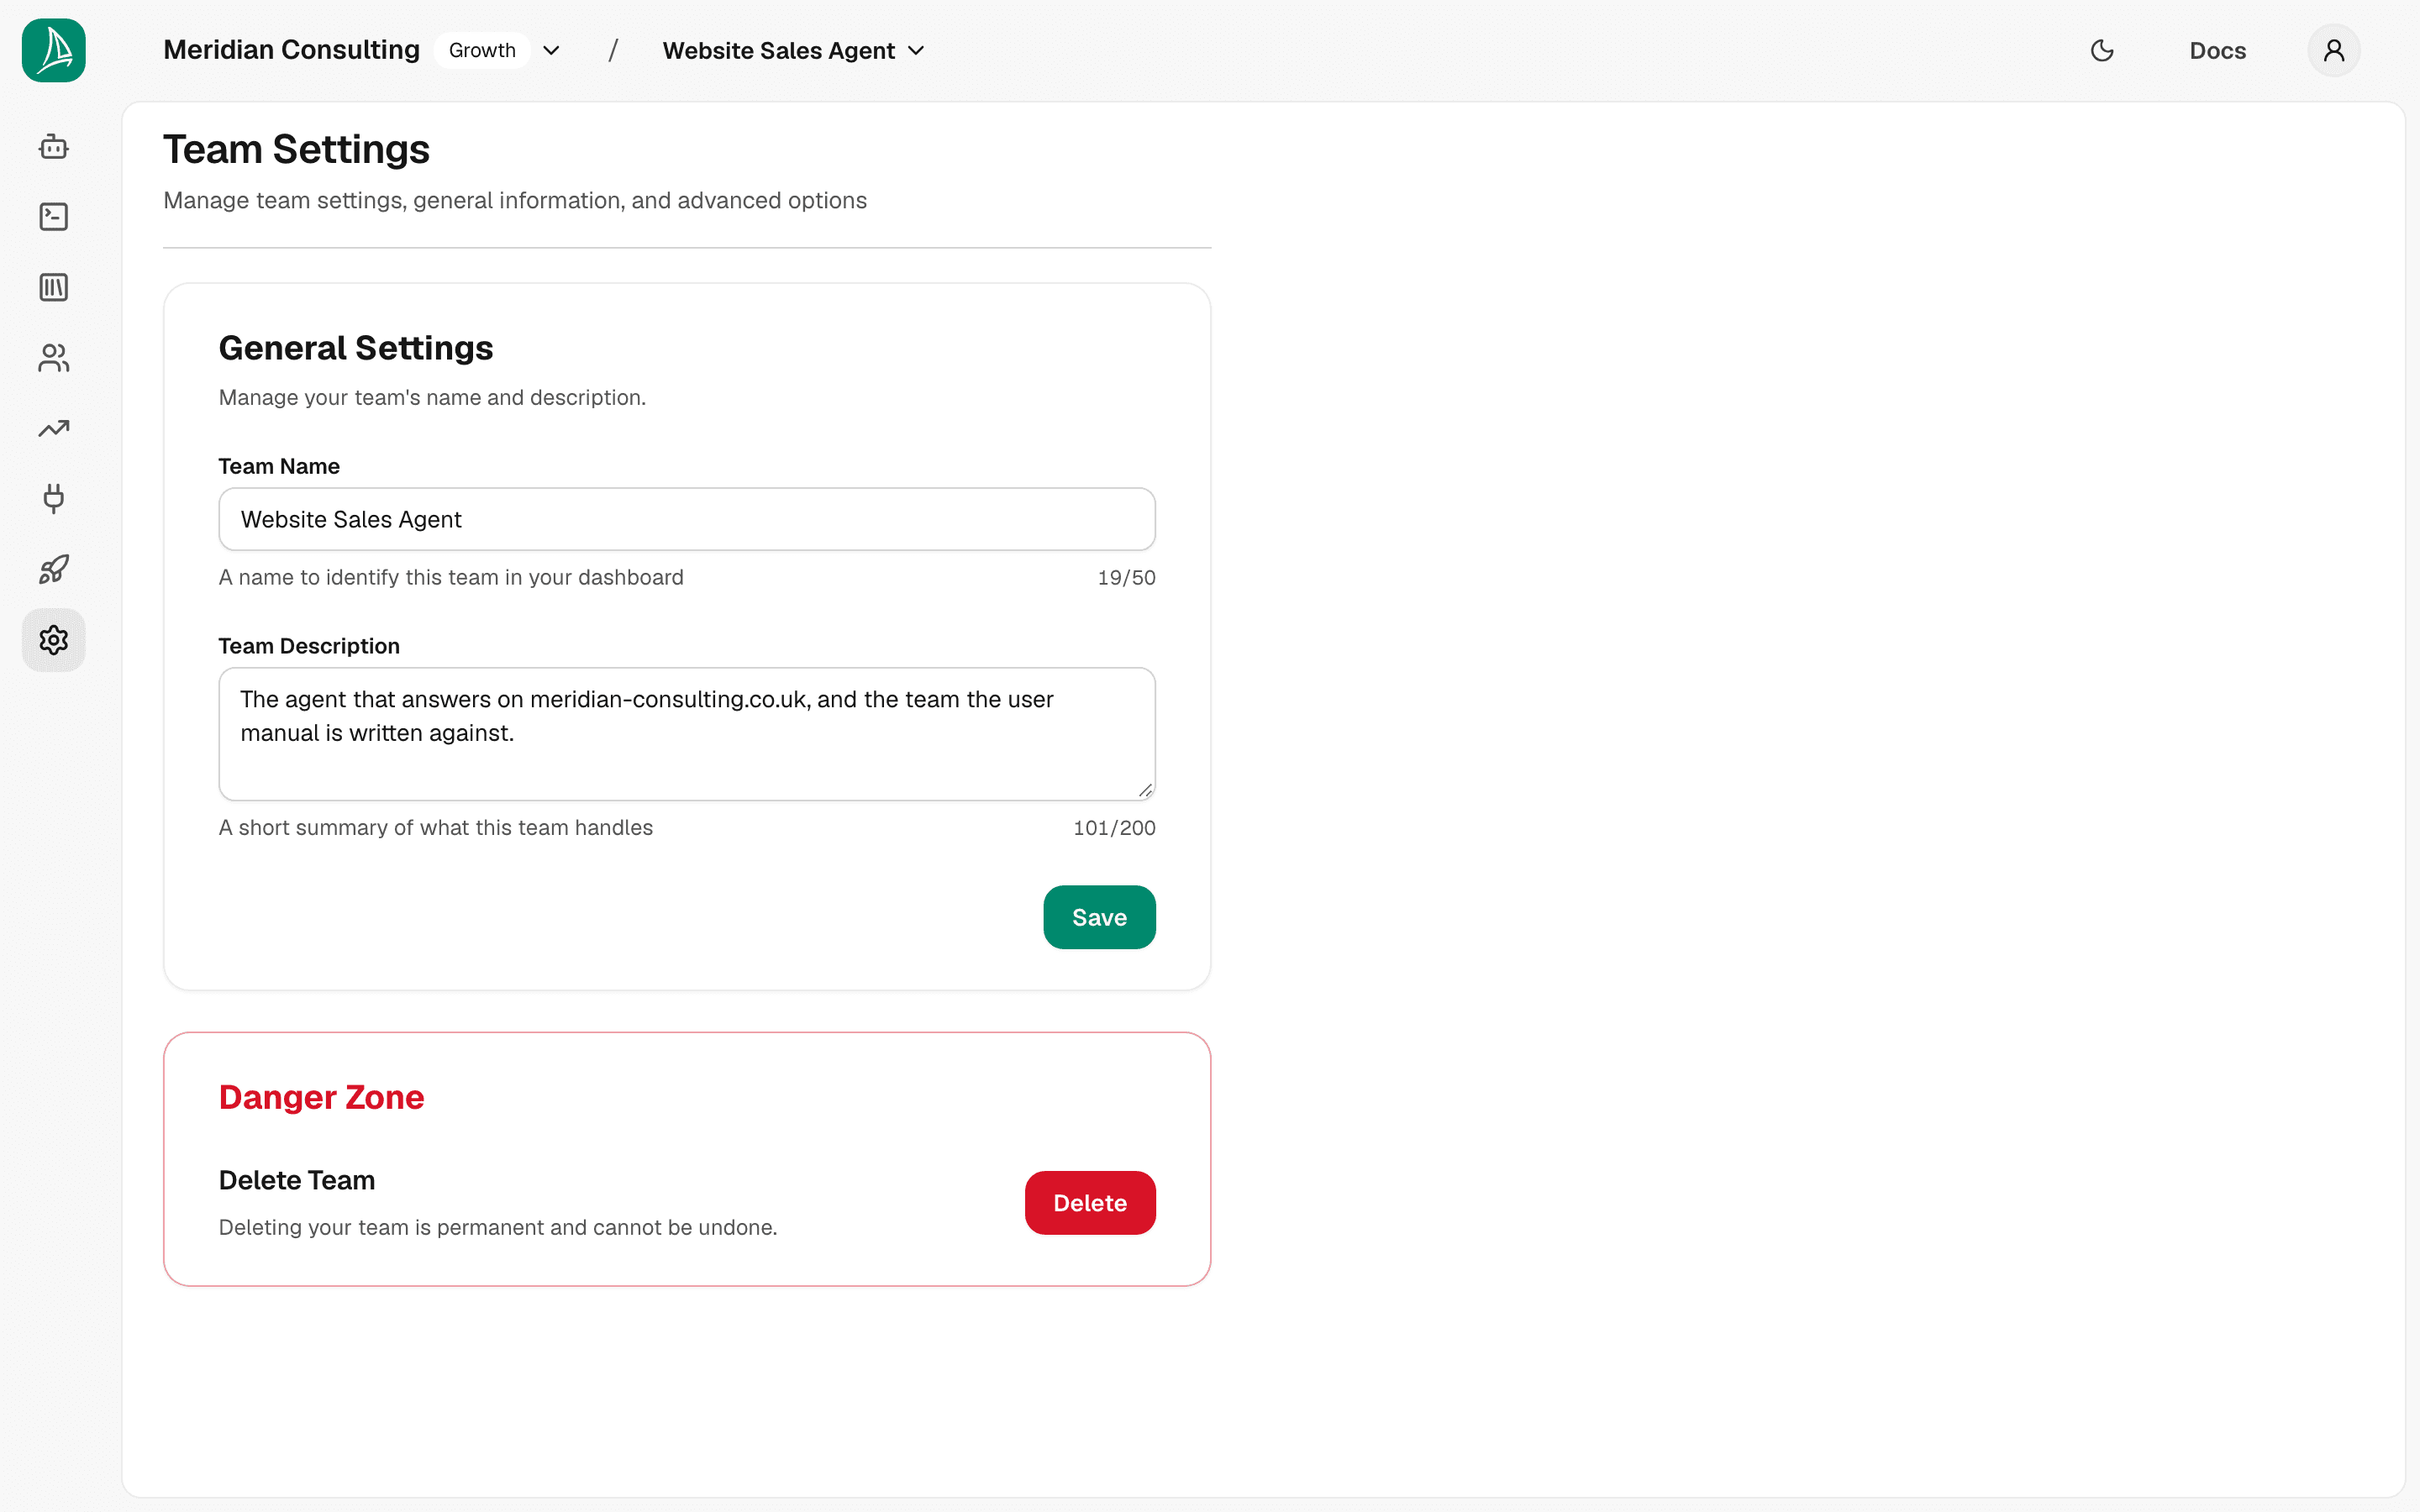
Two sections:
General Settings. The editable team metadata.
- Team Name — up to 50 characters. Edit and click Save to rename.
- Team Description — up to 200 characters.
Delete Team. Removes the team along with everything inside it — agents, content, prospects, deployments. Permanent and not undoable. An organisation owner can delete any team; anybody else can delete only a team they created.
The organisation dashboard, with a team
Now that you've created a team, the organisation home page (/dashboard) has a team tile rather than the empty state from Account & onboarding.
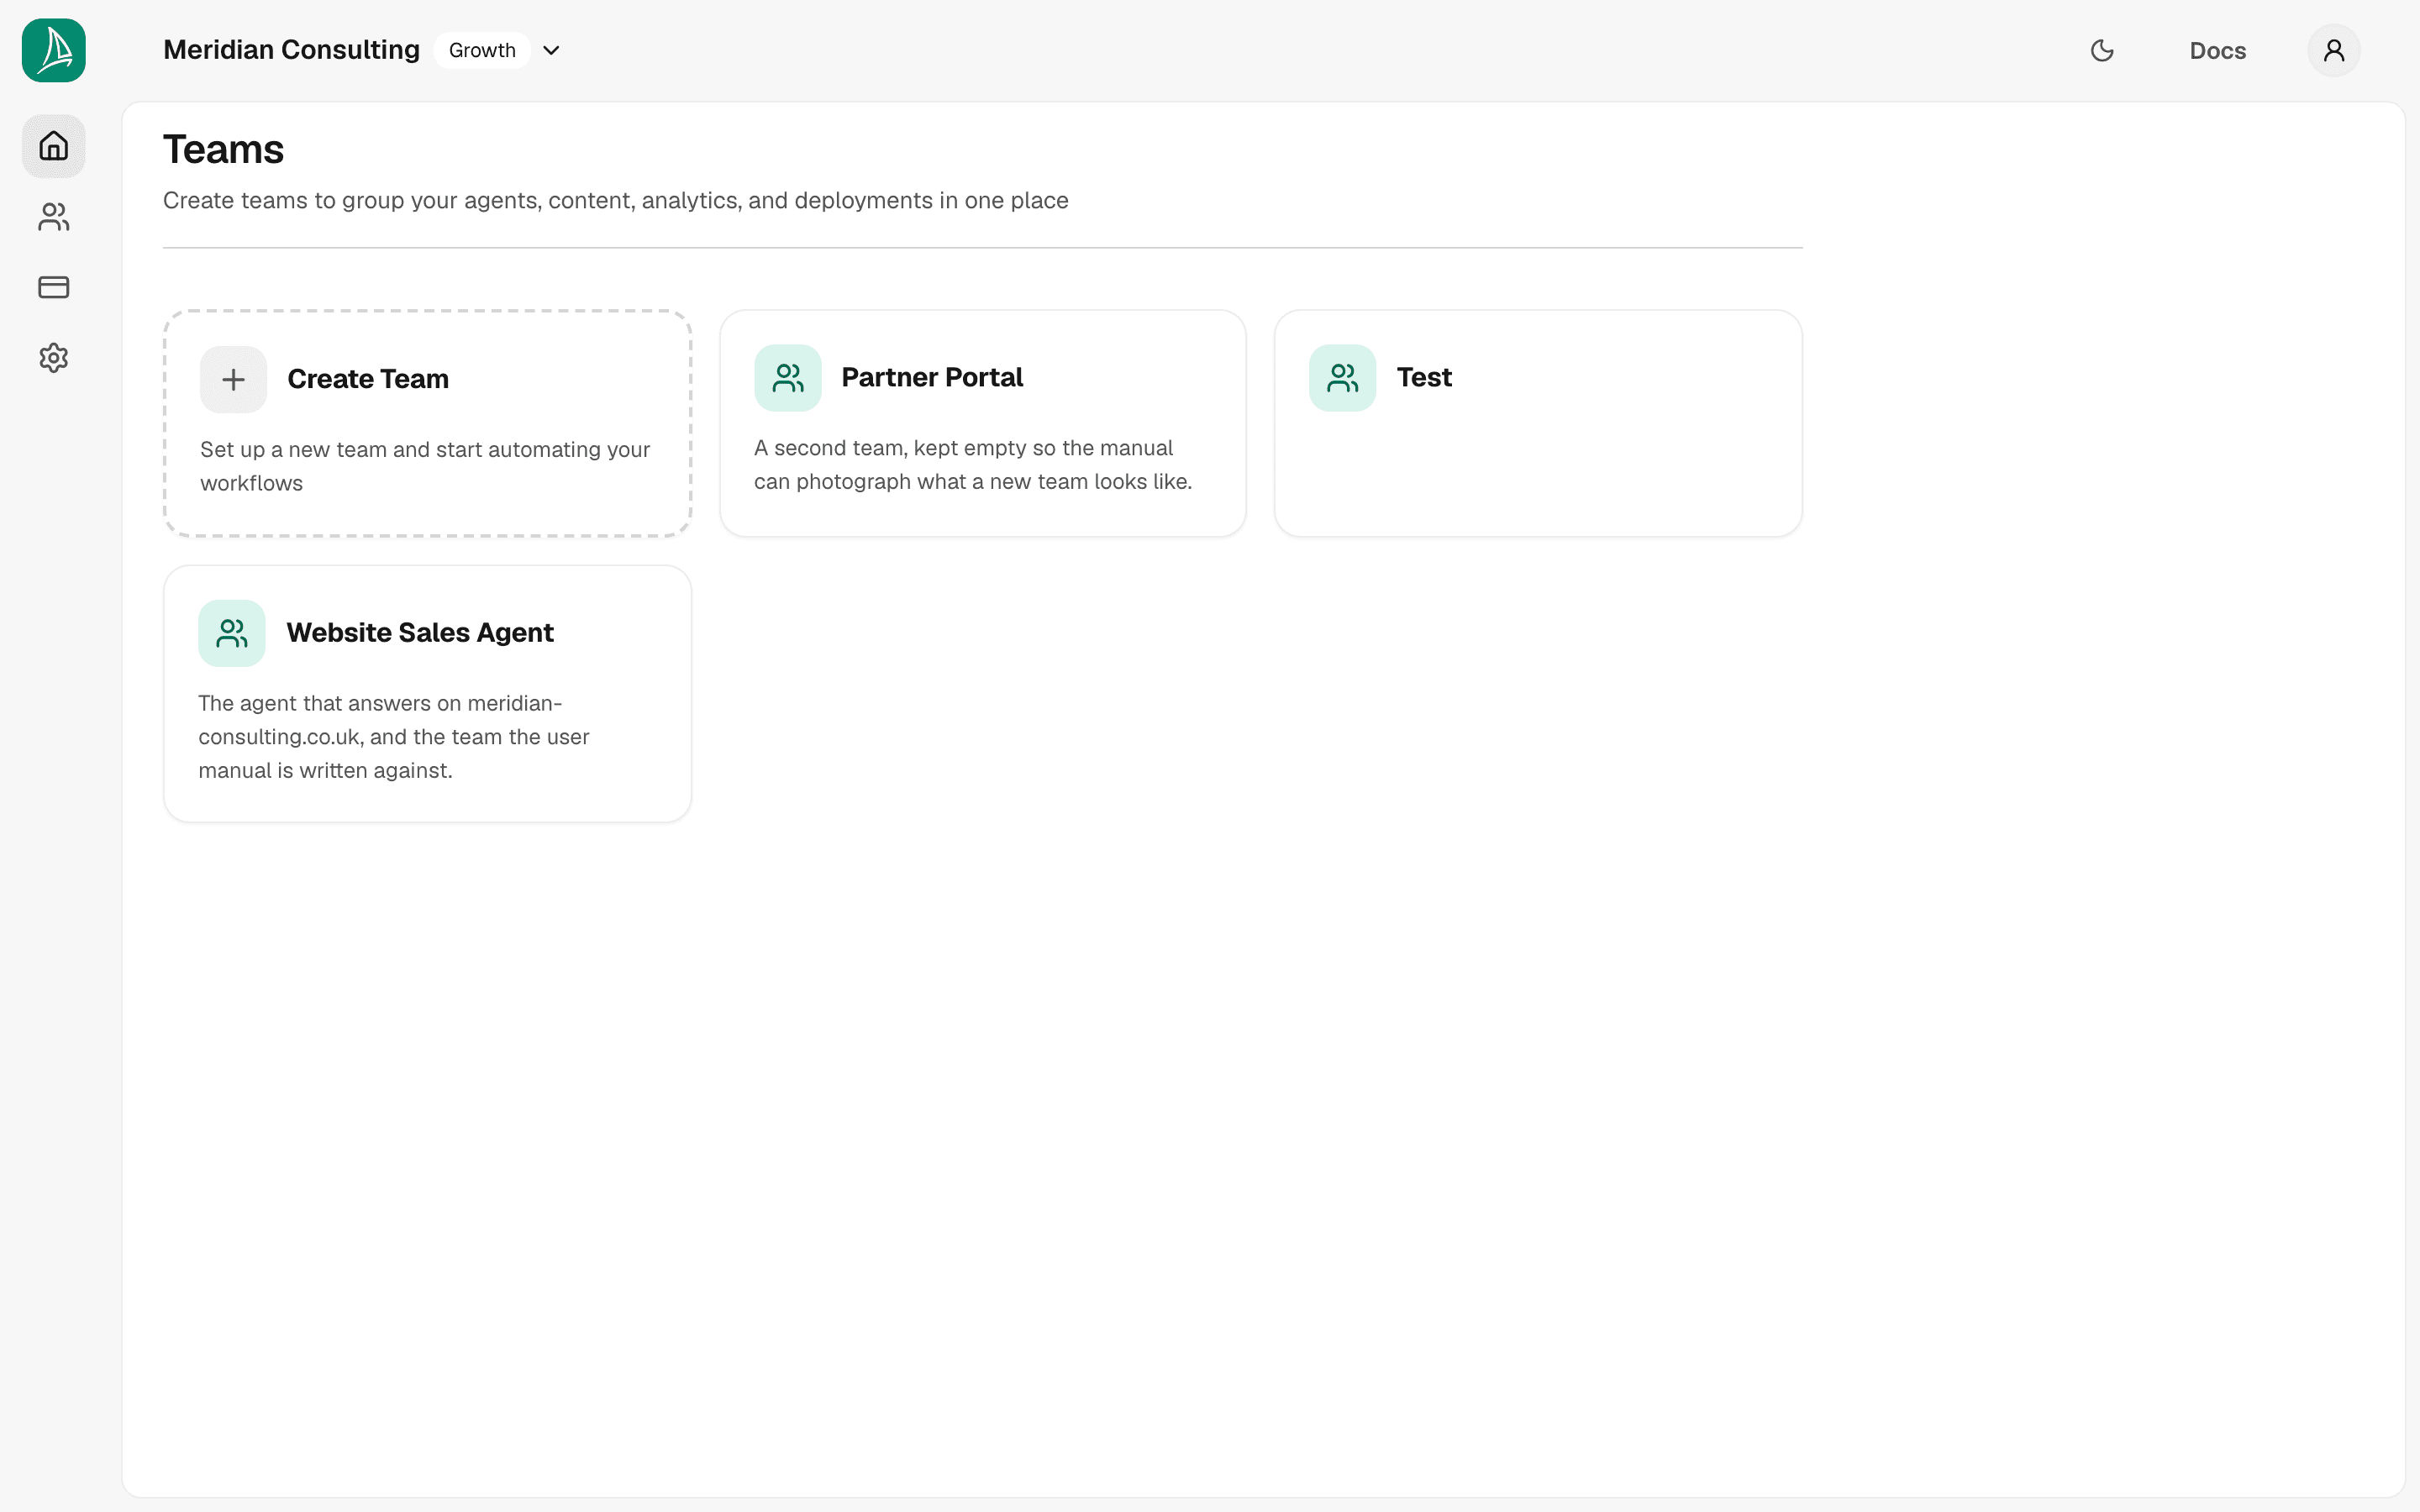
Each tile shows the team name and serves as a shortcut into the team home. The Create Team button stays available so you can add more teams as you need them.
What's next
You have an organisation, a team, and your bearings. Time to build your first agent.